
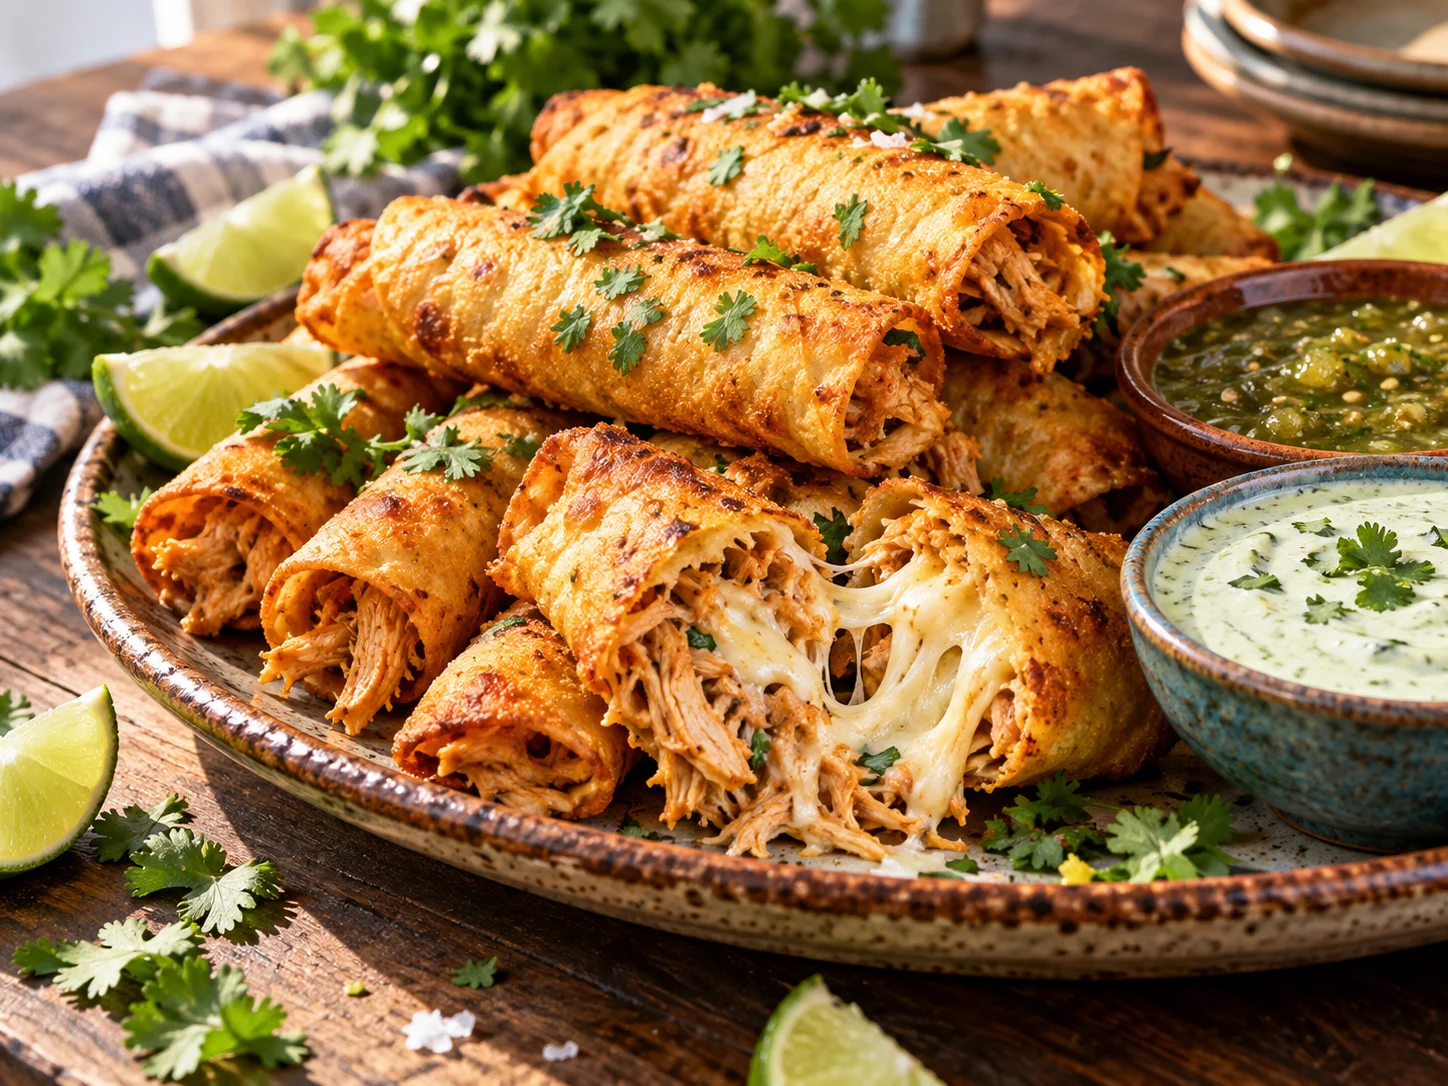
Antojitos for a Crispy Cheesy Party Snack to Share
When you are hosting a gathering, the pressure to provide a snack that isn’t just ‘there’ but is actually memorable can feel overwhelming. Most store-bought party snacks tend to go soggy within minutes of hitting the tray, or worse, they turn into greasy sponges that leave guests feeling heavy before the main course even arrives. The secret to a successful appetizer isn’t just the flavor—it is the texture. And when you are looking for that elusive combination of a shatter-crisp exterior and a warm, yielding, savory interior, there is nothing quite like traditional antojitos.
Antojitos, which translates loosely to ‘little cravings,’ are the heart and soul of Mexican street food culture. Unlike many appetizers that require complex baking or advanced pastry skills, these snacks rely on the fundamental beauty of corn, cheese, and high-heat cooking. Achieving that restaurant-quality crunch in your own kitchen is entirely possible once you understand how to manage your ingredients and respect the temperature of your oil. This is not about complex culinary manipulation; it is about respecting the simple, honest ingredients that make Latin American cuisine so enduring.
Understanding the Antojito Foundation
Before you even think about the stove, you have to talk about the wrapper. The corn tortilla is the make-or-break element of any antojito. If you grab a cold, stiff tortilla directly from the refrigerator and try to roll it, it will crack and shatter immediately. This is the primary reason why many home cooks give up on making these snacks—the ‘breakage’ problem.
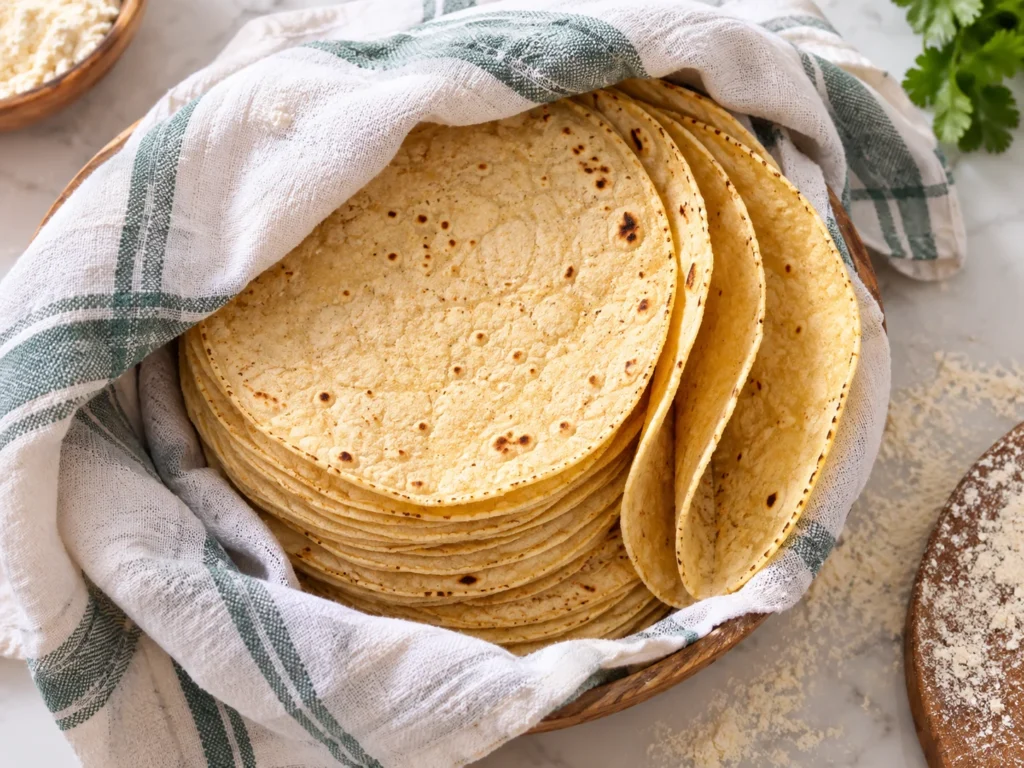
To fix this, you must treat the tortillas with respect. You need to create moisture. The most effective way to do this is by steaming them briefly. You can wrap a stack of corn tortillas in a damp paper towel and microwave them for about thirty to forty seconds, or keep them covered in a warm, clean kitchen towel near your workspace. A pliable, warm tortilla will roll tightly without protest, creating the clean, tubular shape that defines a perfect antojito.
It is also worth noting the quality of the masa. When possible, seek out authentic, nixtamalized corn tortillas. Mass-produced flour tortillas or low-quality corn tortillas often lack the structural integrity required for high-heat frying. Authentic nixtamalized tortillas have a distinct, slightly earthy aroma and a sturdy texture that holds up under the weight of fillings. If you find your local supermarket carries “street taco” size tortillas, these are often the ideal diameter—usually around four to five inches. They provide the perfect ratio of surface-area crispness to savory filling without overwhelming the palate.
Selecting Your Filling and Cheese
Once your tortillas are flexible, you are looking at the filling. For an authentic experience, keep it simple. If you are using meat, ensure it is shredded finely—long strands of chicken or beef will make rolling difficult and cause the antojitos to unravel in the pan. If you prefer a vegetarian path, well-seasoned refried beans, either pinto or black, provide a fantastic, creamy base.
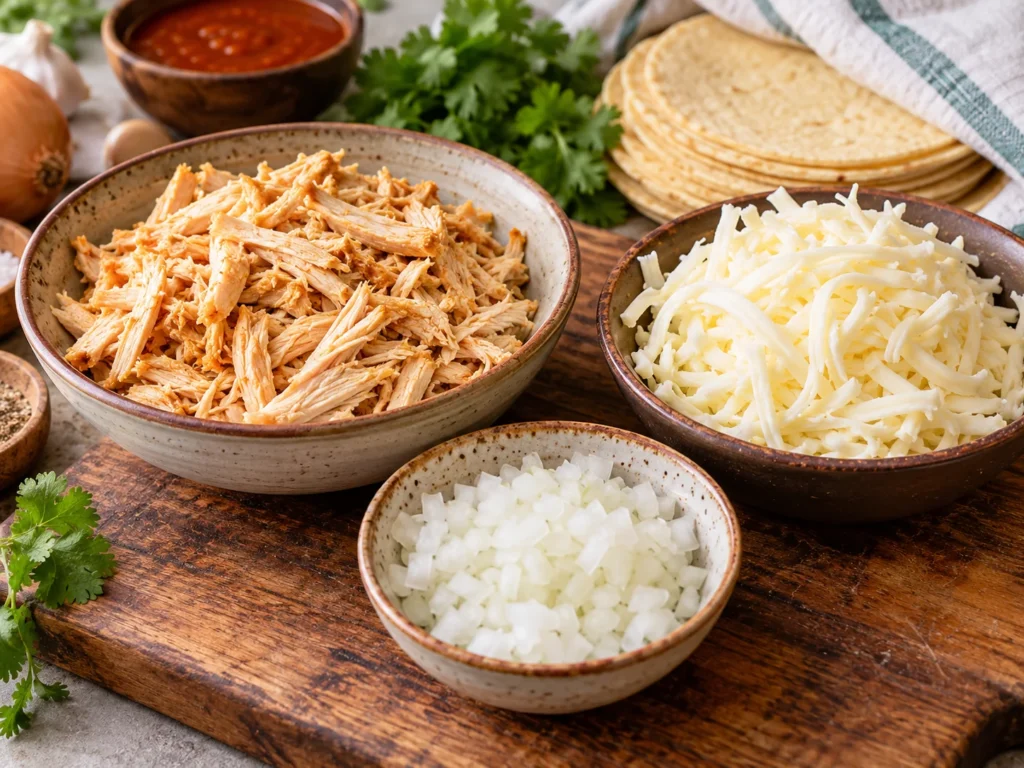
The key here is moisture management. If your filling is too wet (think watery salsa or loose beans), the steam trapped inside during the frying process will turn the interior of your tortilla soggy before it can crisp up. Your filling should be ‘dry’—meaning it should be cooked down until the excess liquid has evaporated. As for the cheese, go for something with a good melt profile. Oaxaca or a mild, low-moisture Monterey Jack works beautifully because they melt quickly without releasing an overwhelming amount of oil, which helps the roll stay intact during the frying phase.
Beyond the basics, seasoning your filling is where you can truly distinguish your antojitos. Since the wrapper is neutral, the filling needs to carry enough flavor to stand on its own. A touch of cumin, a pinch of smoked paprika, or a dash of chipotle powder can elevate simple chicken or bean mixtures significantly. However, resist the urge to overstuff. It is tempting to pack as much as possible inside, but an overstuffed roll is a recipe for a structural failure in the skillet. Aim for a thin, even log of filling that allows the tortilla to overlap itself by at least half an inch. This overlap is your primary seal against the hot oil.
The Rolling Technique for Stability
Rolling is where the architecture of the dish is built. You want a tight cylinder. Place a modest spoonful of your filling mixture near the edge of the warmed tortilla, but leave a small border to prevent the contents from leaking. As you roll, pull the edge of the tortilla back toward you slightly to create tension—this tight grip is what keeps the antojito from unfurling when it hits the hot oil.
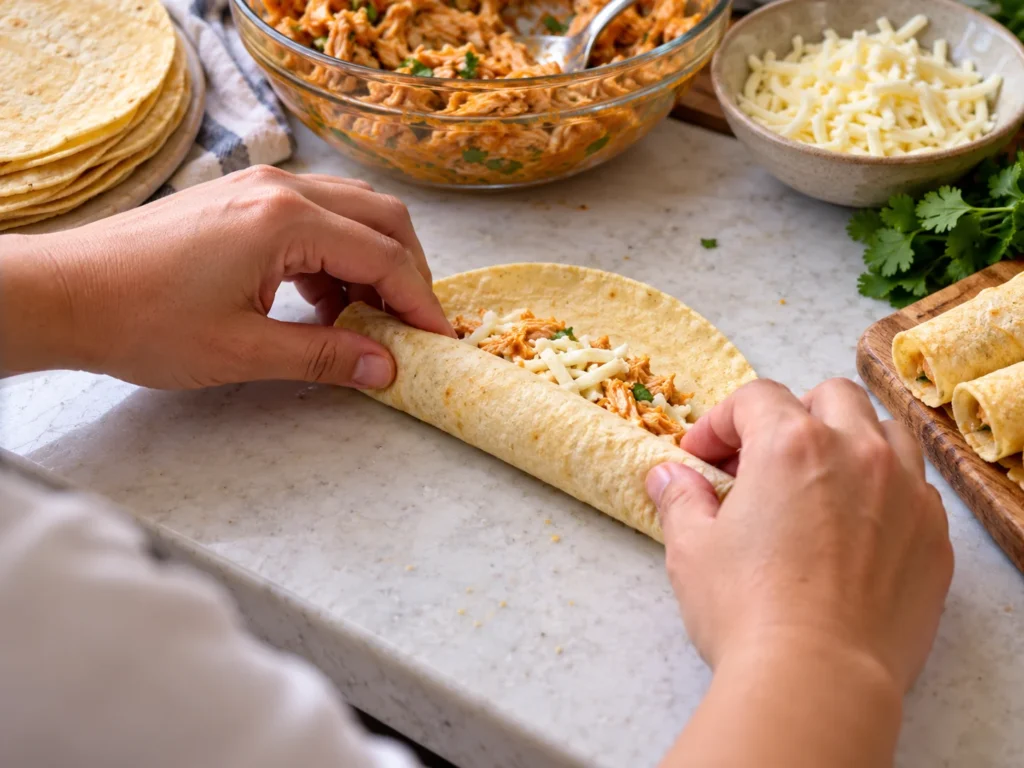
If you find that the tortillas are stubborn, you can use a small toothpick skewered through the center of the roll to hold it together. However, if you have warmed the tortillas correctly and they are pliable, they will usually ‘stick’ to themselves if you place them seam-side down on a tray for a few minutes before frying. This brief resting period is a secret step that prevents the rolls from opening during the cooking process.
You can think of this resting phase as a “setting” period. If you roll your antojitos and fry them immediately, the tortilla hasn’t yet “remembered” its new shape. By letting them sit seam-side down for ten minutes, the starch in the tortilla sets, and the moisture from the filling helps seal the seam shut. If you are batch-cooking for a crowd, this is the perfect time to prep your garnishes or heat your dipping sauces. Efficiency in the kitchen often comes down to these small, deliberate pauses rather than rushing the process.
Managing the Cooking Environment
The environment in which you cook your antojitos is just as important as the technique itself. Because you are working with hot oil, space is a factor. Avoid overcrowding the pan. When you place too many rolls in the oil at once, the temperature of the oil drops drastically. This prevents the immediate, high-heat sear that creates the crisp exterior, instead allowing the tortilla to soak up the fat. It’s better to fry in two or three manageable batches than to try to finish everything at once. Keep the finished rolls warm in a low-temperature oven (around 200°F) on a rack set over a baking sheet while you work through your batches.
Mastering the Crispy Fry
Cooking antojitos is all about the temperature of the oil. You are not deep-frying in the traditional sense; you are shallow-frying. You want enough oil in the pan to cover about a third of the side of the roll. If your oil is too cold, the tortilla will act like a sponge and soak up the fat, resulting in a greasy, heavy snack. If the oil is too hot, the exterior will burn before the cheese inside has a chance to turn molten.
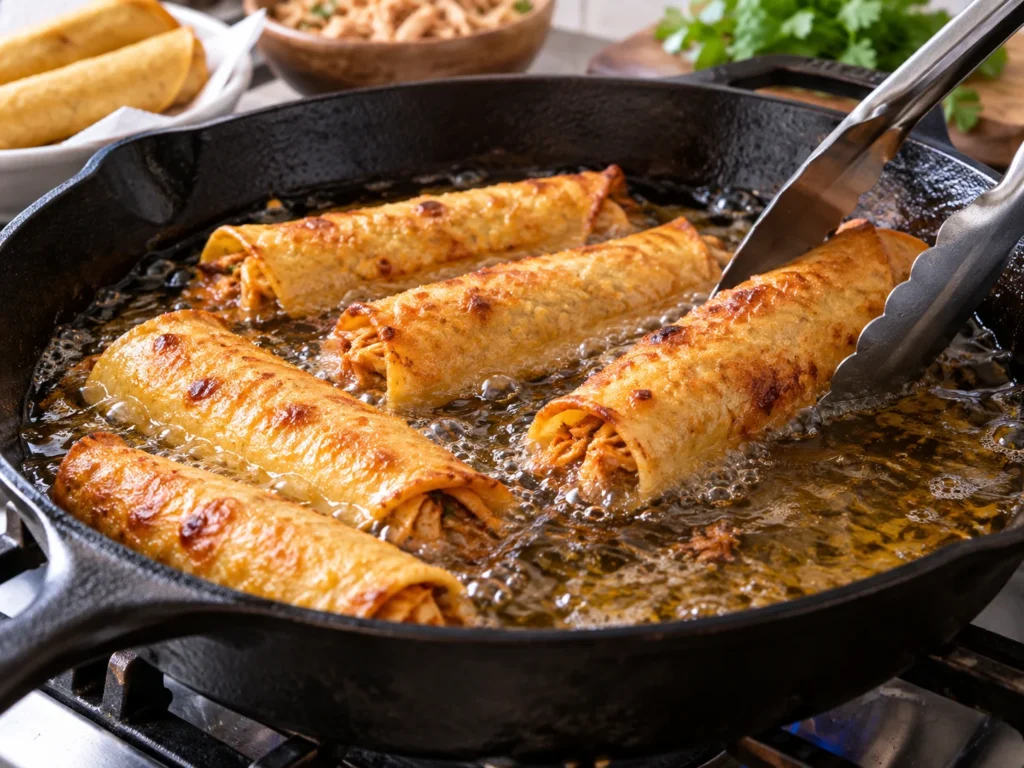
Aim for a medium-high heat. You are looking for a steady, rhythmic bubbling around the edges of the tortilla. Place the rolls in the pan seam-side down first; this ‘sears’ the seal shut. Let them sit undisturbed for a minute or two until they develop a solid, golden-brown crust. Only then should you gently turn them. Patience here is your greatest ally. Moving them too early is the fastest way to get a broken snack that leaks cheese everywhere.
Watch the color closely. A deep, golden brown is the goal, but because corn tortillas can darken quickly, keep a close eye on the pan. Once the exterior is crisp, the interior cheese will usually have reached a perfect, gooey state. If you are uncertain about the temperature, sacrifice one test piece. If it bubbles aggressively the moment it touches the oil, the heat is perfect. If it sits sluggishly, wait a minute longer before adding more to the pan. This attentive approach ensures that your oil stays at the optimal frying temperature, resulting in a crunch that lasts well past the first bite.
The Final Texture and Serving
Once you have achieved that uniform golden color, remove them from the pan and drain them on a wire rack rather than on paper towels. If you place hot, fried food directly onto paper, the steam that escapes from the bottom will get trapped and soften the crust immediately. A wire rack allows air to circulate underneath, keeping that hard-won crunch intact.
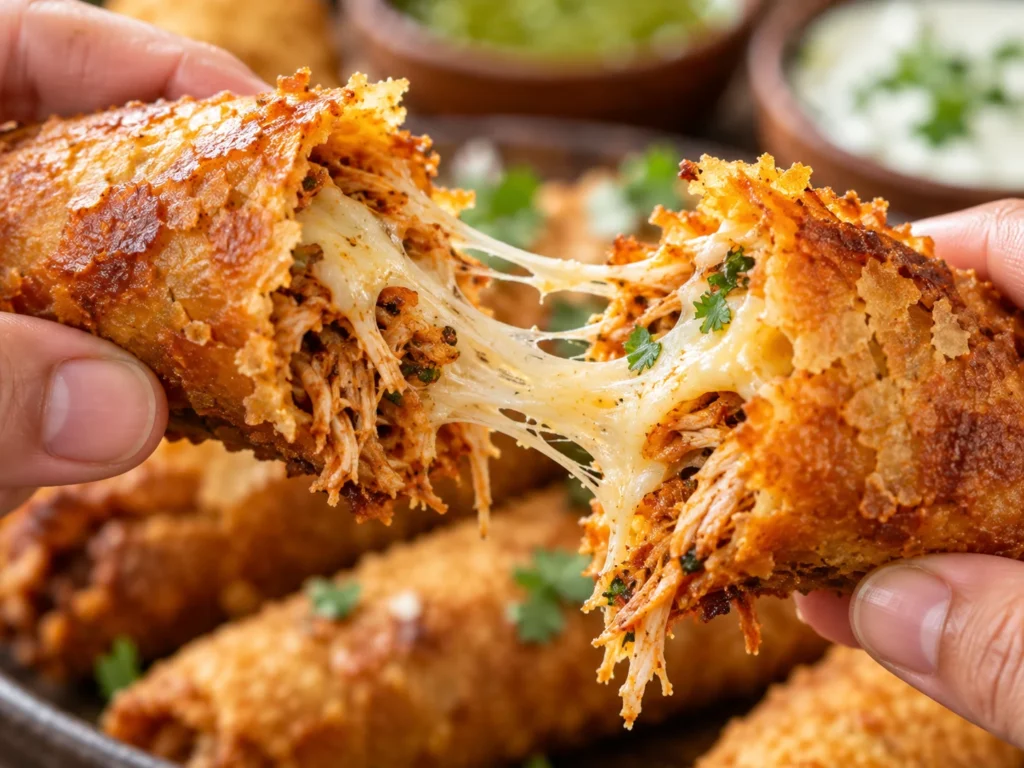
Serve these immediately. Antojitos are not meant to sit for an hour; they are meant to be eaten while the shell is audible when bitten and the cheese is still pulling apart. Arrange them on a platter with a bright, acidic salsa to cut through the richness of the fried corn and melted cheese. A simple garnish of fresh cilantro, diced white onion, and a dollop of Mexican crema makes them feel complete without overcomplicating the plate.
By mastering the temperature and the rolling technique, you turn what could be a messy experiment into a reliable, crowd-pleasing snack that disappears from the table almost instantly. When you strip away the intimidation factor, it becomes clear that these snacks are simply about creating contrast—crunchy, salty, creamy, and hot. This is the beauty of Latin American street food; it values the integrity of the ingredients over anything else. Whether you are hosting a large party or just looking for a savory treat for a quiet evening, these homemade antojitos are the perfect solution to that specific, irresistible craving.
Ultimately, the versatility of antojitos is part of their charm. While the classic preparation centers on the corn and cheese, you are essentially working with a blank canvas for flavors. Once you have the method down, feel free to experiment with seasonings in your oil or incorporate different textures like finely crumbled chorizo, which adds an incredible depth and saltiness. The goal is to focus on the process—the gentle handling, the patient frying, and the careful plating. When you focus on these fundamentals, you elevate a simple pantry meal into a sophisticated appetizer that highlights how rewarding and approachable authentic snacks can be.
Frequently Asked Questions
Can I bake these instead of frying them?
How do I store and reheat leftovers?
What is the best cheese to use for a good melt?
My tortillas keep cracking when I roll them, what am I doing wrong?
Antojitos for a Crispy Cheesy Party Snack to Share
These crispy, cheesy antojitos are the ultimate Mexican-inspired appetizer. With a golden-fried corn tortilla shell and a gooey, savory center, they are designed for sharing and satisfying cravings.
Ingredients
- 12 corn tortillas (small, street taco size)
- 1 1/2 cups cooked, finely shredded chicken or refried beans
- 1 1/2 cups shredded Oaxaca or Monterey Jack cheese
- 1/2 teaspoon ground cumin
- 1/4 teaspoon garlic powder
- 1/2 cup vegetable oil (for frying)
- Salt and pepper to taste
- Optional for serving: Mexican crema, salsa verde, fresh cilantro, diced white onion
Instructions
- Prepare your filling: In a small bowl, mix the shredded chicken or beans with cumin, garlic powder, salt, and pepper. Ensure the mixture is not too wet; if it is, sauté it for a few minutes to evaporate excess liquid.
- Warm the tortillas: Wrap the stack of corn tortillas in a damp kitchen towel or paper towel. Microwave for 30-40 seconds until they are warm and pliable.
- Assemble: Place a tablespoon of filling and a tablespoon of cheese near the edge of a warmed tortilla. Roll it tightly into a cylinder. The heat of the tortilla should help it 'stick' to itself. Place seam-side down on a tray.
- Heat the oil: Pour vegetable oil into a skillet until it covers about 1/4 inch of the bottom. Heat over medium-high heat. Test the heat by placing a small piece of tortilla in the oil; it should bubble steadily.
- Fry: Place the rolls seam-side down in the hot oil. Fry for 2-3 minutes until the underside is golden brown. Carefully turn the rolls and fry the other side for another 1-2 minutes until crispy all around.
- Drain and serve: Remove from the pan and place on a wire cooling rack to drain excess oil. Serve immediately with salsa, crema, and cilantro.
Notes
Do not skip warming the tortillas, or they will crack when rolled.
If you are having trouble keeping the rolls sealed, use a toothpick, but remember to remove it before serving.
Drain the fried rolls on a wire rack instead of paper towels to keep the exterior crispy.
Keep the cheese filling moderate; overstuffing causes the rolls to burst during frying.
Nutrition
| Calories | 280 |
| Protein | 12g |
| Total Fat | 14g |
| Carbohydrates | 22g |
| Fiber | 3g |
| Sugar | 1g |
| Sodium | 350mg |