
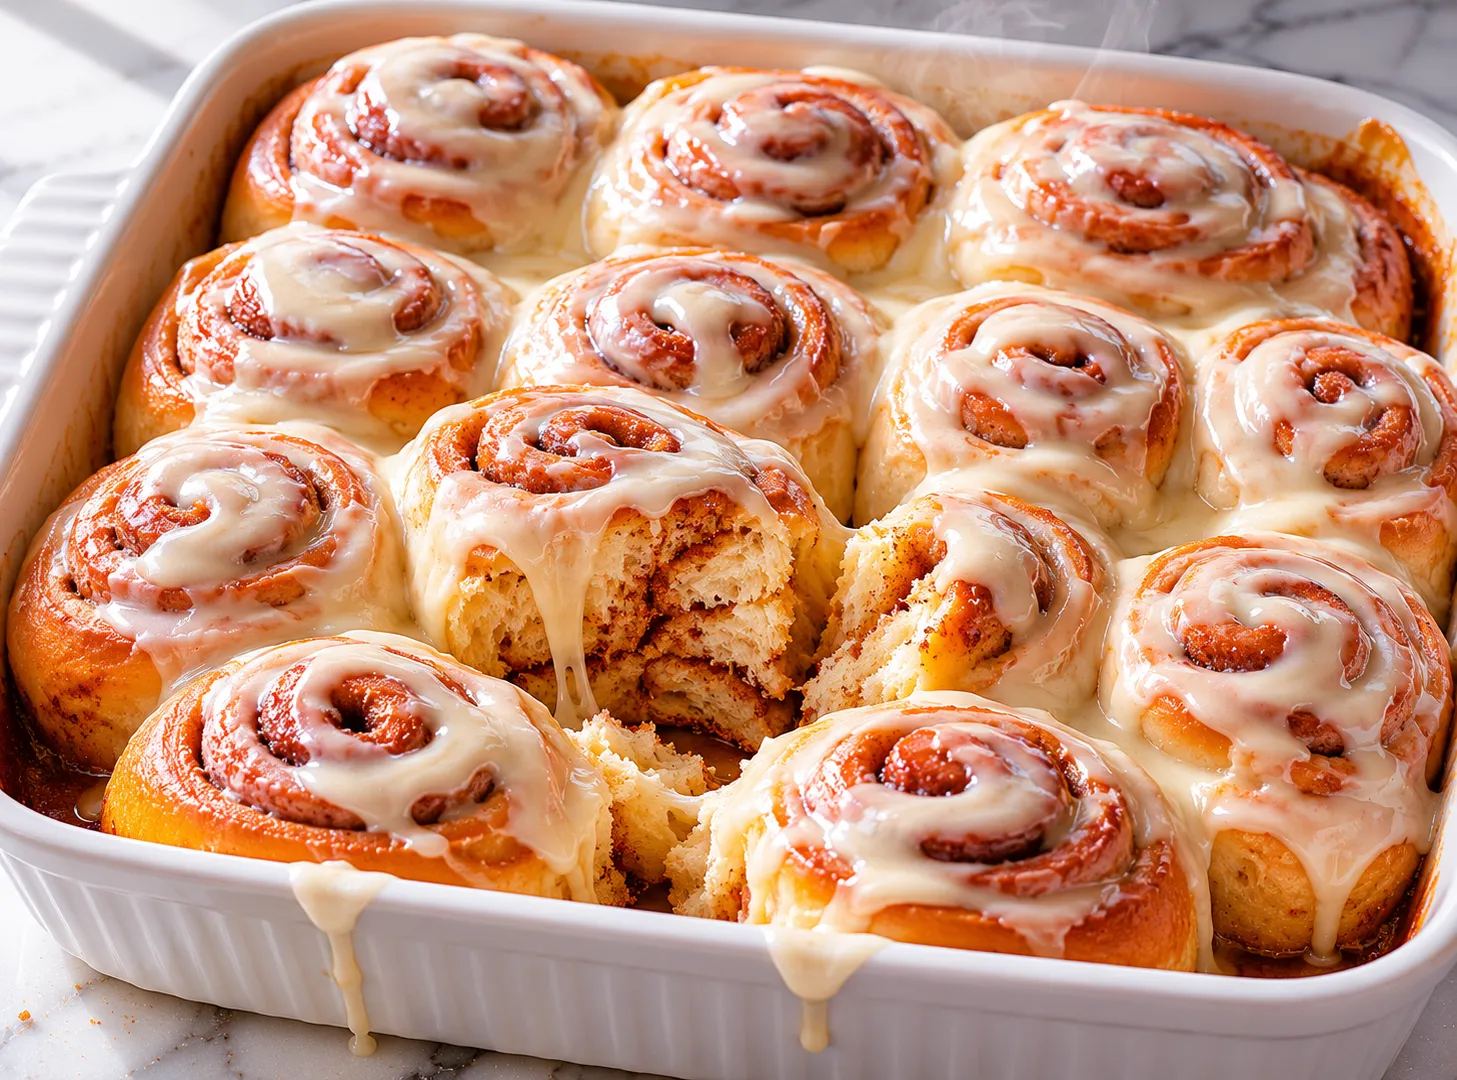
This cinnamon rolls recipe gives you soft, pillowy dough layered with a brown sugar and cinnamon filling, finished with a thick cream cheese glaze that melts into every swirl. These rolls rise beautifully, bake up golden brown, and taste like they came from a real bakery. The dough is enriched with butter and eggs, which gives it that pull-apart texture that box mixes never quite get right. No fancy equipment is needed, and the steps are straightforward once you understand what the dough should feel like at each stage. This is the go-to cinnamon rolls recipe for weekend mornings when you have a little time and want something genuinely worth the wait.
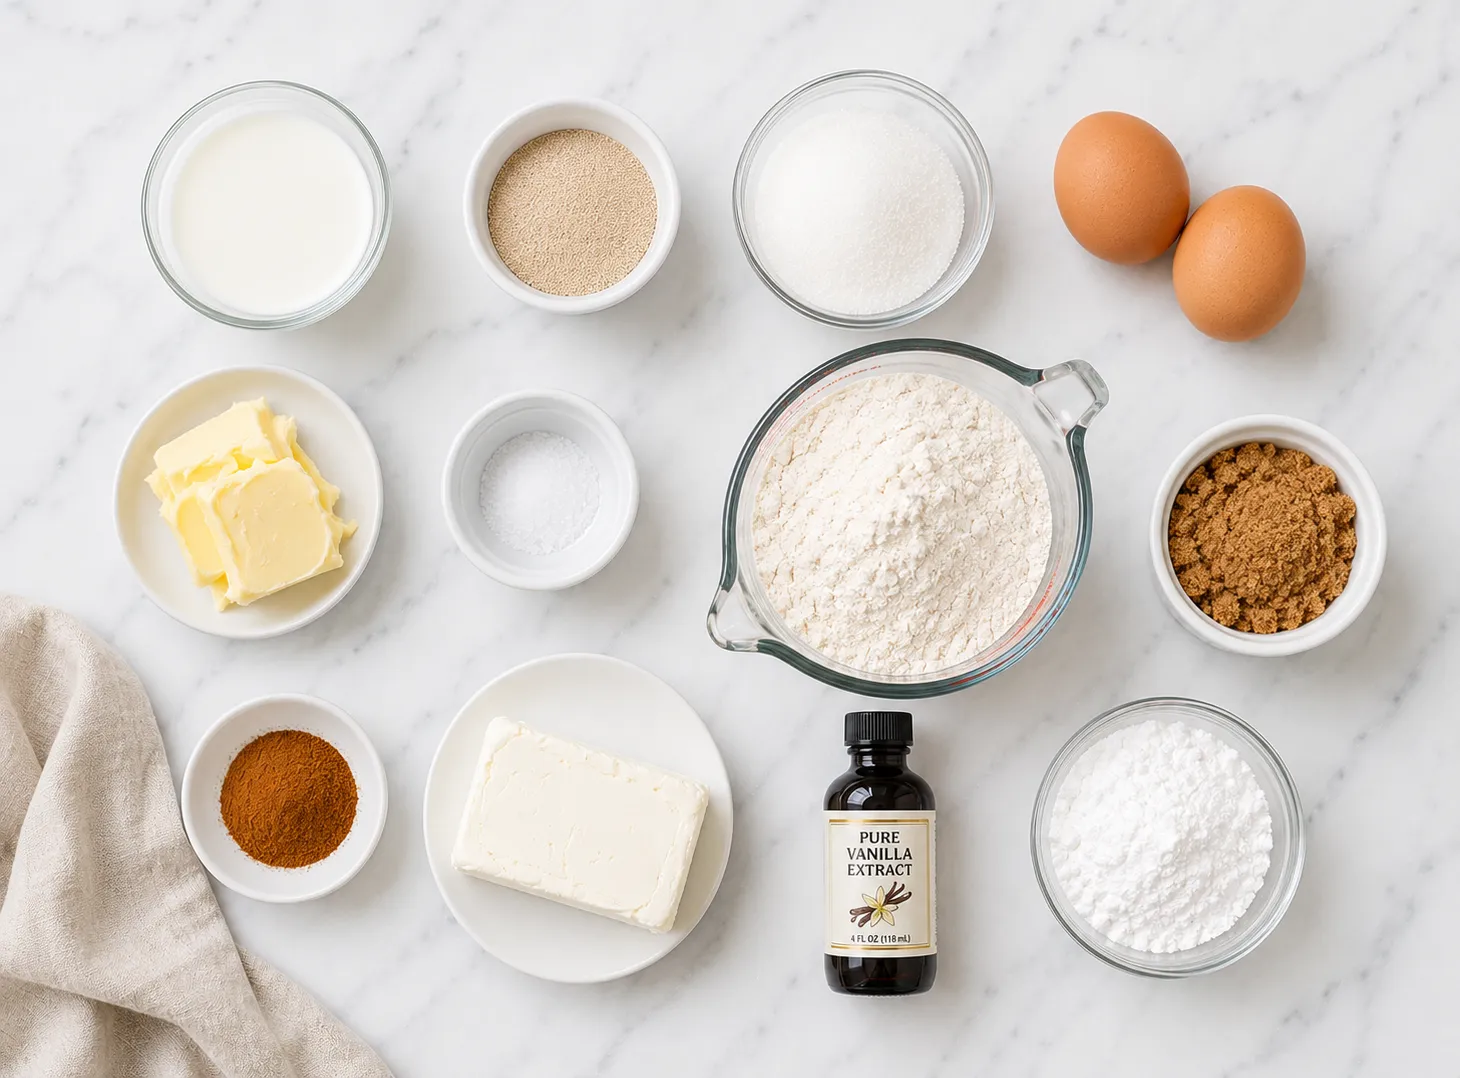
- 1 cup whole milk, warmed to 110°F , Use a thermometer. Too hot and the yeast dies. Too cold and it will not activate.
- 2.25 tsp active dry yeast , Check the expiration date before using. Old yeast is the most common reason dough does not rise.
- 0.25 cup granulated sugar
- 2 large eggs , Room temperature eggs incorporate more evenly into the dough.
- 0.33 cup unsalted butter, melted , Let the melted butter cool slightly before adding so it does not kill the yeast.
- 1 tsp salt
- 4 cups all-purpose flour , Start with 3.5 cups and add more only if the dough is too sticky to handle. The dough should be soft, not stiff.
- 0.33 cup unsalted butter, softened , Must be soft enough to spread easily without tearing the dough.
- 0.75 cup brown sugar, packed
- 2.5 tbsp ground cinnamon , Use fresh cinnamon for the best flavor. Old spices lose their strength over time.
- 4 oz cream cheese, softened , Full-fat cream cheese gives the richest glaze. Low-fat works but the texture is thinner.
- 3 tbsp unsalted butter, softened
- 1.5 cups powdered sugar , Sift before adding to avoid lumps in the glaze.
- 1 tsp vanilla extract
- 2 tbsp milk , Add one tablespoon at a time and adjust until the glaze is pourable but not runny.
- Stand mixer with dough hook, or a large bowl and your hands
- Large mixing bowl
- Rolling pin
- 9x13 inch baking dish
- Plastic wrap or a clean kitchen towel
- Sharp serrated knife or unflavored dental floss for cutting rolls
- Activate the yeast in warm milk with sugar and let it foam.
- Mix in eggs, butter, and salt, then add flour and knead until smooth.
- Let the dough rise for 1 to 1.5 hours until doubled.
- Roll out, spread the filling, and cut into 12 rolls.
- Let rolls rise a second time, then bake at 350°F for 22 to 26 minutes.
- Glaze while warm and serve immediately.
- Pour warm milk into a large bowl. Add the yeast and sugar. Stir gently once and leave it alone for 5 to 10 minutes. It should look foamy and smell yeasty. If nothing happens after 10 minutes, the yeast is not active and you need to start with a fresh packet.
- Add the eggs, melted butter, and salt to the yeast mixture. Stir until combined.
- Add flour one cup at a time, mixing after each addition. Once a rough dough forms, turn it out onto a lightly floured surface.
- Knead the dough by hand for 8 to 10 minutes, or use a stand mixer with the dough hook on medium speed for 6 to 8 minutes. The dough is ready when it is smooth, slightly tacky, and springs back when poked.
- Shape the dough into a ball. Place it in a lightly oiled bowl and cover with plastic wrap or a clean towel. Set it somewhere warm and let it rise for 1 to 1.5 hours, until it has doubled in size.
- While the dough rises, mix the brown sugar and cinnamon in a small bowl. Set aside. Make sure the butter for the filling is fully softened so it spreads without tearing the dough.
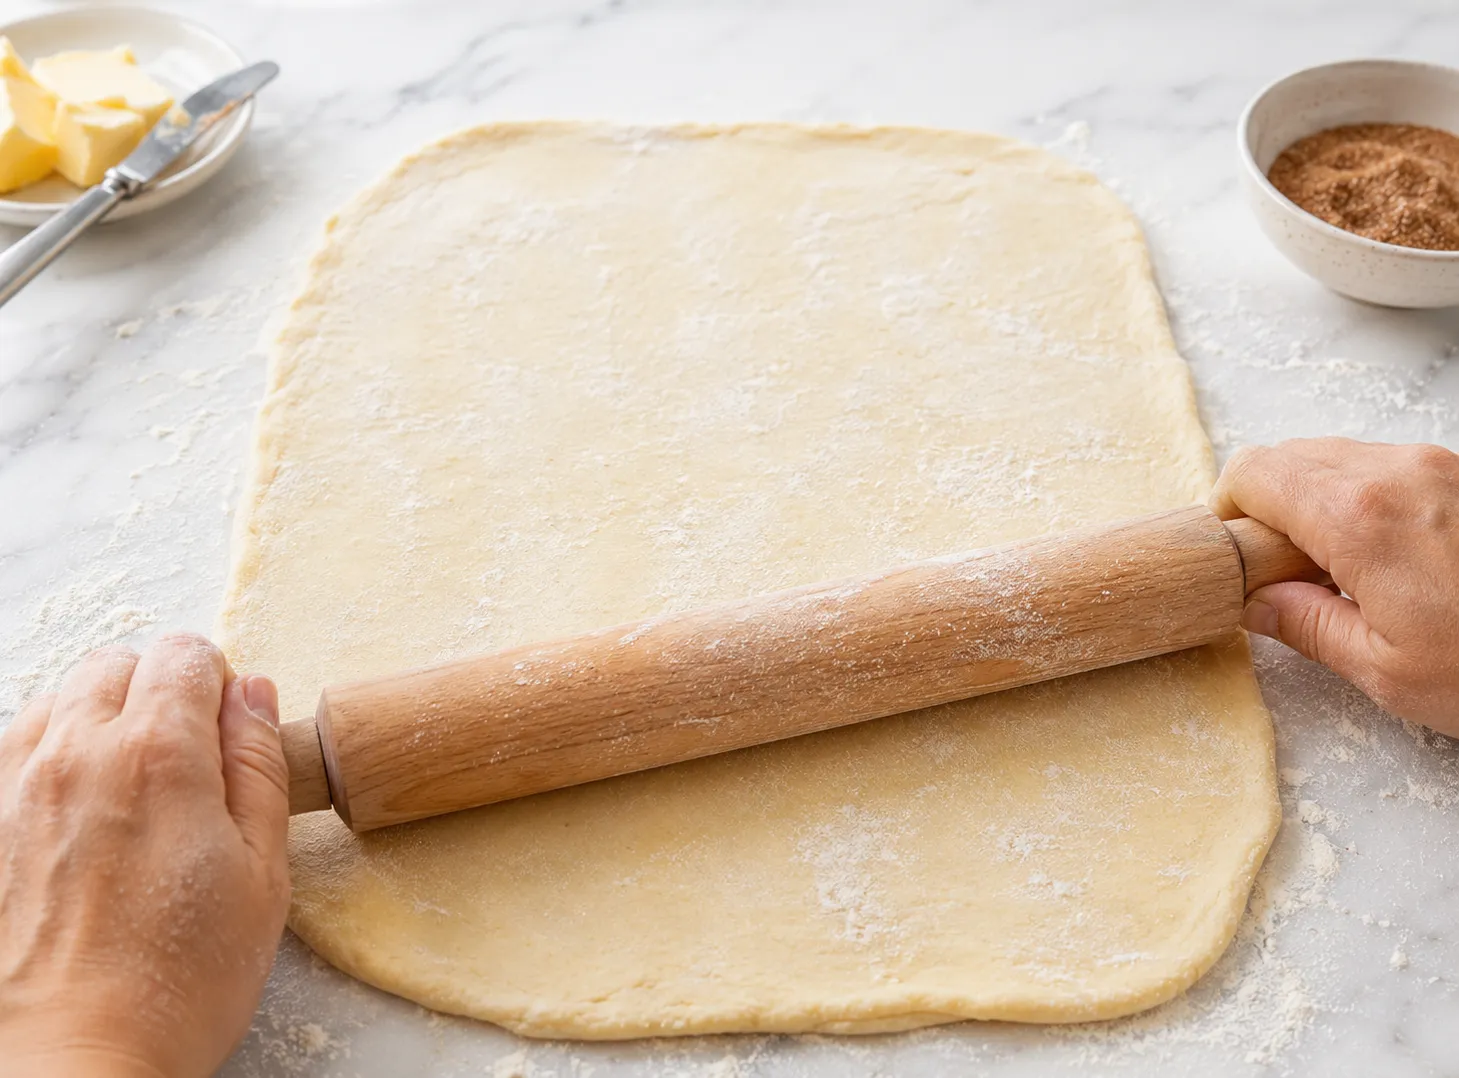
- Once risen, punch the dough down gently. Turn it out onto a lightly floured surface and roll it into a rectangle, roughly 16 inches wide and 12 inches tall.
- Spread the softened butter across the entire surface of the dough, going all the way to the edges. Sprinkle the cinnamon sugar mixture evenly on top. Press it down lightly so it sticks.
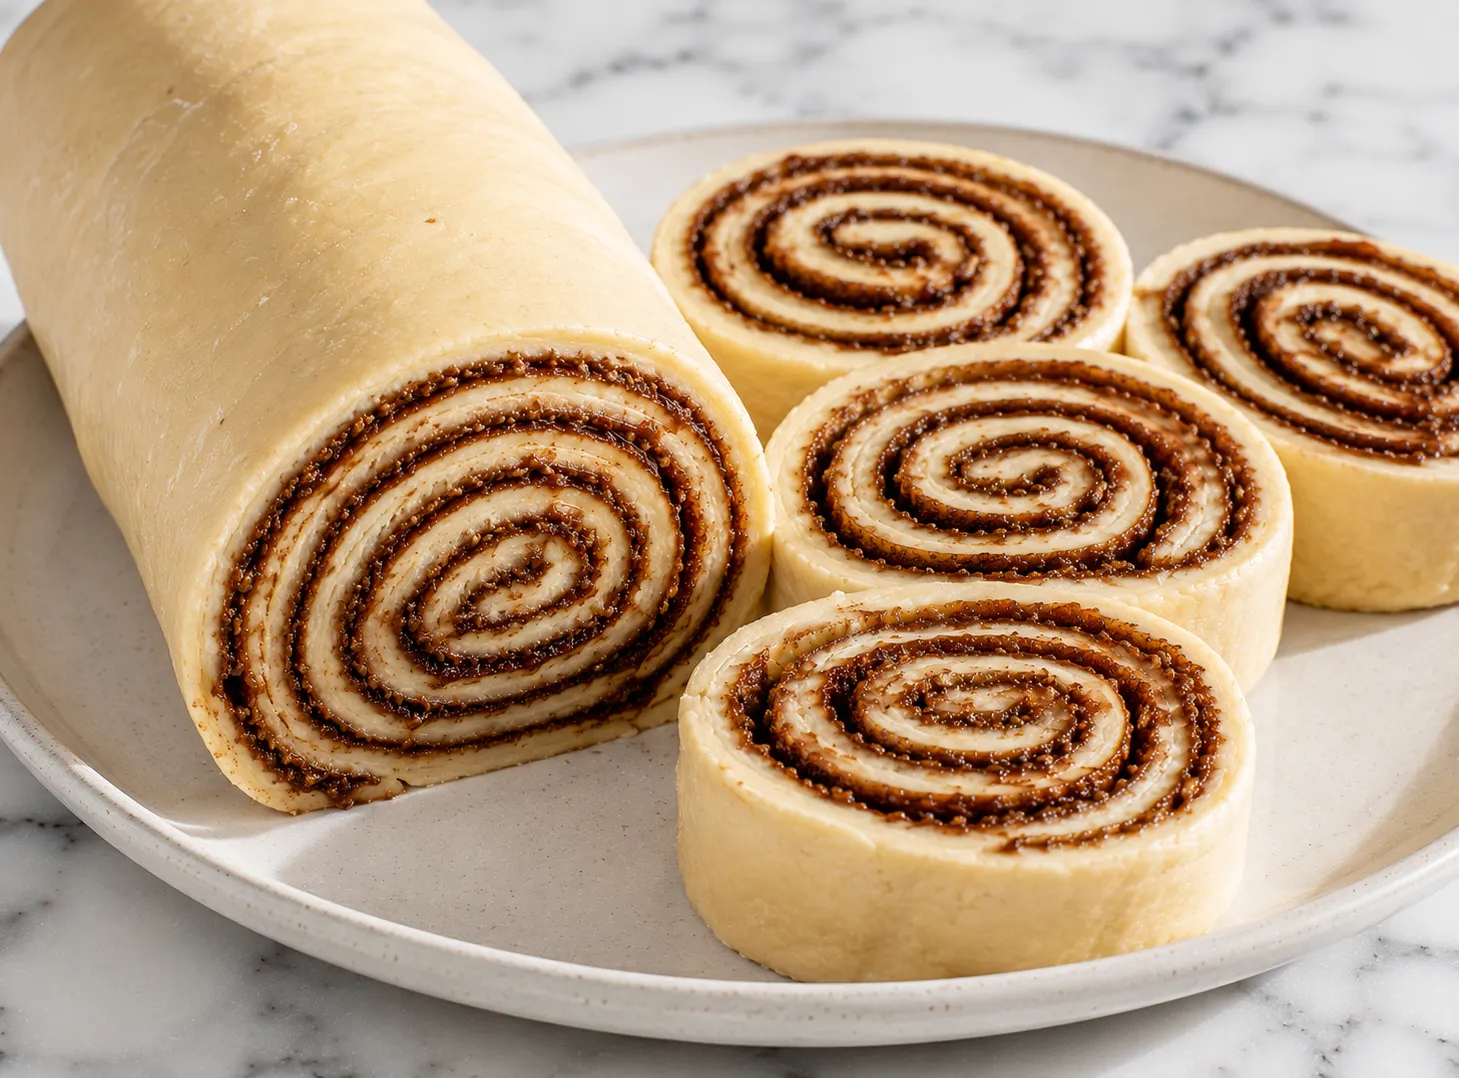
- Starting from the long edge closest to you, roll the dough into a tight log. Keep tension as you roll so the swirls hold together.
- Use unflavored dental floss or a serrated knife to cut the log into 12 equal pieces, each about 1.5 inches thick. Dental floss gives the cleanest cut without compressing the rolls.
- Arrange the rolls cut side up in a greased 9x13 inch baking dish. Leave a little space between them. Cover loosely and let them rise again for 45 to 60 minutes, until they are puffed and pressing against each other.
- Preheat the oven to 350°F about 15 minutes before the second rise ends.
- Bake for 22 to 26 minutes. The tops should be light golden brown. The center rolls should not jiggle when you shake the pan gently. Pull them out when they look just done. They will finish cooking from the residual heat.
- While the rolls bake, beat the softened cream cheese and butter until completely smooth. Add the powdered sugar, vanilla, and 1 tablespoon of milk. Mix well. Add the second tablespoon of milk if the glaze is too thick to pour.
- Pour or spread the glaze generously over the rolls while they are still hot. The glaze should melt into the swirls. Serve warm.
- Milk temperature is the most important detail in this recipe. Use a thermometer and aim for 105°F to 110°F. Anything above 115°F can kill the yeast before the dough even comes together.
- Do not rush the second rise. That second proof is what creates the soft, open crumb inside each roll. Rolls that skip it bake up dense.
- Spread the filling butter all the way to the edges of the dough. Every bite should have filling, not just the middle.
- Dental floss cuts cleaner than a knife. Slide a piece under the log, cross the ends over the top, and pull. No squishing.
- Take the rolls out of the oven when the centers look just barely set. They will continue to cook on the hot pan for a few minutes after you pull them.
- Using cold milk. The yeast needs warmth to activate. Cold milk gives you flat, dense rolls.
- Adding too much flour. The dough should be soft and slightly sticky, not stiff. Stiff dough makes tough rolls.
- Skimping on the filling. Use all of it. Spreading too thin is one of the main reasons homemade rolls taste bland.
- Overbaking. Rolls with dark brown tops are usually dry inside. Pull them at light golden and trust the carryover heat.
- Glazing cold rolls. The glaze needs heat to melt into the rolls. Always glaze while hot.
- Overnight rolls: After cutting and placing rolls in the pan, cover and refrigerate instead of doing the second rise at room temperature. The next morning, pull them out, let them sit at room temperature for 30 to 45 minutes while the oven preheats, then bake as directed.
- Nut filling: Add half a cup of finely chopped pecans or walnuts on top of the cinnamon sugar before rolling.
- Simple icing instead of cream cheese glaze: Whisk together 1.5 cups powdered sugar, 2 to 3 tablespoons milk, and half a teaspoon of vanilla. Drizzle over warm rolls.
- Orange cream cheese glaze: Add 1 teaspoon of fresh orange zest to the glaze. It pairs well with the cinnamon.
- Bread flour swap: Replace all-purpose flour with bread flour for a chewier texture with more structure.
- Fresh brewed coffee or a strong latte
- A fruit salad with berries, orange slices, and a little honey
- Scrambled eggs or a simple egg bake for a full brunch spread
- Hot chocolate on cold mornings
- Room temperature: Cover the pan tightly or transfer rolls to an airtight container. Good for up to 2 days.
- Refrigerator: Store in an airtight container for up to 5 days. The rolls firm up when cold, so always reheat before eating.
- Freezer: Freeze fully baked, unglazed rolls wrapped individually in plastic wrap, then placed in a freezer bag. Keeps for up to 2 months. Thaw overnight in the fridge.
- Reheating single rolls: Microwave for 20 to 25 seconds. If they seem dry, add a small pat of butter before microwaving.
- Reheating a full pan: Cover with foil and warm in a 300°F oven for 10 to 12 minutes.
- Always glaze after reheating, not before freezing.
Yes. Use the same amount and skip the proofing step. Mix the instant yeast directly into the flour and proceed with the recipe. The rise time may be slightly shorter, so keep an eye on the dough.
The most common causes are expired yeast or milk that was too hot. Always check the yeast expiration date and use a thermometer to measure milk temperature. The sweet spot is 105°F to 110°F.
Yes. After cutting the rolls and placing them in the pan, cover tightly and refrigerate. The next morning, pull them out while the oven preheats and let them sit at room temperature for 30 to 45 minutes before baking. Add about 5 minutes to the bake time.
The tops should be light golden brown and the center rolls should not jiggle when you gently shake the pan. A toothpick inserted into a center roll should come out clean with no raw dough.
Yes. After cutting, place rolls on a parchment-lined sheet pan and freeze until solid, then transfer to a freezer bag. When ready to bake, place in a greased pan, thaw overnight in the fridge, then let them rise at room temperature for 1 to 2 hours before baking as directed.
Dense rolls usually come from one of three things: not enough kneading, a rushed rise, or too much flour in the dough. Knead until the dough is genuinely smooth and elastic, give both rises their full time, and keep the dough on the softer side.
- This recipe makes 12 large rolls baked in a 9x13 inch pan. For smaller rolls, cut into 15 pieces and reduce bake time by 3 to 4 minutes.
- For extra gooey rolls, pour 2 tablespoons of heavy cream over the rolls in the pan just before they go into the oven. It keeps the bottoms soft and adds richness.
- The dough is ready to stop kneading when it passes the windowpane test: stretch a small piece between your fingers and it should stretch thin enough to see light through without tearing.
- If your kitchen is cold, the rise will take longer. Place the covered bowl in an unheated oven with just the oven light on. That small amount of warmth is usually enough.
- Do not use the cream cheese straight from the fridge for the glaze. Cold cream cheese will leave lumps no matter how long you beat it.
This cinnamon rolls recipe is one of those things that gets easier the more times you make it. The first time through, you are learning how the dough should feel, how long the rise really takes in your kitchen, and how your particular oven runs. By the second or third time, the whole process feels natural. What you end up with is a pan of rolls that are soft all the way through, gooey from the filling, and covered in a glaze that soaks into every layer. They are the kind of thing people ask you for the recipe after eating. The process takes a few hours from start to finish, but most of that time is hands-off rising. Once you have made homemade cinnamon rolls this way, it is hard to go back to anything else. If you are going to spend a weekend morning in the kitchen, this is a recipe that earns every minute of the effort.