
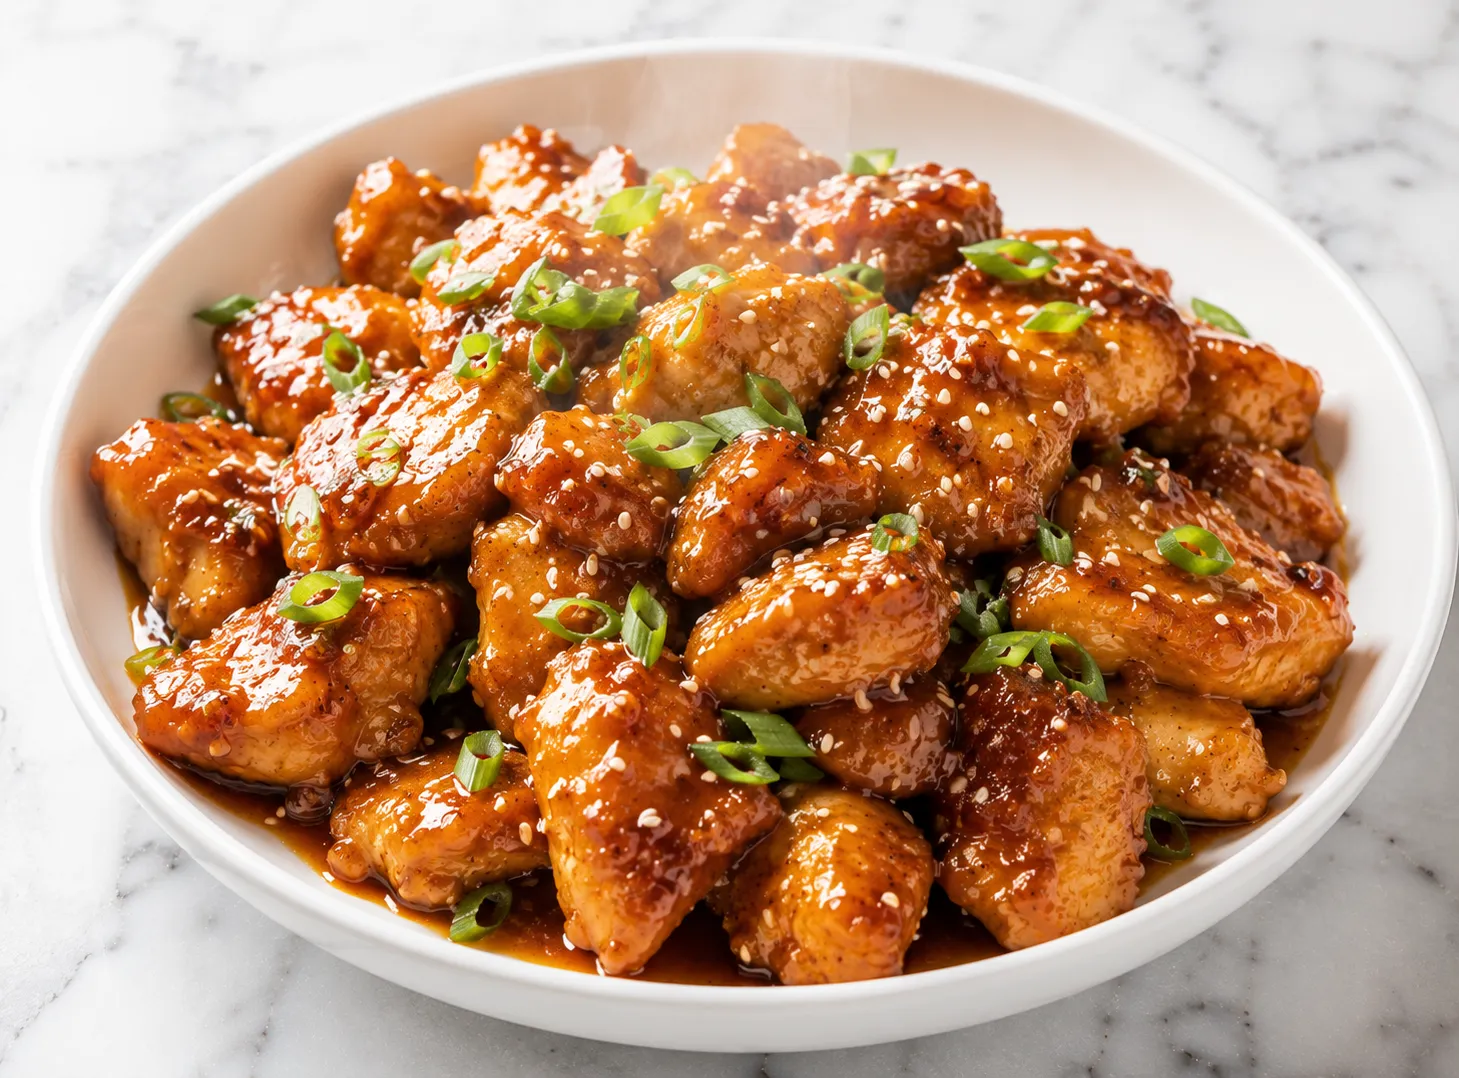
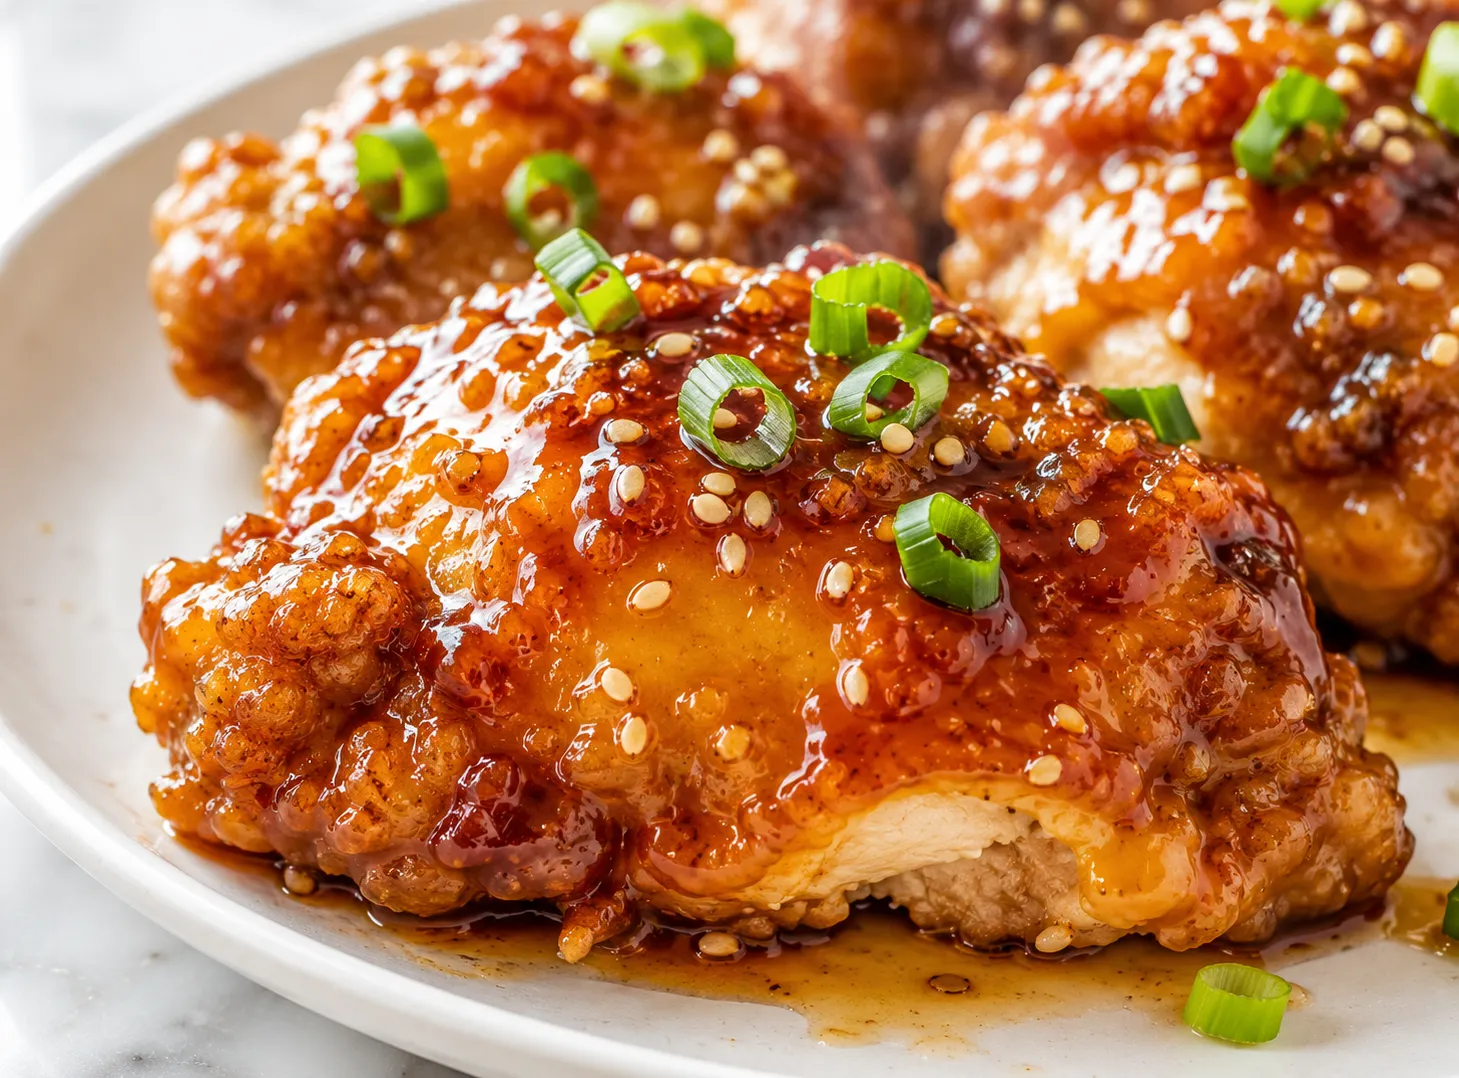
This honey garlic chicken recipe gives you crispy, golden chicken pieces coated in a thick, glossy sauce that hits the right balance of sweet, savory, and just a little sticky. It uses basic pantry ingredients and comes together in about 35 minutes from start to finish. No deep fryer, no complicated technique. The sauce is built right in the pan after the chicken is cooked, which means it clings to every piece instead of pooling at the bottom. If you find yourself ordering takeout just for the honey garlic chicken, this recipe will fix that habit. It works for weeknight dinners, holds up well for meal prep, and scales easily when you are cooking for more than four people.
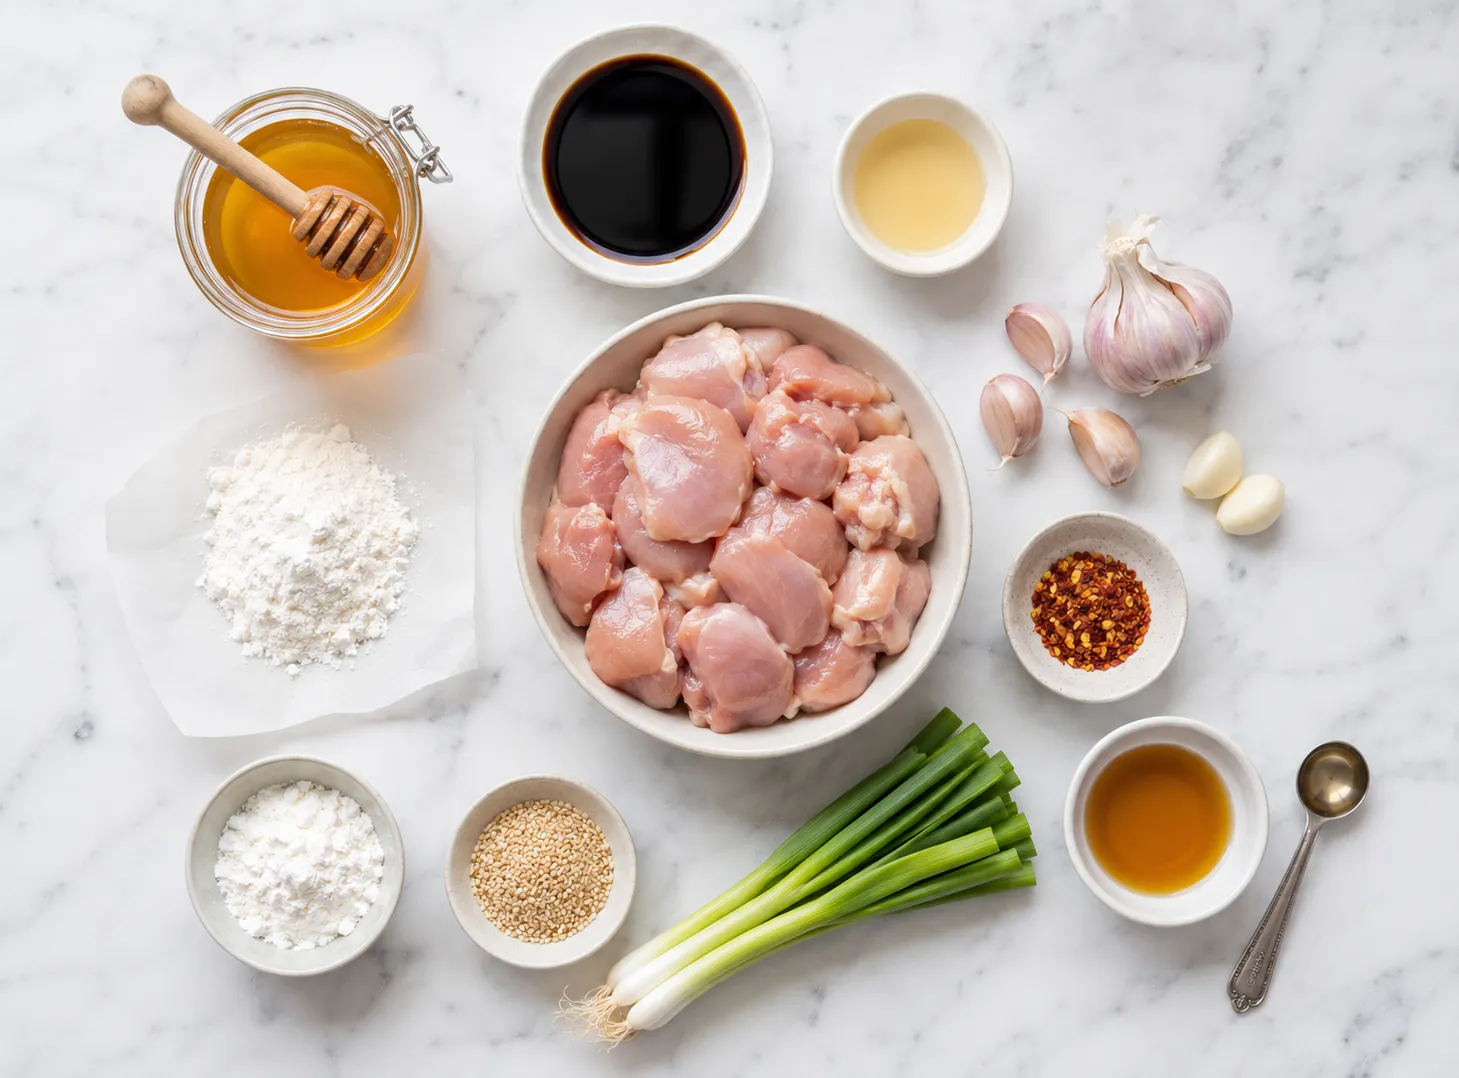
- 1.5 lbs boneless skinless chicken thighs , Cut into bite-sized pieces. Thighs stay juicier than breasts at high heat.
- 0.5 cup all-purpose flour , For dredging. Shake off excess before cooking.
- 0.5 teaspoon salt
- 0.5 teaspoon black pepper
- 0.5 teaspoon garlic powder
- 0.5 teaspoon onion powder
- 2 tablespoons neutral oil , Avocado or vegetable oil. Use an oil with a high smoke point.
- 0.33 cup honey , Taste before adding. Some honey brands are sweeter than others.
- 3 tablespoons soy sauce , Low sodium preferred. Regular soy sauce can make the dish too salty.
- 1 tablespoon rice vinegar , Apple cider vinegar works as a substitute.
- 5 cloves garlic, finely minced , Fresh garlic makes a real difference here. Use a microplane or garlic press for the finest mince.
- 1 teaspoon sesame oil , Added at the end for aroma. Can be left out if unavailable.
- 1 teaspoon cornstarch , Mixed with 2 teaspoons cold water to form a slurry before adding.
- 2 teaspoons cold water , For the cornstarch slurry.
- 0.25 teaspoon red pepper flakes , Optional. Leave out for a mild version.
- sliced green onions , As needed.
- sesame seeds , As needed.
- Large skillet or frying pan, 12-inch recommended
- 2 mixing bowls
- Tongs
- Measuring spoons and cups
- Knife and cutting board
- Shallow dish for dredging
- Paper towels
- Garlic press or microplane
- Meat thermometer
- Season and dredge the chicken pieces in seasoned flour.
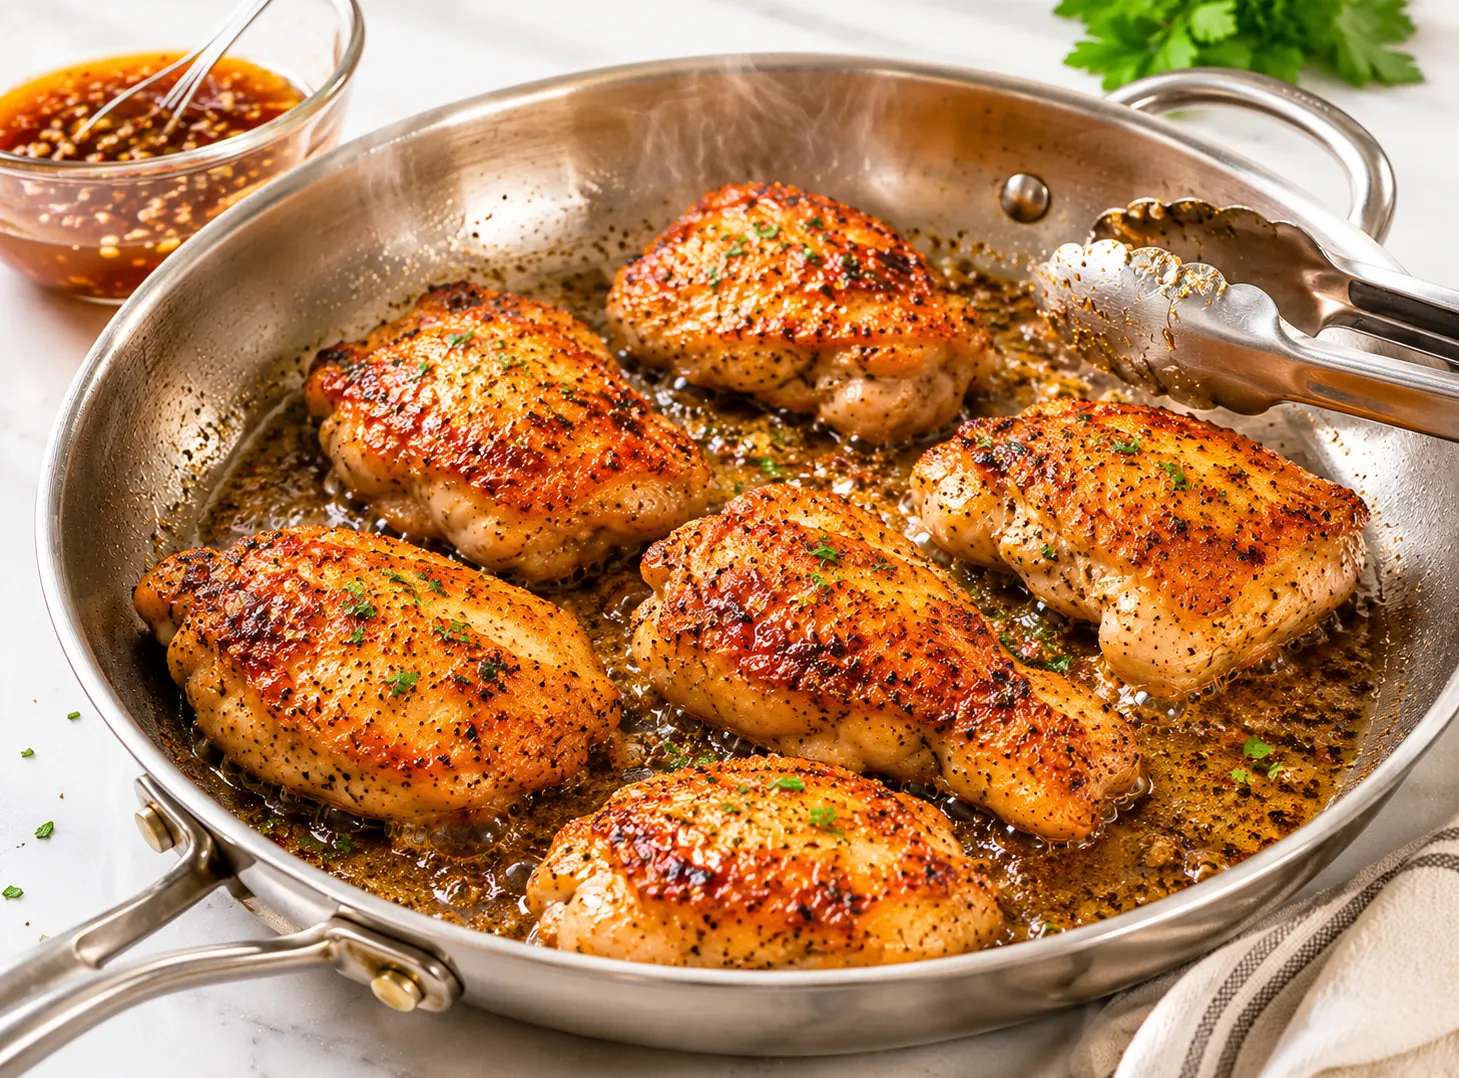
- Pan-fry the chicken in batches until golden and cooked through.
- Whisk together the honey garlic sauce ingredients in a bowl.
- Bloom the garlic briefly in the pan, then pour in the sauce.
- Add the cornstarch slurry to thicken, return the chicken, toss to coat, and serve.
- Pat the chicken pieces completely dry using paper towels. Dry surface means better browning.
- In a shallow dish, mix together the flour, salt, black pepper, garlic powder, and onion powder.
- Toss each chicken piece in the flour mixture until fully coated. Shake off any excess flour before setting them aside.
- Heat oil in a large skillet over medium-high heat. Let it get hot for 1 to 2 minutes until the oil is shimmering but not smoking.
- Add the chicken in a single layer. Do not crowd the pan. Work in two batches if needed.
- Cook for 4 to 5 minutes on the first side without moving the pieces. Flip and cook another 4 to 5 minutes until golden and the internal temperature reads 165 degrees F (74 degrees C).
- Transfer cooked chicken to a clean plate. Set aside.
- In a small bowl, whisk together the honey, soy sauce, rice vinegar, minced garlic, sesame oil, and red pepper flakes if using.
- Reduce the pan heat to medium. Add a small drizzle of oil if the pan looks too dry.
- Pour the garlic from the sauce mixture into the pan. Cook for 30 to 45 seconds, stirring, just until fragrant. Watch it closely so the garlic does not burn.
- Pour the rest of the honey soy mixture into the pan. Stir and bring to a gentle simmer.
- Stir the cornstarch and cold water together in a small bowl until smooth. Pour the slurry into the simmering sauce.
- Stir constantly for 1 to 2 minutes until the sauce thickens and turns glossy.
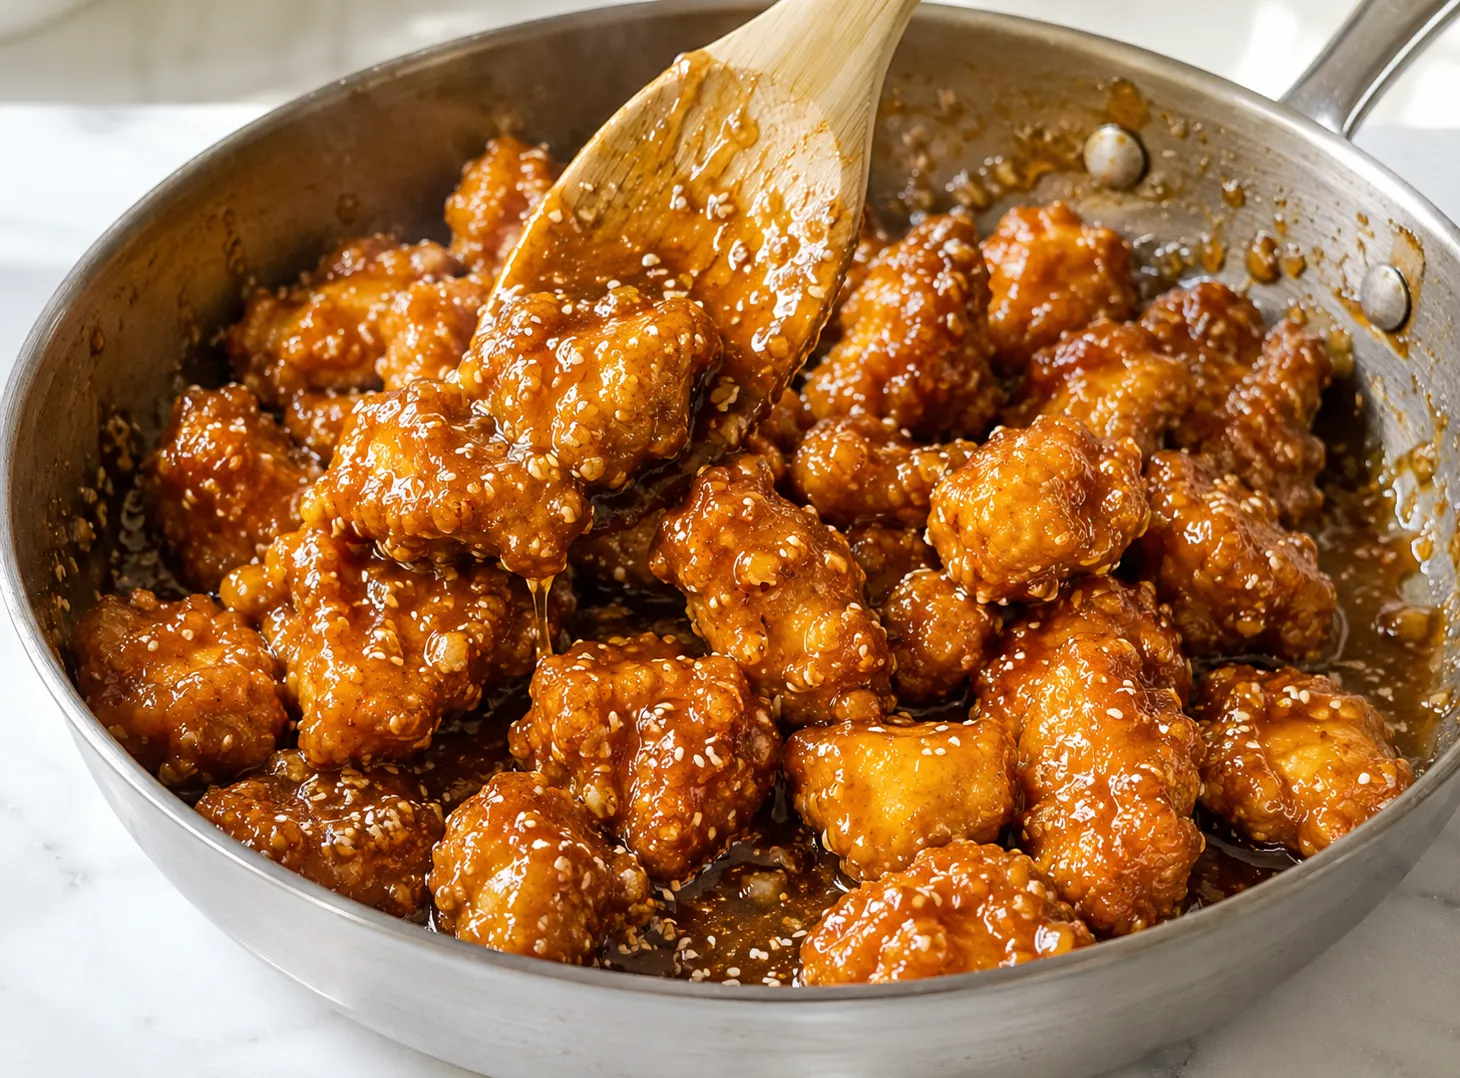
- Return the cooked chicken to the pan. Toss to coat every piece evenly.
- Cook for 1 to 2 more minutes so the sauce sticks and heats through.
- Remove from heat. Let the pan rest for 3 to 5 minutes before serving.
- Garnish with green onions and sesame seeds. Serve immediately over rice or noodles.
- Use chicken thighs. They have more fat than breasts, which keeps them juicy during high-heat cooking and makes it much harder to dry them out.
- Dry the chicken before dredging. Moisture on the surface prevents browning and makes the flour coating slide off.
- Do not crowd the pan. Crowding causes the chicken to steam instead of sear. Cook in two batches if needed.
- Mince the garlic as fine as possible. Larger chunks can burn in the pan and taste bitter. A microplane works better than a knife here.
- Keep the heat at medium once the sauce goes in. Honey burns quickly at high heat. Lower the temperature before adding the sauce.
- Make the cornstarch slurry right before you need it. Letting it sit causes it to settle and clump.
- Let the chicken rest after tossing in the sauce. Just a few minutes off the heat lets the sauce firm up around the coating.
- Skipping the flour coating. The flour is what gives the chicken texture and helps the sauce cling to it properly.
- Adding cold chicken straight from the fridge to a hot pan. Let it sit out for about 10 minutes first. Cold protein in a hot pan cooks unevenly.
- Not blooming the garlic before adding the full sauce. Cooking the garlic for a short time removes the raw, sharp edge from the flavor.
- Adding the sauce too early. Cook the chicken fully, remove it, then build the sauce. Cooking raw chicken in the sauce makes it soft and pale instead of crispy.
- Overcooking the sauce. Once it thickens and turns glossy, remove it from the heat. Cooking it further makes it gummy or causes it to burn.
- Not tasting the sauce before using it. Honey and soy sauce vary by brand. Taste and adjust before the sauce goes into the pan.
- No honey available: Use maple syrup for a softer sweetness or brown sugar dissolved in a little warm water for more depth.
- Gluten-free version: Swap the all-purpose flour for rice flour or a 1-to-1 gluten-free blend. Use tamari instead of soy sauce.
- Spicy version: Add 1 to 2 teaspoons of sriracha or a tablespoon of chili garlic sauce to the honey soy mixture.
- No sesame oil: Leave it out. The sauce still works. Sesame oil adds aroma but is not essential to the dish.
- Chicken breasts instead of thighs: Slice them thinner and reduce cook time to 3 to 4 minutes per side. Check the internal temperature carefully.
- Baked version: Dredge the chicken as directed, place on a wire rack over a baking sheet, spray with oil, and bake at 425 degrees F (220 degrees C) for 20 to 25 minutes. Toss in the cooked sauce after baking.
- Air fryer version: Cook the dredged chicken at 400 degrees F (200 degrees C) for 12 to 15 minutes, flipping halfway. Toss in the sauce after.
- Add vegetables: Broccoli, snap peas, bell peppers, and baby bok choy all work well. Cook them separately and toss with the chicken and sauce at the end.
- Refrigerator: Store in an airtight container for up to 4 days. Let the chicken cool fully before sealing.
- Freezer: Transfer to a freezer-safe container and freeze for up to 2 months. The sauce may change texture slightly after thawing but the flavor holds.
- Stovetop reheating (best method): Add chicken to a pan over medium-low heat with a small splash of water or broth. Cover and heat for 4 to 5 minutes. The sauce will loosen and re-coat the chicken.
- Microwave reheating: Place in a microwave-safe dish, cover loosely, and heat in 30-second intervals until warmed through. Add a small splash of water if the sauce looks too thick.
- Avoid reheating in the oven. Dry oven heat removes moisture from the chicken quickly.
Yes, but slice them thinner and reduce the cook time to avoid drying them out. Thighs are more forgiving and stay juicier because of the higher fat content. Breasts work but require closer attention.
Yes. Cook the chicken and the sauce separately and store them in the fridge. Combine when reheating. This keeps the flour coating from getting soft while sitting in the sauce.
Make sure the cornstarch slurry was fully mixed before adding and that the sauce was at a gentle simmer when it went in. Cold or barely warm liquid will not activate the cornstarch properly.
You can. Use 1 teaspoon of garlic powder in the sauce mix. The flavor will be milder and less layered than fresh garlic but the dish still works.
Not as written. The red pepper flakes are optional and add only a mild background heat. To make it spicy, add sriracha or chili garlic sauce to the honey soy mixture.
Use a meat thermometer. The internal temperature should read 165 degrees F (74 degrees C). The coating should be golden and any juices should run clear.
- Chicken thighs are the better cut for this recipe. They have more fat, which keeps them juicy through high-heat cooking and gives the dish more flavor overall.
- Fresh garlic makes a noticeable difference. Pre-minced garlic from a jar works in a pinch but the flavor is less sharp and aromatic.
- Low-sodium soy sauce is strongly recommended. Regular soy sauce combined with honey can push the dish into overly salty territory. Taste as you go.
- The flour coating should be thin and even, not thick or battered. Shake off all excess before the chicken goes into the pan.
- Rice vinegar balances the sweetness of the honey without making the dish taste sour. It is worth keeping in the recipe.
- The sauce will thicken a little more as it cools on the plate. If it looks slightly loose in the pan, it will firm up once plated and rested.
- This recipe doubles easily. Use a larger pan or work in batches to avoid crowding.
This honey garlic chicken recipe is the kind of dish that earns a regular spot in your cooking rotation without demanding much from you. The sauce is balanced, the steps are straightforward, and the results are reliable. Once you have made it a couple of times, you will not need to look at the recipe at all. The coating stays crispy enough under the sauce, the garlic flavor comes through without being sharp, and the honey keeps everything from getting too heavy. It is better than most takeout versions precisely because you control what goes in and how it is cooked. Make it once and see. Serve it over rice, clean out the pan, and save yourself the delivery fee. That is really all there is to say about it.