
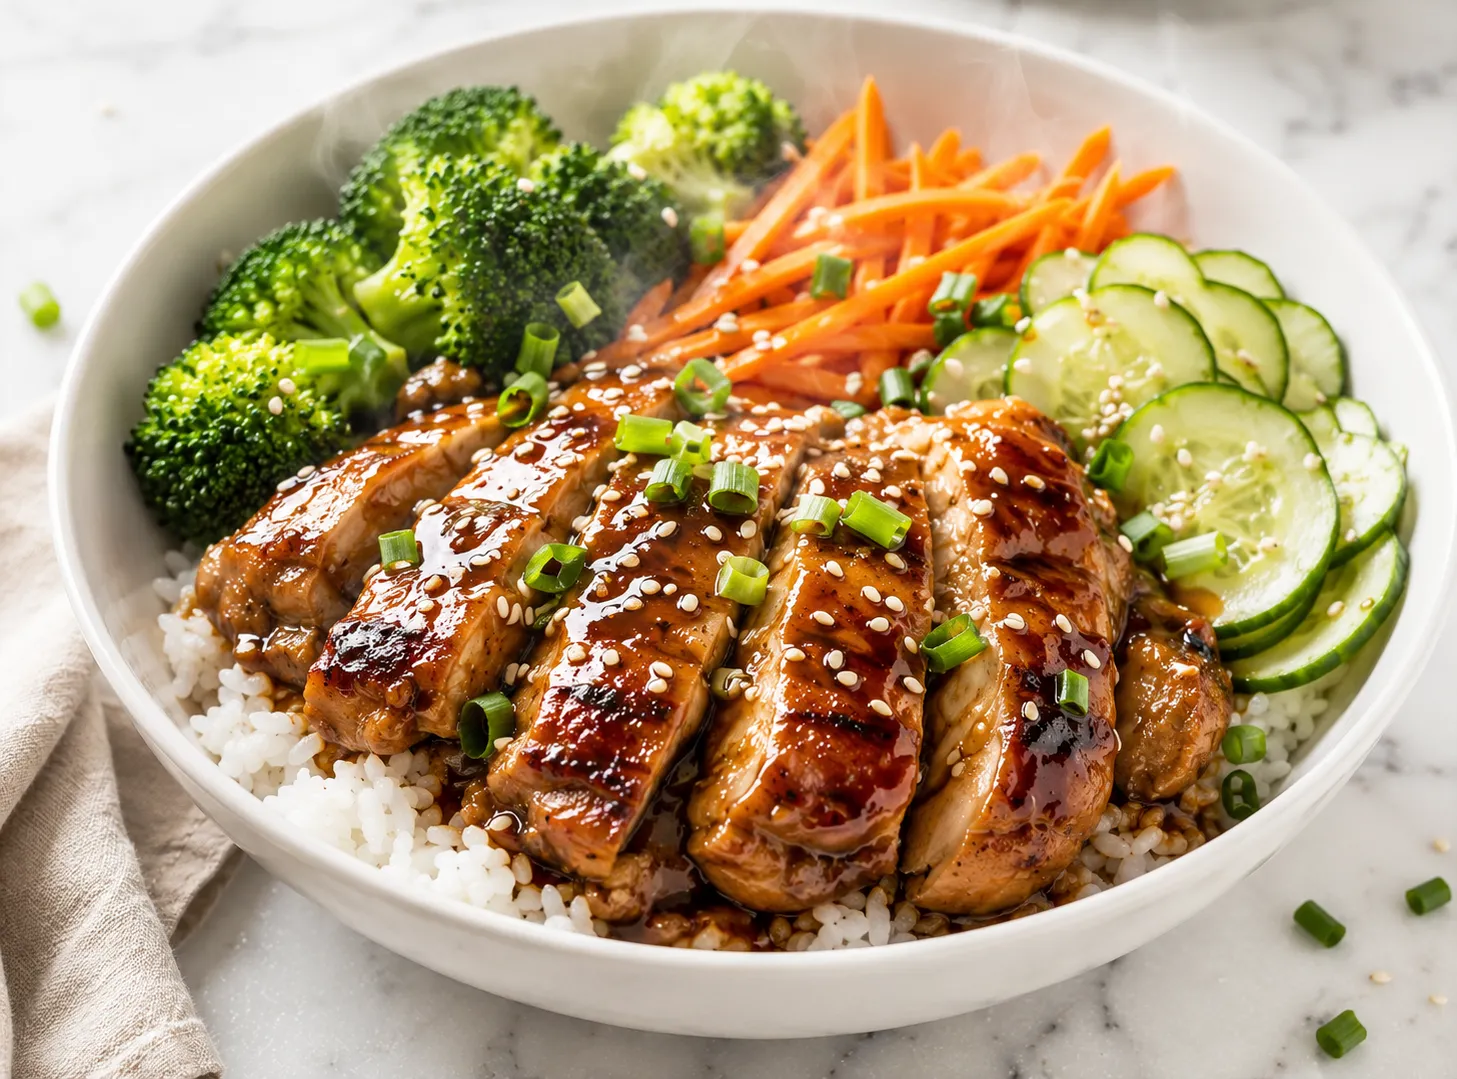
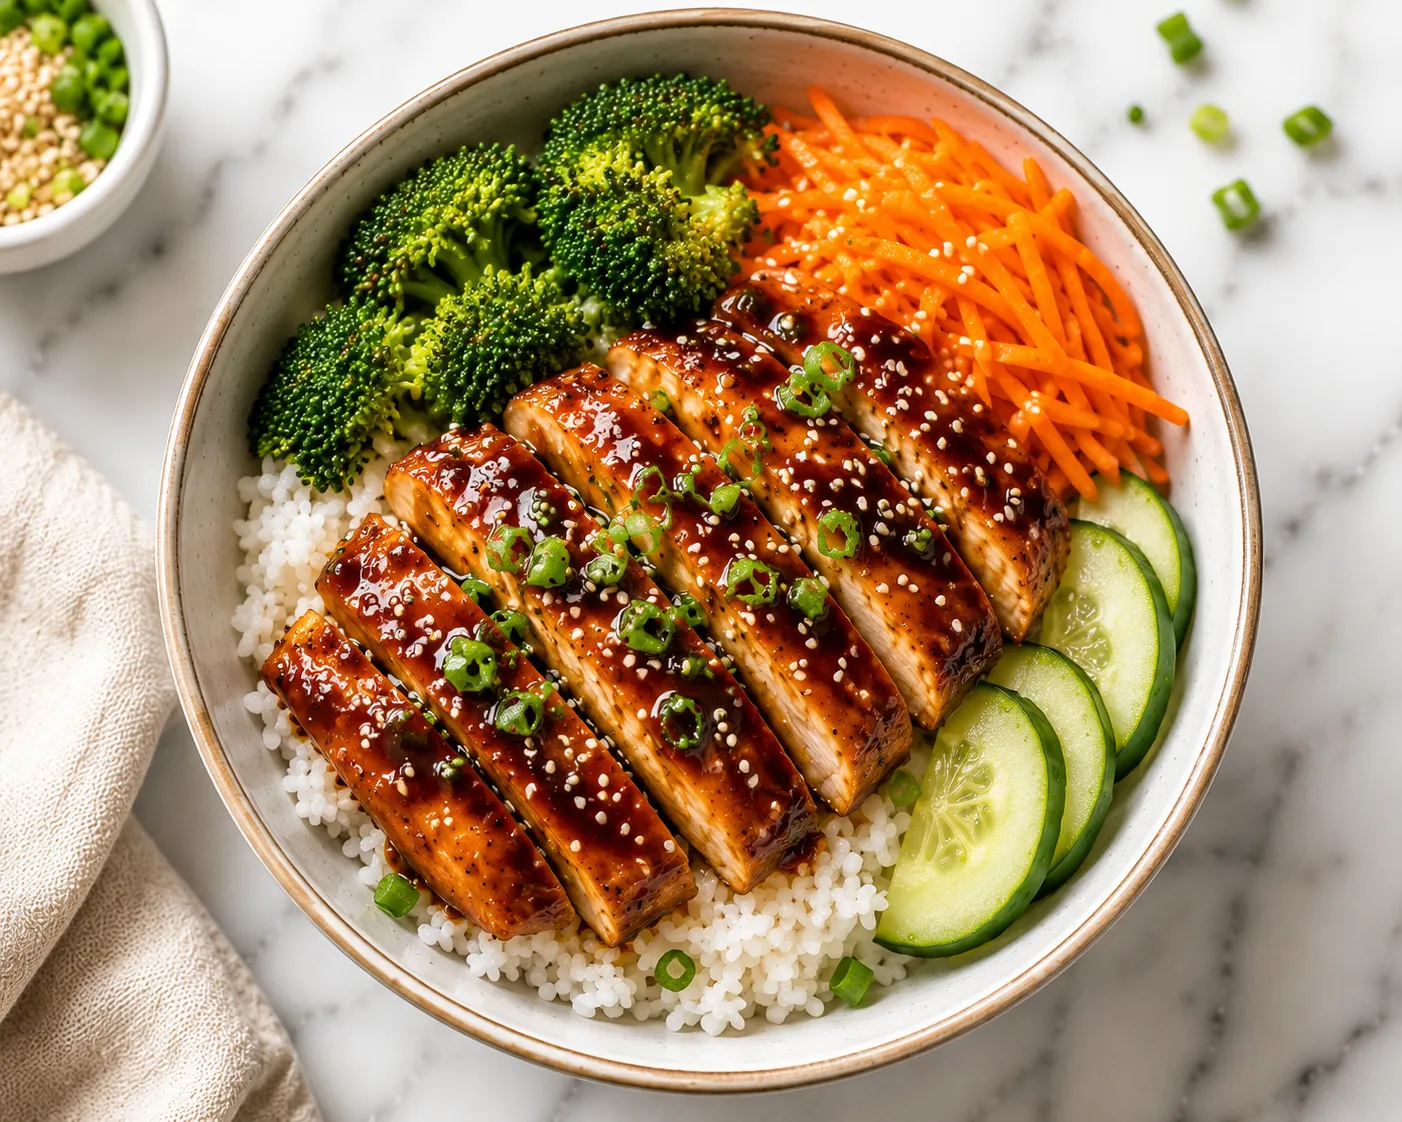
There is a reason this teriyaki chicken bowl earns a spot in the weekly dinner rotation. The sauce is made from scratch in about two minutes, uses ingredients most people already keep at home, and tastes noticeably better than anything bottled. Chicken thighs get seared properly, glazed in a sticky soy and honey reduction, and served over steamed rice with fresh vegetables. The whole thing takes 35 minutes from start to finish. It works as a solo dinner, a family meal, or a meal prep base you can build from all week. No complicated steps and no hard to find ingredients.
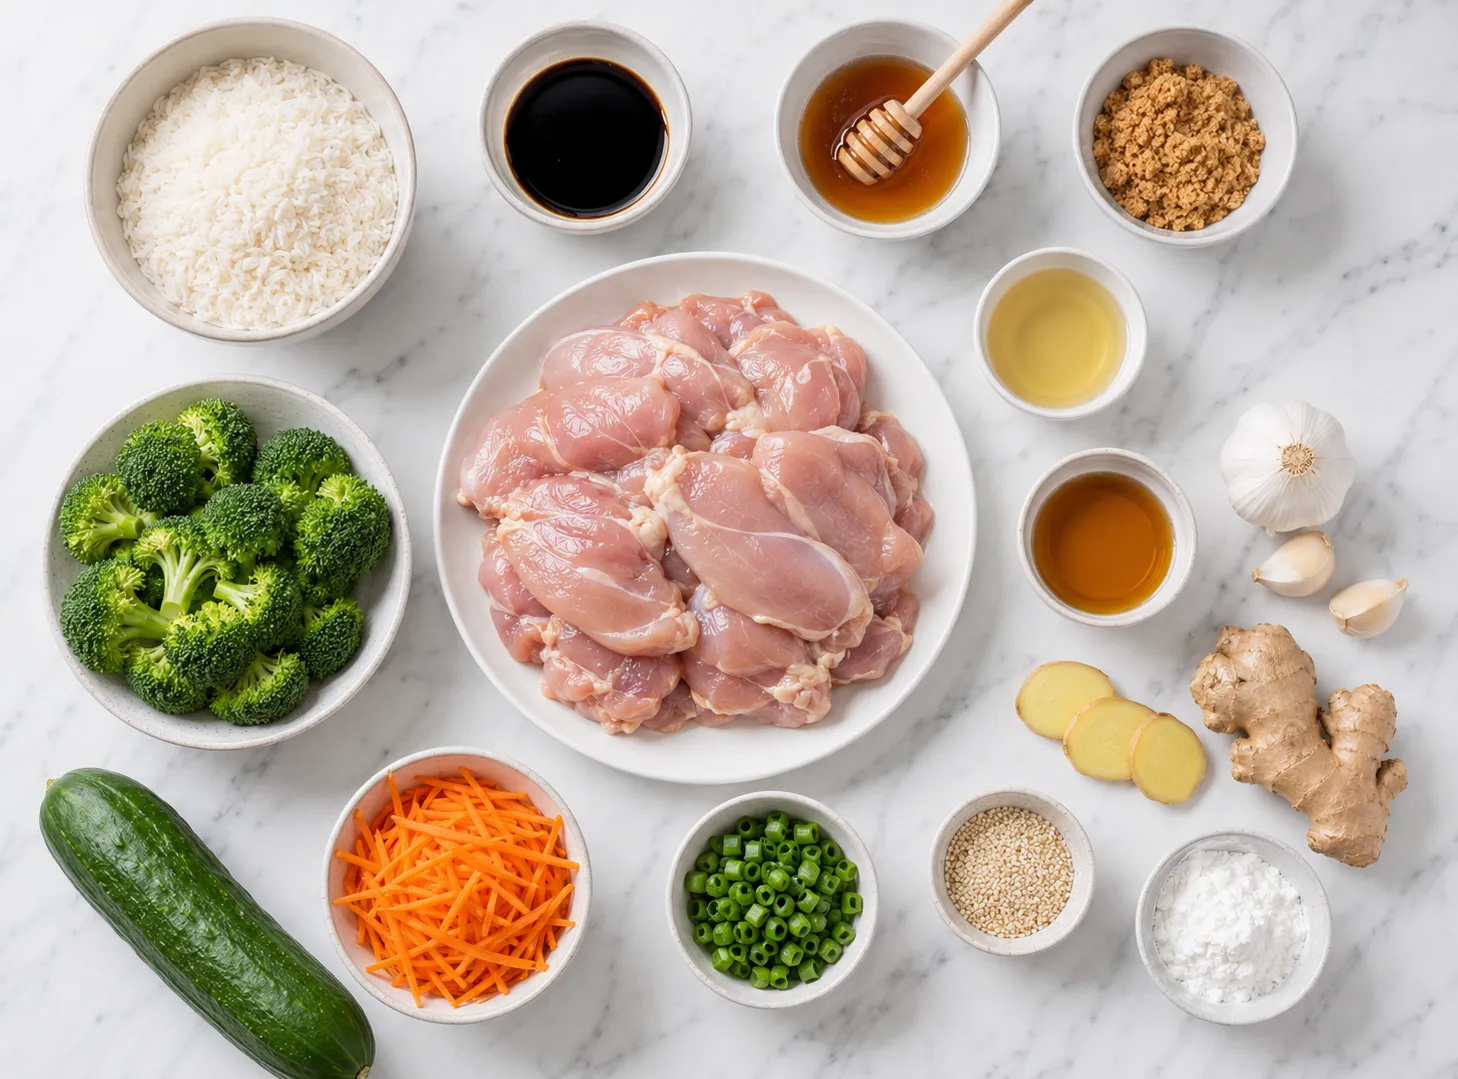
- 1/4 cup low-sodium soy sauce , Low sodium strongly recommended. The sauce reduces and concentrates, so full-sodium soy sauce can make the dish too salty.
- 2 tablespoons honey
- 1 tablespoon brown sugar
- 1 tablespoon rice vinegar , Apple cider vinegar works as a substitute. Use slightly less since it is sharper.
- 1 teaspoon sesame oil
- 2 garlic cloves, minced , Fresh garlic makes a noticeable difference in the sauce.
- 1 teaspoon fresh ginger, grated , Or 1/2 teaspoon ground ginger. Fresh is brighter and sharper.
- 1 teaspoon cornstarch , Must be mixed with cold water before adding to the sauce. Do not add dry.
- 2 tablespoons cold water , For the cornstarch slurry. Must be cold, not warm.
- 1.5 lbs boneless skinless chicken thighs , Thighs are recommended over breasts. They stay juicier and are harder to overcook. Breasts work but need closer attention.
- 1 tablespoon neutral oil , Vegetable, avocado, or light olive oil. Avoid strong-flavored oils.
- salt and black pepper , Light seasoning only. The sauce carries most of the flavor.
- 1.5 cups long-grain white rice , Rinse before cooking to remove excess starch.
- 3 cups water
- 1/2 teaspoon salt
- 2 cups broccoli florets, steamed or roasted , Cook just until tender and still bright green. Overcooked broccoli turns dull and soft.
- 1 medium carrot, julienned or thinly sliced
- 1/2 English cucumber, sliced thin
- 1 tablespoon sesame seeds
- 2 green onions, sliced thin
- optional toppings , Shredded red cabbage, edamame, avocado slices, soft-boiled egg.
- Large skillet or saute pan, 10 to 12 inch
- Small saucepan for rice
- Cutting board
- Sharp knife
- Whisk or fork
- Measuring cups and spoons
- Tongs or spatula
- Small bowl for cornstarch slurry
- Serving bowls
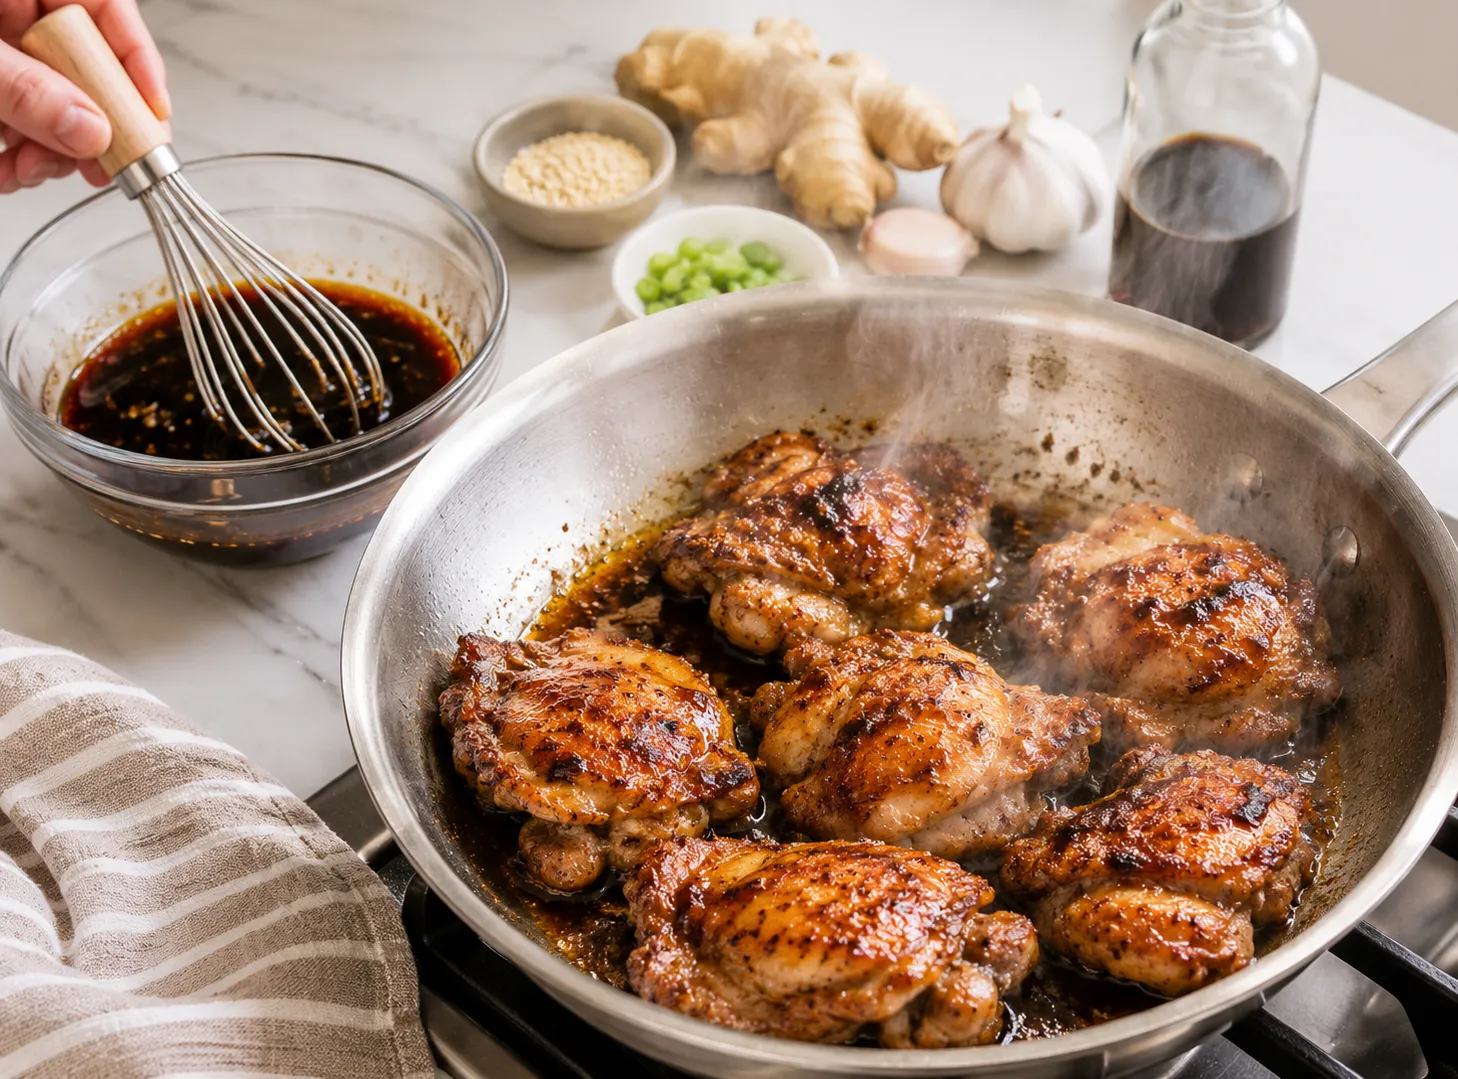
- Cook the rice and prep vegetables while it simmers.
- Whisk together the teriyaki sauce ingredients and set aside.
- Sear the chicken in a hot skillet until cooked through.
- Pour the sauce into the pan and reduce until thick and glossy.
- Slice the rested chicken, assemble the bowls, and garnish.
- Rinse the rice under cold water until the water runs mostly clear. This removes excess starch and keeps the rice from turning gluey.
- Combine the rinsed rice, 3 cups of water, and 1/2 teaspoon salt in a medium saucepan. Bring to a boil over high heat.
- Once boiling, reduce heat to the lowest setting and cover tightly. Cook for 15 minutes without lifting the lid. Remove from heat and let it steam, still covered, for 5 more minutes.
- While the rice cooks, whisk together the soy sauce, honey, brown sugar, rice vinegar, sesame oil, garlic, and ginger in a small bowl.
- In a separate small cup, mix the cornstarch and cold water until fully smooth with no lumps. Set the sauce and slurry aside separately.
- Pat the chicken dry with paper towels on both sides. Season lightly with salt and pepper.
- Heat 1 tablespoon of oil in a large skillet over medium-high heat. Wait until the oil shimmers before adding the chicken.
- Add chicken thighs in a single layer. Do not stack or overlap them. Sear for 5 to 6 minutes without moving them. You want a proper golden-brown crust, not just a pale cook.
- Flip and cook the second side for another 5 to 6 minutes. Internal temperature should reach 165 degrees F. If using chicken breasts, reduce to 4 to 5 minutes per side.
- Remove the cooked chicken from the pan and transfer to a cutting board. Let it rest for 5 minutes.
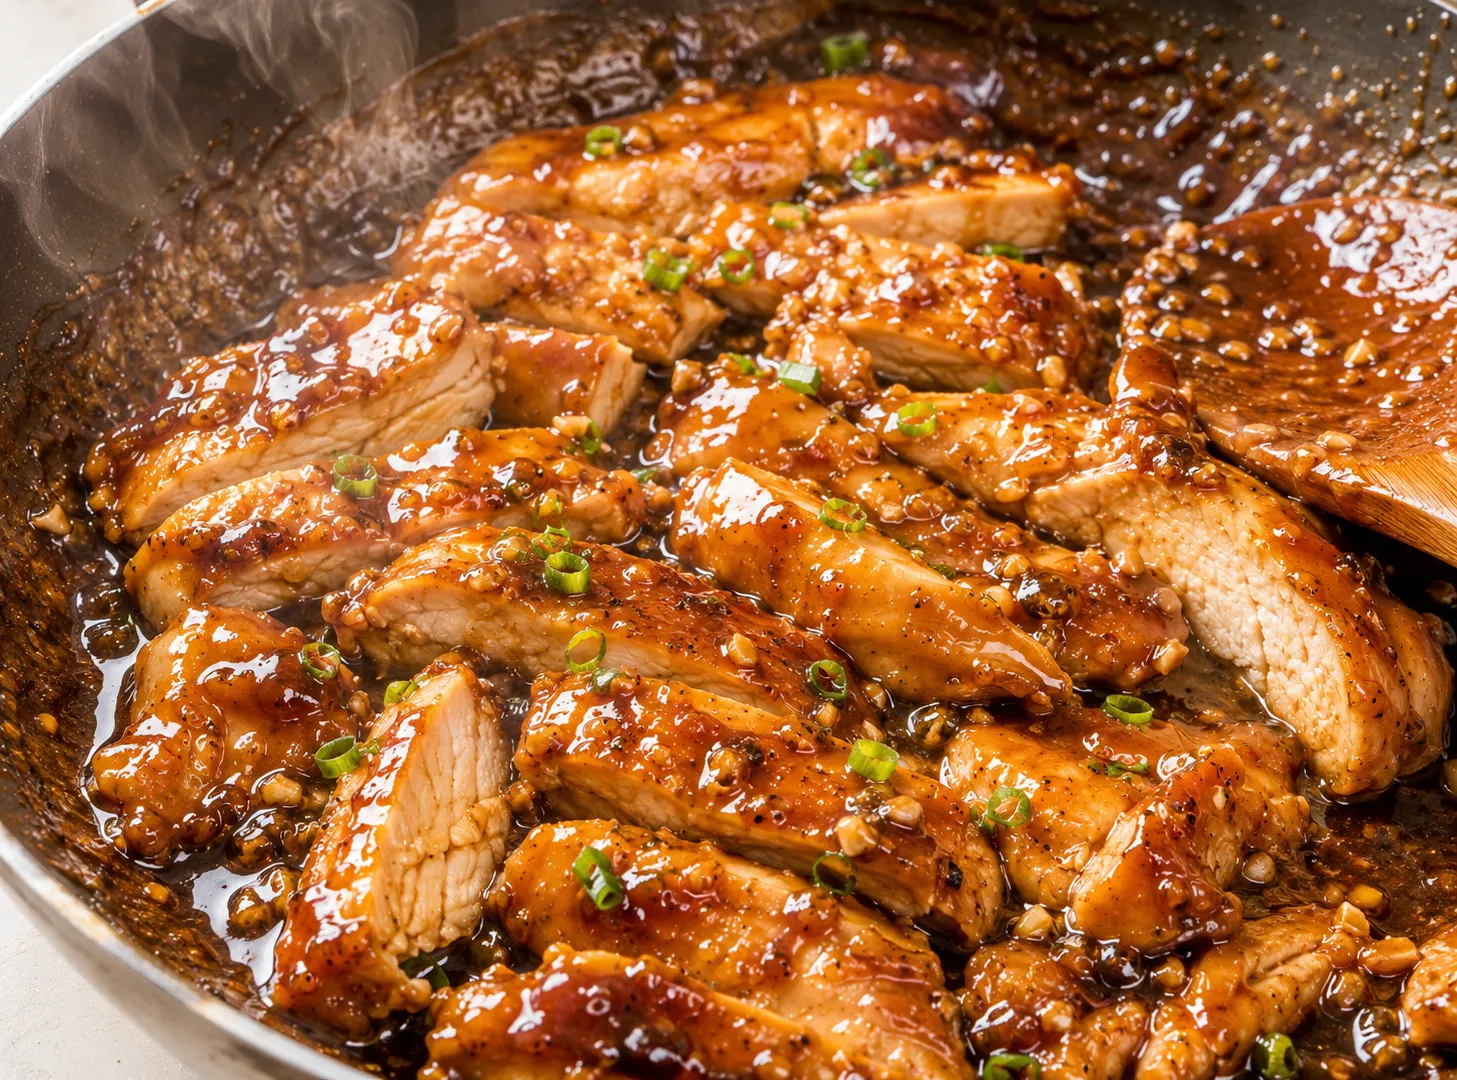
- Reduce the heat to medium. Pour the teriyaki sauce mixture into the same skillet. It will sizzle. Use a spatula to scrape up any browned bits from the bottom of the pan.
- Once the sauce simmers, stir in the cornstarch slurry. Keep stirring as the sauce thickens, about 1 to 2 minutes. It is ready when it coats the back of a spoon and a line drawn through it holds.
- Slice the rested chicken into strips or bite-sized pieces.
- Return the sliced chicken to the pan and toss to coat evenly in the sauce. Turn the heat to low and keep warm.
- Steam or quickly saute the broccoli for 3 to 4 minutes until just tender and still bright green. Prep the carrot, cucumber, and any other toppings.
- Fluff the rice with a fork and divide into four bowls. Arrange the sauced chicken over the rice. Add the vegetables around it. Spoon any extra sauce from the pan over the top.
- Finish with sesame seeds and sliced green onions. Serve immediately.
- Use chicken thighs over breasts when you can. They have more fat, stay moist through the searing and saucing process, and are much harder to overcook.
- Dry the chicken before it hits the pan. Moisture on the surface prevents browning and you end up with pale, steamed chicken instead of a proper sear.
- Make the sauce from scratch. It takes two minutes to whisk together and the flavor is noticeably fresher and less cloying than any bottled version.
- Do not skip the cornstarch slurry. Without it the sauce stays thin and runs off the chicken instead of clinging to it.
- Grate the ginger fresh if you have it on hand. Ground ginger is fine as a substitute but fresh ginger has a sharper, more present flavor that lifts the whole sauce.
- Let the chicken rest before slicing. Five minutes is enough. Cutting too early forces the juices out and leaves the meat noticeably drier.
- Add the sauce to the pan after removing the chicken. The sauce reduces evenly, picks up the pan drippings, and the chicken does not get overcooked sitting in liquid.
- Taste before serving. Add a small splash of soy sauce if it needs more salt, or a drop more honey if you want it slightly sweeter.
- Not rinsing the rice. Unrinsed rice has too much surface starch and turns clumped and sticky. A quick rinse under cold water fixes this in 30 seconds.
- Crowding the pan. Pieces that overlap steam instead of sear. Cook in two batches if your pan is not large enough to fit everything in a single layer.
- Adding the sauce while the chicken is still in the pan and raw. The chicken ends up braising instead of searing and the texture suffers.
- Skipping the resting time. Slicing immediately after cooking pushes the juices out. Five minutes makes a real difference in how moist the slices are.
- Over-reducing the sauce. Once it turns glossy and thick enough to coat a spoon, pull it off the heat. Sauce that reduces too far becomes dark, sticky, and bitter.
- Using full-sodium soy sauce without adjusting. The sauce concentrates as it reduces. Full-sodium soy can push the final bowl past pleasantly salty into overwhelming.
- Chicken breasts instead of thighs: Works well. Pound to an even thickness first and monitor the internal temperature closely. They cook faster and dry out faster than thighs.
- Salmon instead of chicken: Use the same sauce. Sear salmon skin-side down for 4 minutes, flip for 2 more minutes, then glaze with the sauce at the end. Do not overcook it.
- Tofu for a vegetarian version: Press extra-firm tofu for 20 minutes, cube it, and pan-fry until golden on all sides before adding the sauce. The sauce works exactly the same way.
- Brown rice instead of white: Nuttier flavor and more fiber. Increase cook time to 40 to 45 minutes and use a 1 to 2.25 ratio of rice to water.
- Cauliflower rice for a lower-carb base: Saute in a dry pan over medium-high heat for 5 minutes until slightly golden. Works well without much compromise on the bowl structure.
- No rice vinegar: A small splash of apple cider vinegar substitutes fine. It is slightly more sharp so use a little less.
- Add heat: A teaspoon of sriracha or a pinch of red pepper flakes stirred into the sauce adds clean direct heat that works well against the sweet soy base.
- Swap the vegetables: Snap peas, baby bok choy, corn, roasted sweet potato, or thinly sliced bell peppers all work well in the bowl.
- Refrigerator: Store chicken and rice separately in airtight containers for up to 4 days. Keeping them apart prevents the rice from absorbing the sauce and going soft.
- Freezer: The sauced chicken freezes well for up to 2 months. Plain cooked rice also freezes well. Do not freeze fresh cucumber or carrot slices. Add those fresh when serving.
- Reheating rice on the stove: Add a small splash of water to a pan, add the rice, cover, and warm over low heat for 3 to 4 minutes.
- Reheating rice in the microwave: Place rice in a microwave-safe bowl with one tablespoon of water. Cover loosely and heat on full power for 90 seconds. Stir and heat for another 30 seconds if needed.
- Reheating chicken: Warm in a small pan over medium-low heat with a splash of water or extra sauce. The sauce loosens as it warms. The microwave also works, covered, at medium power for 60 to 90 seconds.
- Meal prep: This recipe doubles cleanly. Make a larger batch of sauce and chicken at the start of the week and assemble fresh bowls each day in under 5 minutes.
Soy sauce is one ingredient. Teriyaki sauce is a blend that uses soy sauce as a base and adds sweeteners like honey or sugar, plus rice vinegar, garlic, and ginger. The result is thicker, sweeter, and more layered than plain soy sauce.
Yes. If using store-bought, skip the cornstarch slurry step and just brush the sauce onto the chicken near the end of cooking. Most bottled sauces are already heavily sweetened, so taste before adding more.
Yes. Cook the chicken and rice fully, then store them separately in the fridge. Reheat and assemble fresh bowls throughout the week. The sauce also keeps well in a small sealed jar in the fridge for up to a week.
The cornstarch needs heat to activate. Make sure the sauce is actively simmering before you add the slurry. Also confirm the cornstarch was fully dissolved in cold water first. Adding it dry or in warm water causes clumping.
Yes. Grill over medium-high heat for 5 to 6 minutes per side. Brush with the teriyaki sauce during the last 2 minutes on each side instead of using a pan reduction. The char adds good flavor.
Not as written, since regular soy sauce contains gluten. Swap it for tamari or a certified gluten-free soy sauce and the recipe is fully gluten-free. Everything else in the recipe is naturally gluten-free.
- Low-sodium soy sauce is not optional if you want to control the salt level. The sauce reduces significantly and full-sodium soy can easily overpower the other flavors.
- Chicken thighs are the better choice for this recipe. They are harder to overcook, stay moist, and absorb the teriyaki sauce more effectively than breasts.
- The cornstarch slurry must be mixed in cold water specifically. Warm or hot water causes the cornstarch to clump before it enters the sauce.
- Fresh garlic and fresh ginger both make a difference in the sauce. Use them when you have them.
- This recipe makes enough sauce to coat the chicken with some left over to drizzle over the bowl. If you want more sauce for the rice, multiply the sauce ingredients by 1.5.
- The vegetables listed are starting suggestions. Use what you have. The teriyaki chicken is the main event and the toppings are flexible.
- The recipe halves cleanly if you are cooking for one or two.
A teriyaki chicken bowl is one of those weeknight dinners that earns its place in regular rotation because it is genuinely fast, uses ingredients you already have, and the result is better than you expect for the amount of effort involved. The sauce is the part most people overthink. Once you make it from scratch a couple of times, it becomes second nature. Whisk, sear, reduce, assemble. The rice provides the base, the vegetables round it out, and the glaze ties everything together. Make it once and you will have a feel for it. Make it twice and you will stop measuring the sauce. That is the kind of recipe worth keeping around.