
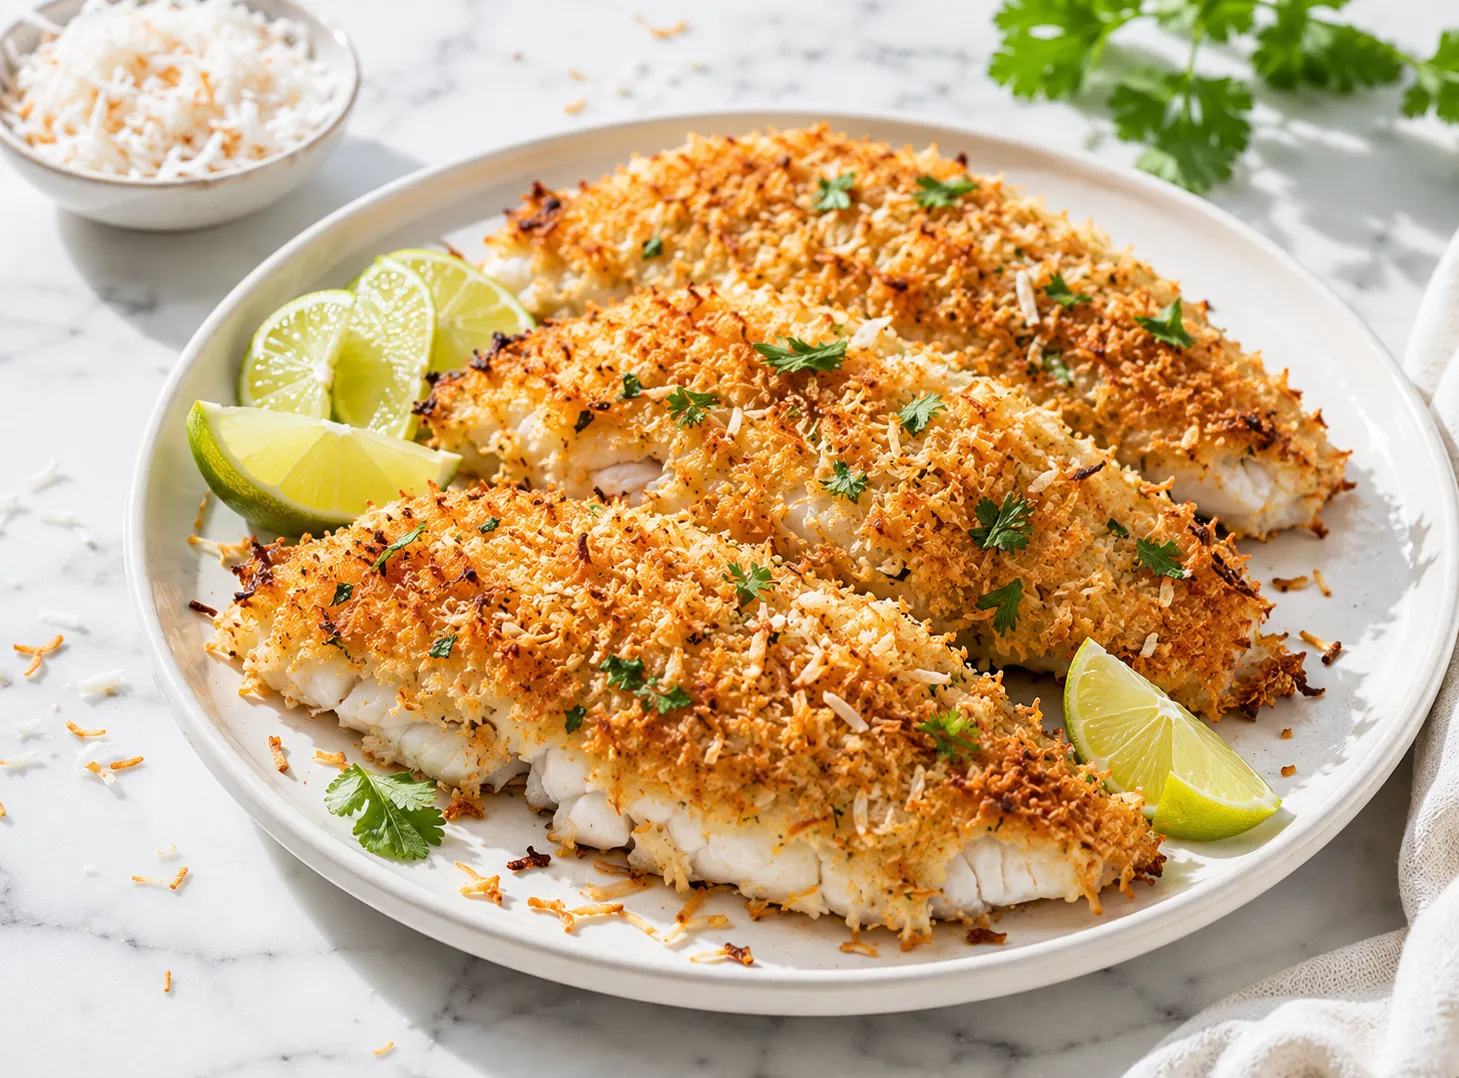
This baked coconut tilapia recipe is the one I make when I want dinner on the table fast but still want it to taste like I put in real effort. Mild tilapia gets coated in a coconut and panko crust, then baked instead of fried, so you get that golden crunch without a pot of hot oil to deal with. It works for busy weeknights, and it works just as well when friends are over and you want something a little different on the table. One pan, about thirty minutes, and a coconut crust that actually stays crisp instead of going soft.
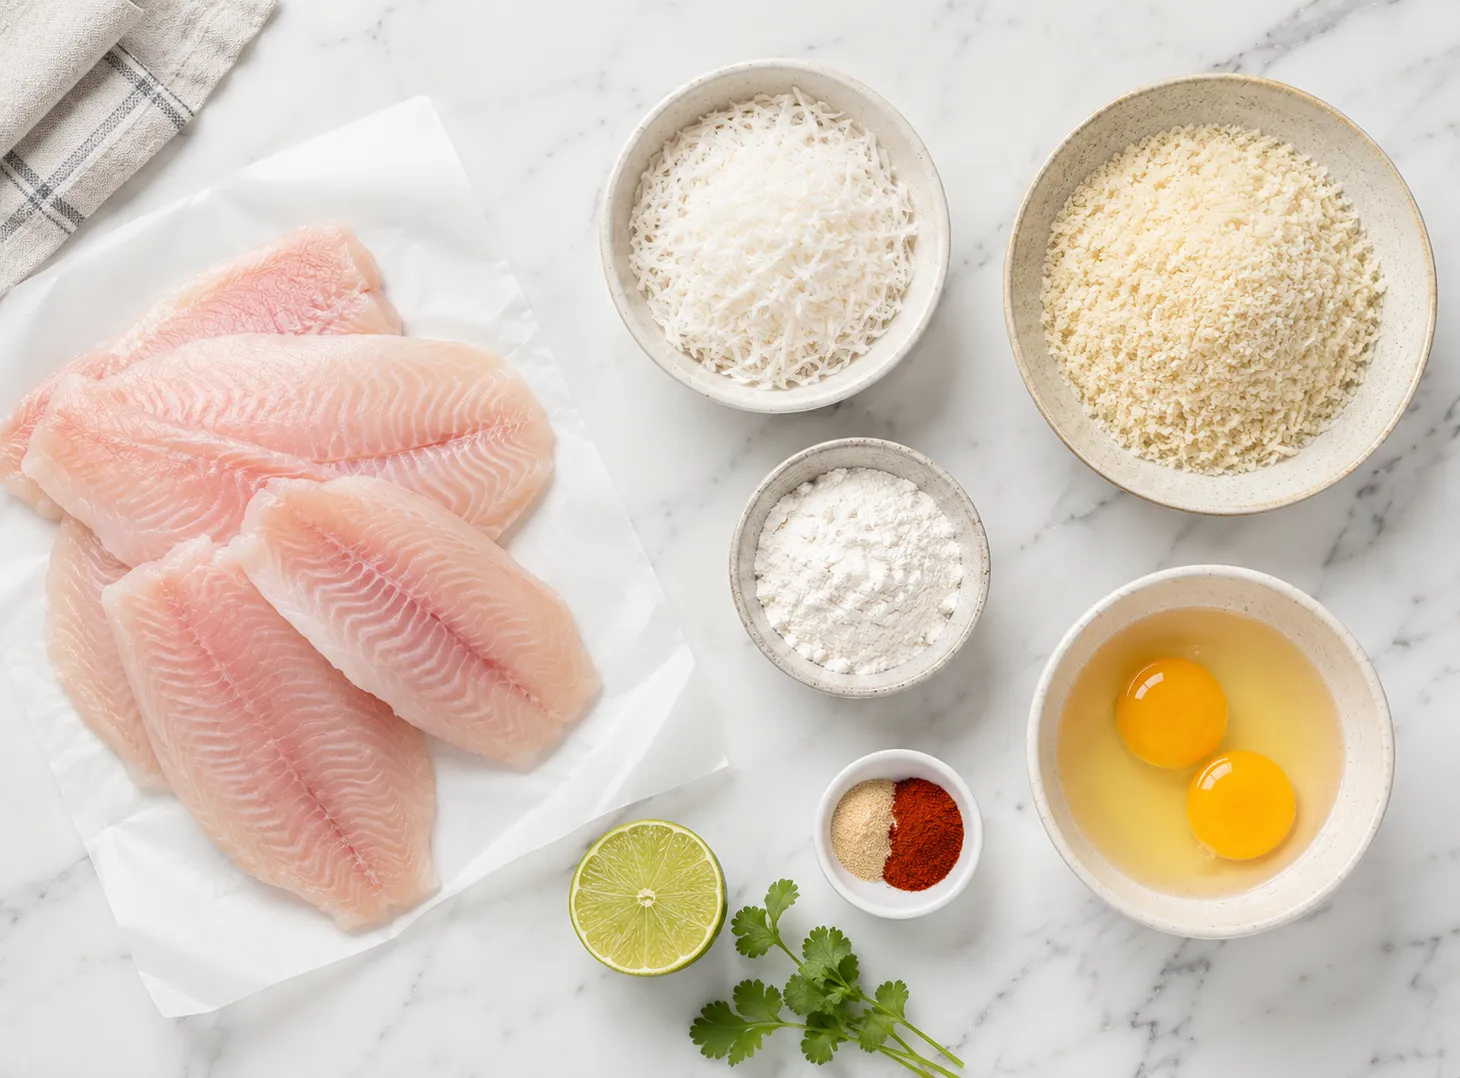
- 4 tilapia fillets, about 6 oz each
- salt , to taste
- black pepper , to taste
- 0.5 cup all purpose flour
- 2 large eggs
- 1 tablespoon water
- 1 cup shredded unsweetened coconut , unsweetened only, not the sweet flake kind
- 0.5 cup panko breadcrumbs
- 1 teaspoon garlic powder
- 0.5 teaspoon paprika
- lime wedges , fresh
- cilantro , chopped
- Baking sheet
- Wire rack, optional, for extra crisp bottoms
- 3 shallow bowls or plates
- Parchment paper or cooking spray
- Meat thermometer
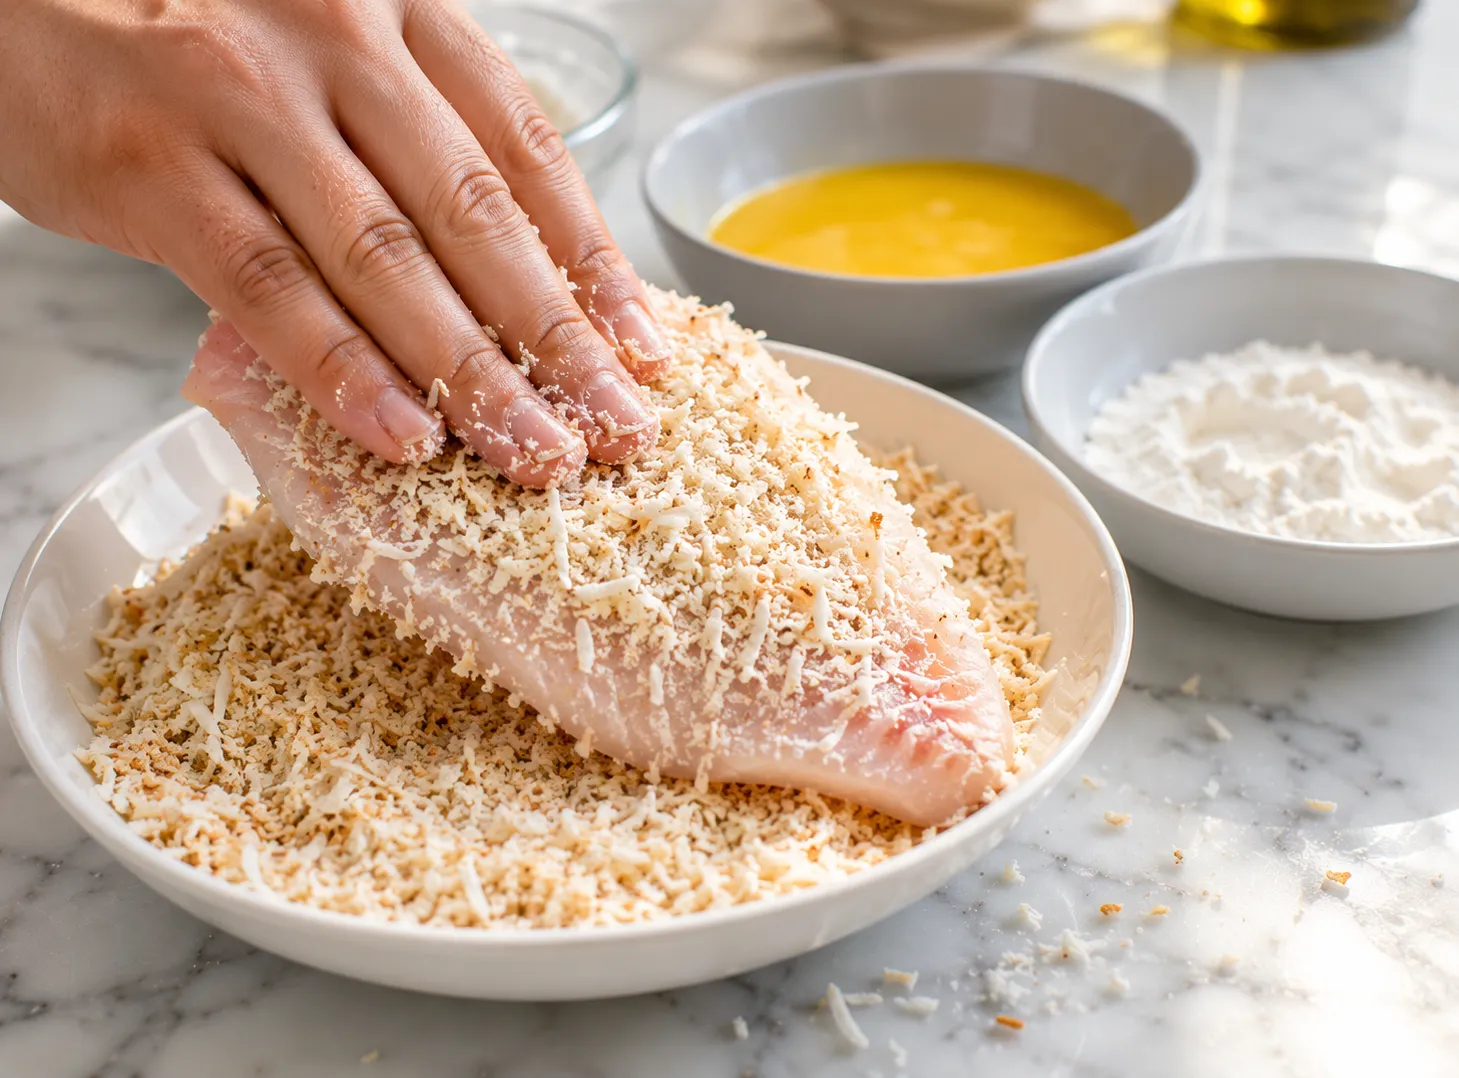
- Set up three coating stations, flour, egg wash, coconut and panko mix.
- Season the tilapia, then dip it through flour, egg, and the coconut mixture in order.
- Lay the coated fillets on a lined baking sheet with space between them.
- Bake until the crust is golden and the fish flakes easily.
- Let it rest a few minutes, then serve with lime.
- Preheat the oven to 425°F and give it a few extra minutes once it beeps, since ovens often run a little cooler than the display shows. Line a baking sheet with parchment paper or grease it lightly.
- Pat the tilapia fillets dry with a paper towel on both sides. Dry fish holds the coating much better than wet fish, and this one step prevents most of the sticking problems people run into.
- Season both sides of each fillet with salt and pepper.
- Add the flour to the first shallow bowl.
- In the second bowl, whisk the eggs with the tablespoon of water.
- In the third bowl, mix the shredded coconut, panko, garlic powder, and paprika until combined.
- Dredge each fillet in the flour first, shaking off anything extra.
- Dip the floured fillet into the egg wash so both sides are coated.
- Press the fillet into the coconut and panko mixture, turning it so the crust sticks on all sides.
- Set the coated fillets on the prepared baking sheet, leaving room between each one so they crisp instead of steam.
- Give the tops a light spray of cooking oil. This is what gets the coconut to brown instead of staying pale.
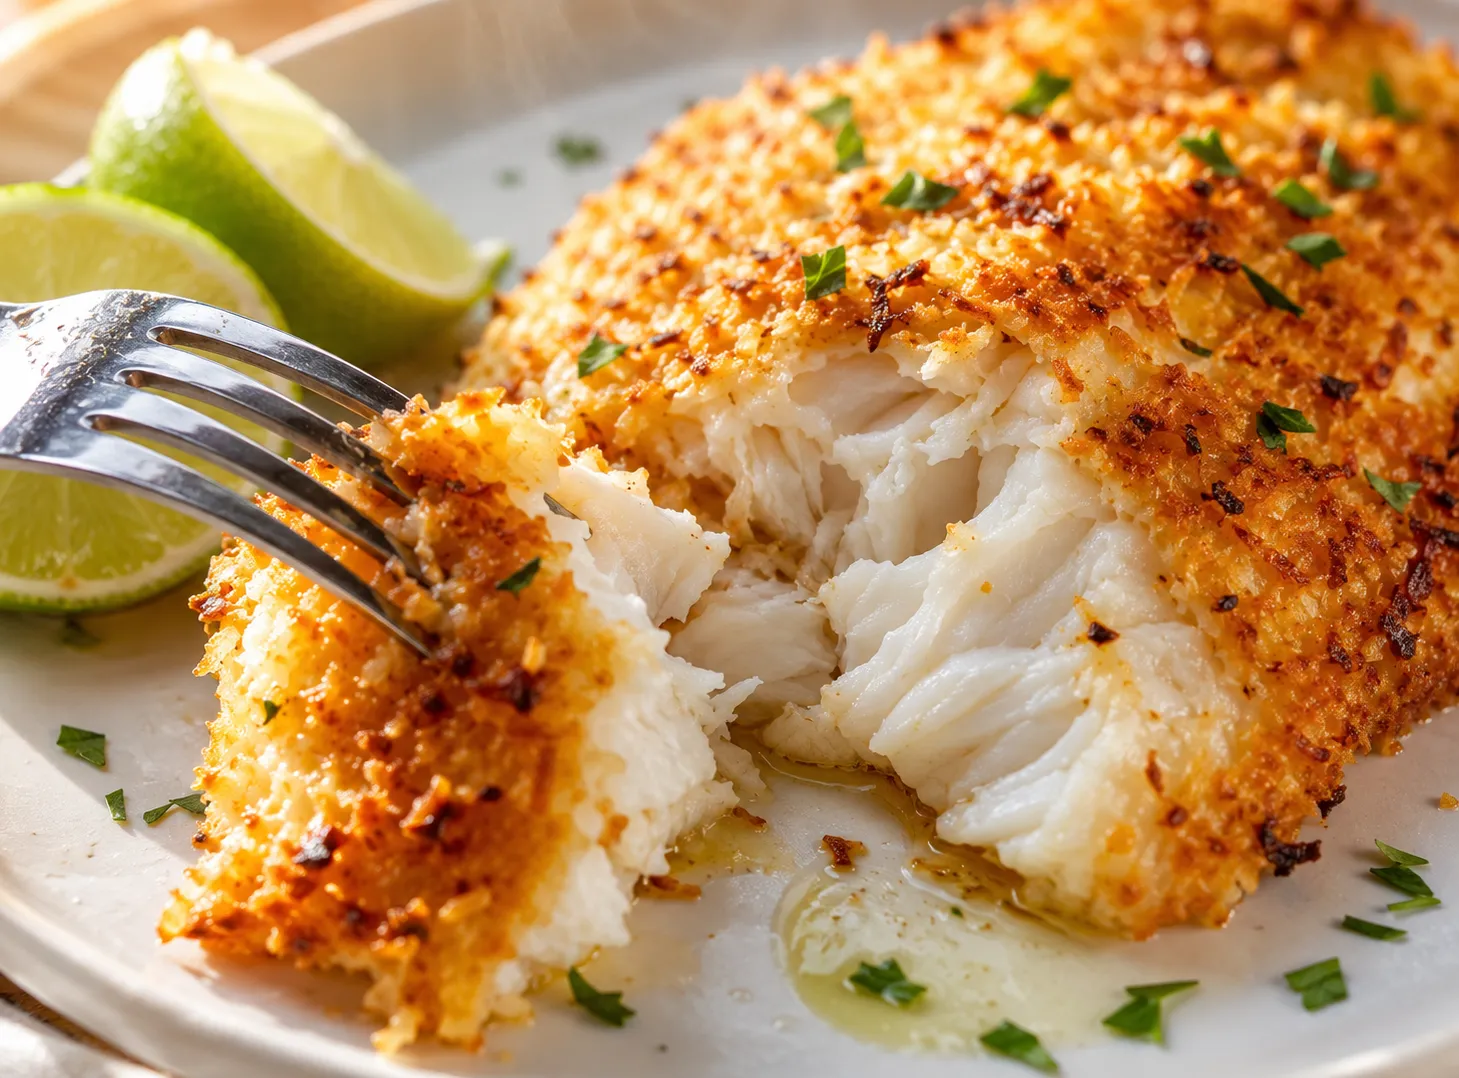
- Bake for 12 to 15 minutes, until the crust is golden brown all over and the fish flakes easily when you press it gently with a fork.
- Check the internal temperature with a meat thermometer inserted into the thickest part of a fillet. You want it to read 145°F before pulling the tray.
- Pull the tray out and let the fish rest for about 5 minutes before serving.
- Finish with fresh lime wedges and chopped cilantro if you like.
- Buy the freshest tilapia you can find. It makes a noticeable difference in texture once baked, and older fillets tend to fall apart more easily during dredging.
- Dry the fish completely before you start coating it. Any moisture left on the surface stops the crust from sticking properly, so take an extra minute with the paper towels.
- Press the coconut mixture onto the fish with your fingers rather than just rolling it. A firm press keeps the crust from falling off in the oven and gives you a thicker, more even layer.
- Set a wire rack on top of your baking sheet if you have one. Air moves under the fish and the bottom crisps up instead of turning soggy from sitting directly on the pan.
- Do not skip the light oil spray before baking. Without it, the coconut stays dry and pale instead of turning golden, even if the fish underneath is fully cooked.
- Start checking for doneness a minute or two before the timer goes off, since fillet thickness varies quite a bit between packages and even between individual pieces.
- Keep the three coating stations in a straight line on your counter. It speeds things up and keeps one hand dry for handling the coconut mixture, which matters more than it sounds.
- If your kitchen runs warm, keep the egg wash bowl in the fridge until right before you need it. Warm eggs get a little runny and coat the fish unevenly.
- Use one hand for the wet ingredients and the other for the dry coconut mixture. Keeping them separate stops your fingers from turning into a clumpy mess halfway through the batch.
- Skipping the flour step. Without it, the egg wash has nothing to grip and it slides right off before the coconut mixture ever gets a chance to stick.
- Using sweetened coconut flakes instead of unsweetened. They burn faster in the oven and the flavor turns out too sugary for what is meant to be a savory dish.
- Crowding the baking sheet. Fillets placed too close together trap steam between them and turn the crust soft instead of crisp, even with a hot oven.
- Putting the fish in before the oven is fully preheated. That lowers the initial heat and slows down browning, which means a paler, softer crust by the time the fish is cooked through.
- Flipping the fillets halfway through baking. It usually breaks the crust apart and knocks loose coconut onto the pan. Baked coconut tilapia does not need flipping to cook evenly.
- Leaving it in too long just to be safe. Tilapia is thin and dries out fast once it passes done, so pull it as soon as it flakes and hits temperature.
- Using a bowl that is too shallow for the coconut mixture. A wider, shallower bowl makes it easier to press the fillet in and get full coverage on both sides.
- Forgetting to season the fish itself before coating it. The crust adds flavor, but the fish underneath needs its own salt and pepper or the whole dish tastes flat in the middle.
- Swap the tilapia for cod, mahi mahi, or haddock if that is what is available at your market. Cook times stay close to the same, just watch for flakiness rather than going strictly by the clock.
- Use a gluten free flour blend and gluten free panko to make this dish gluten free without changing anything else about the method.
- Stir a pinch of cayenne or chili powder into the coating mix if you want some heat running through the crust instead of adding it only at the table.
- Crushed cornflakes can stand in for panko when you want an even crunchier, slightly sweeter crust.
- Coconut oil spray instead of regular cooking spray gives a slightly stronger coconut smell and flavor, which some people prefer for this particular dish.
- Add lime zest right into the coating mixture for a brighter, more tropical taste that carries through even after baking.
- Try a small amount of curry powder mixed into the coating for a different direction entirely. It pairs well with the coconut and holds up fine in the oven.
- Coconut rice or plain jasmine rice
- Mango salsa
- Grilled pineapple
- A simple green salad
- Steamed vegetables
- Black beans and rice
- Tropical slaw with a lime dressing
- Keep leftovers in an airtight container in the fridge for up to 2 days.
- Reheat in the oven at 350°F for 8 to 10 minutes so the crust has a chance to crisp back up instead of going soft.
- Skip the microwave if you can. It turns the coconut coating soft and a little chewy, and there is no real way around that once it happens.
- A toaster oven works well for reheating a single portion and heats up faster than a full sized oven.
- Freezing is not recommended here. The texture of the crust changes once it thaws and does not crisp back up the same way, even with a hot oven.
Yes. Thaw it fully in the fridge first and pat it very dry before you start coating it, since leftover moisture from thawing will stop the crust from sticking.
This usually happens when the fish was still damp, or when the flour step got skipped. Both the dry surface and the flour layer give the egg wash something to hold onto.
Yes. Air fry at 400°F for around 10 to 12 minutes, flipping the fillets about halfway through so both sides brown evenly.
No, it is mild as written. Add cayenne to the coating or a dash of hot sauce at the table if you want it spicier.
You can coat the fish a few hours ahead and keep it covered in the fridge, then bake it right before serving.
It should flake easily when you press it with a fork and read 145°F on a meat thermometer.
Regular breadcrumbs work in a pinch, though the crust will be a little denser. Crushed cornflakes or crushed rice crackers also work well if you want to keep it gluten free.
This usually means the oven is running hotter than expected or the fillets are on a rack too close to the top heating element. Move the pan to the center rack and check a few minutes early next time.
- Unsweetened coconut is what gives this crust its savory flavor. Sweetened coconut throws the balance off and tastes more like dessert than dinner.
- Thicker fillets may need an extra 2 to 3 minutes in the oven, so keep an eye on them near the end rather than pulling them right at 12 minutes automatically.
- This recipe scales up easily for a bigger group. Just use two baking sheets instead of crowding one, and rotate them halfway through if your oven bakes unevenly.
- A wire rack under the fish gives the most even crust all the way around, top and bottom, and it is worth the extra dish to wash.
- If you are serving this for guests, you can bread the fillets a couple of hours ahead and keep them covered in the fridge, then bake right before you plan to eat.
This baked coconut tilapia recipe is proof that a handful of simple ingredients, handled with a little care, can taste like something you would order at a beachside restaurant. It comes together fast enough for a regular weeknight, yet it looks and tastes like more effort went into it than it actually did. Once that coconut crust comes out of the oven golden and holding its crunch, it is easy to see why this dish keeps landing back in the dinner rotation. Season it the way you like, squeeze the lime over the top right before eating, and let that do most of the flavor work for you.