
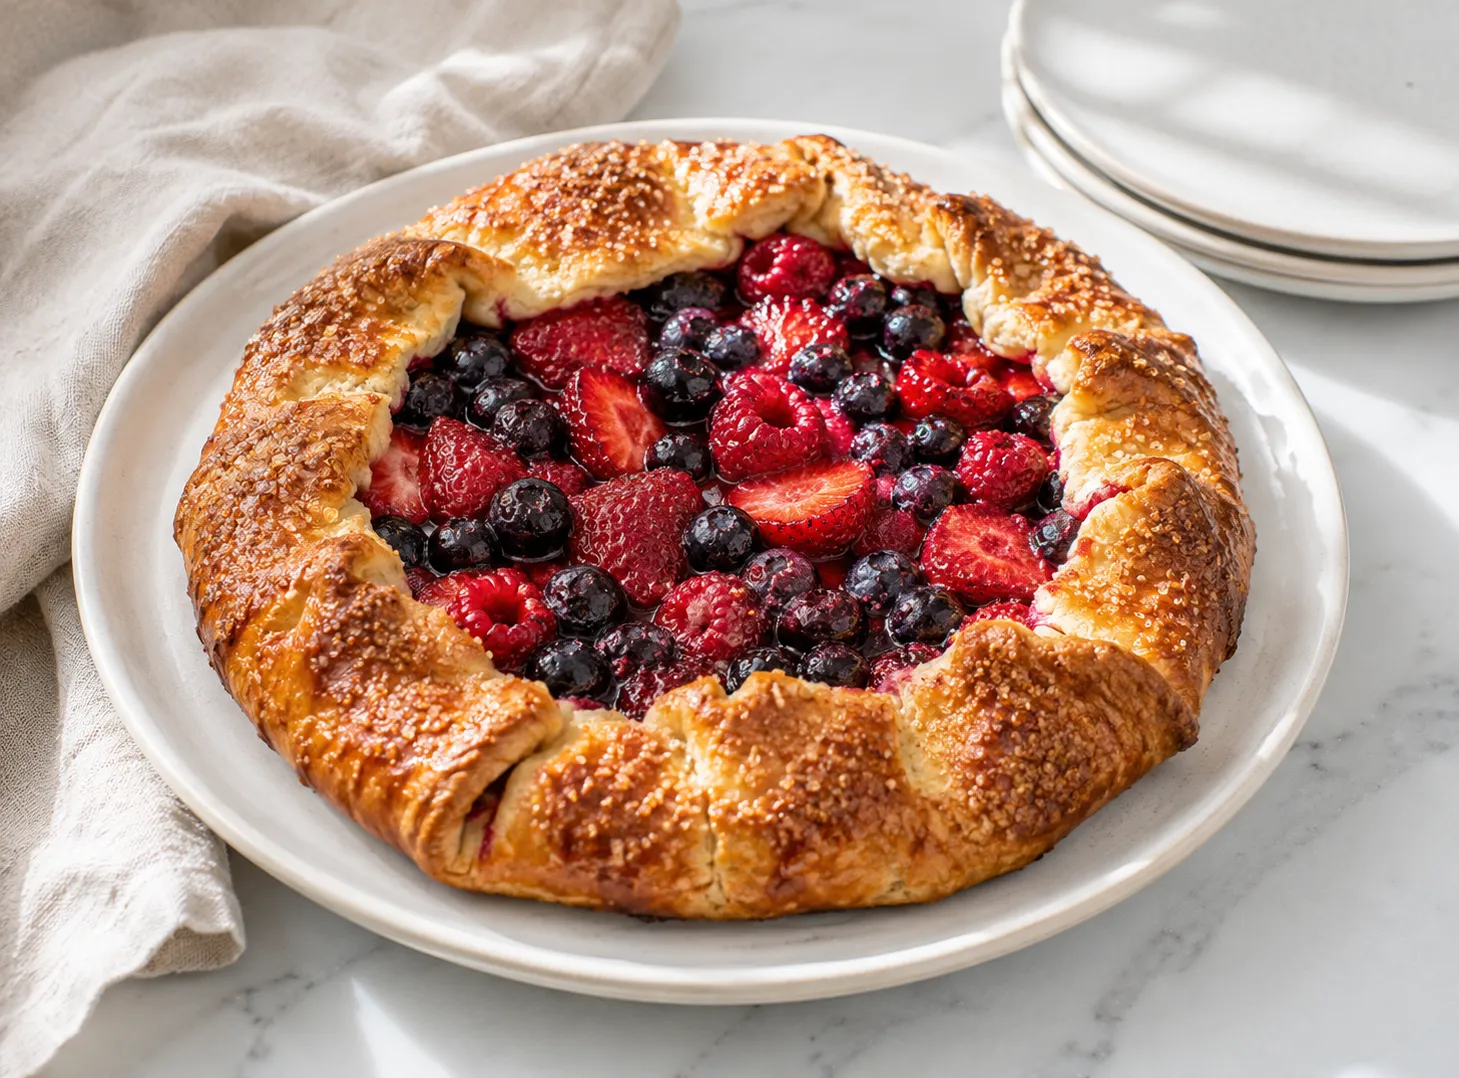
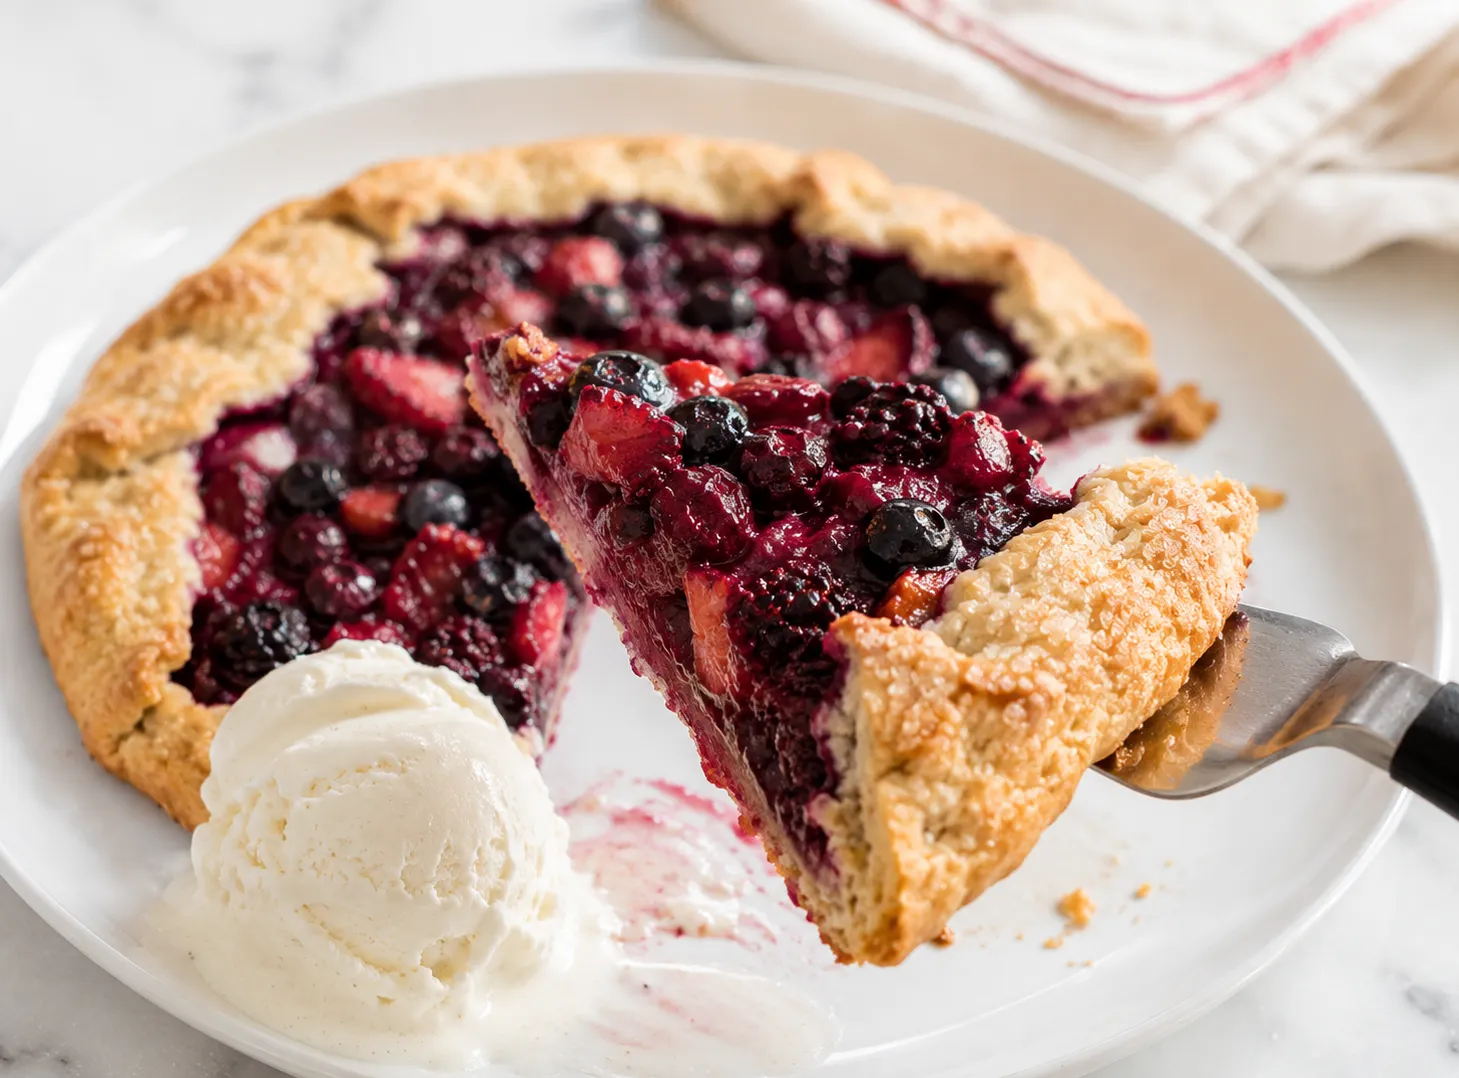
A berry galette gives you all the charm of a homemade pie without any of the stress that comes with crimping edges or lining a dish just right. This version leans on ripe, juicy berries wrapped in a butter based crust that gets folded by hand, so every galette turns out a little different and still looks intentional. It bakes on a single sheet pan, needs no special equipment, and comes together in under two hours from start to finish. If you want a dessert that looks like it came from a bakery counter but only takes one bowl and one roll of the pin, this is the recipe to keep on repeat through berry season and beyond.
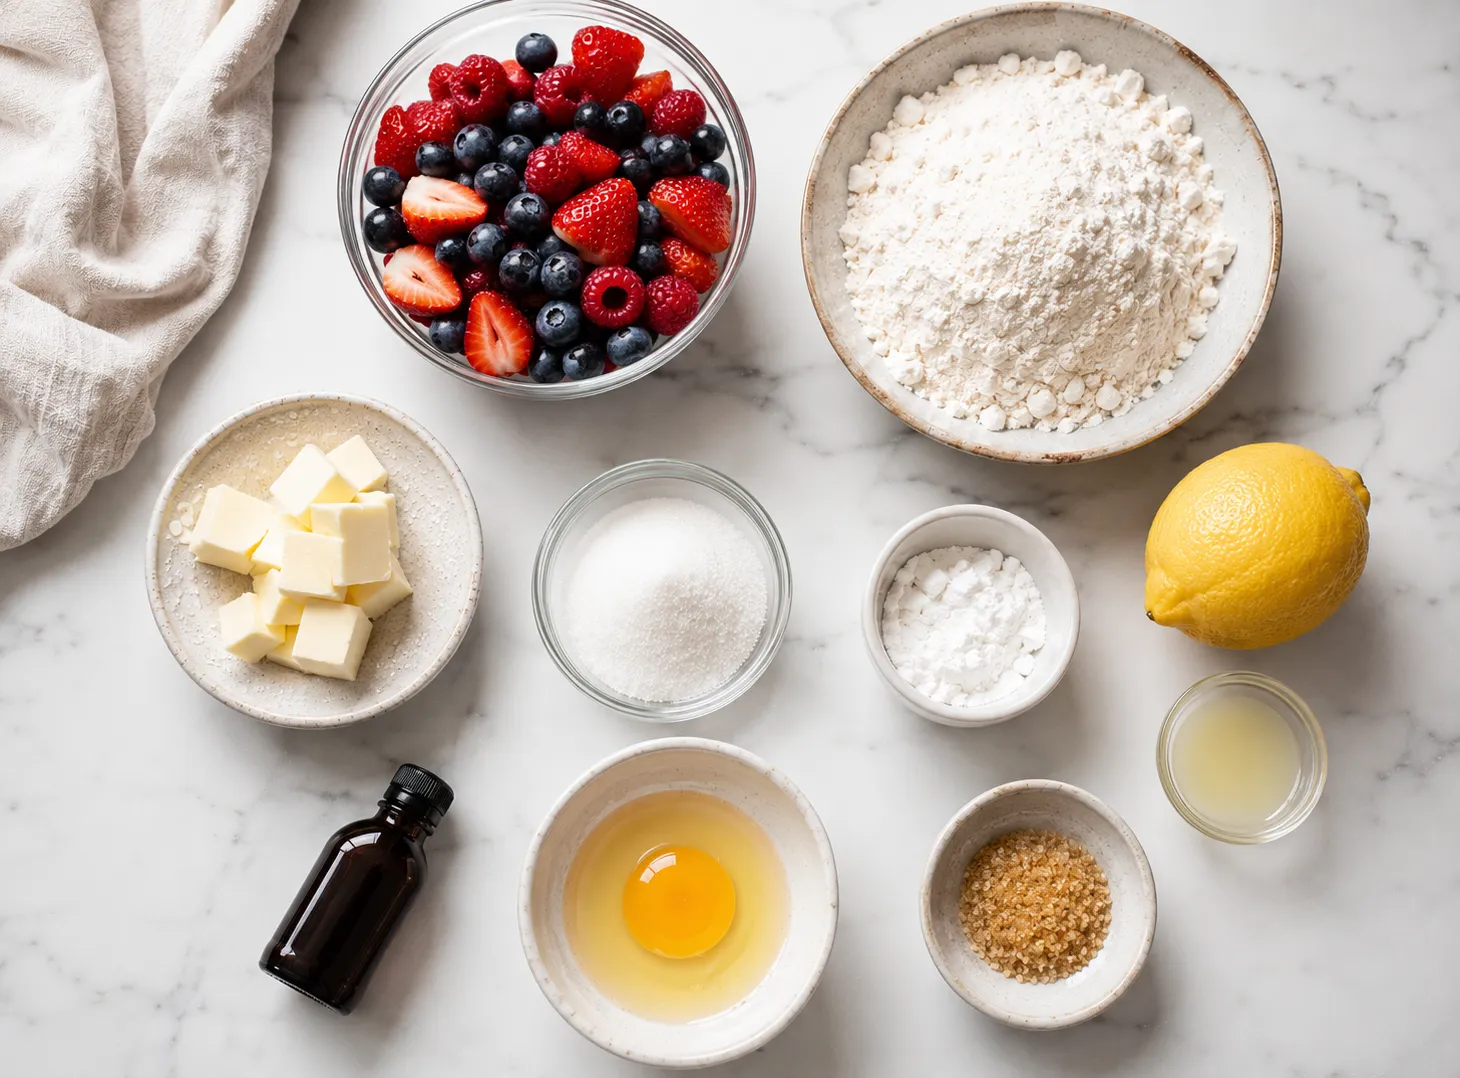
- 1 1/4 cups all purpose flour
- 1/2 teaspoon salt
- 1 tablespoon granulated sugar
- 1/2 cup unsalted butter , Cold, cubed
- 3 to 4 tablespoons ice water
- 3 cups mixed berries , Strawberries, blueberries, raspberries
- 1/3 cup granulated sugar
- 2 tablespoons cornstarch
- 1 teaspoon lemon juice
- 1/2 teaspoon vanilla extract
- 1 egg , Beaten
- 1 tablespoon coarse sugar
- Rolling pin
- Large mixing bowl
- Parchment paper
- Baking sheet
- Pastry brush
- Sharp knife
- Make the dough and let it chill.
- Toss the berries with sugar and cornstarch.
- Roll the dough out and pile the berries in the middle.
- Fold the edges over the fruit and brush with egg wash.
- Bake until the crust turns golden and the filling bubbles.
- Mix the flour, salt, and sugar together in a large bowl.
- Cut the cold butter into the flour mixture until it looks like coarse crumbs. A pastry cutter or your fingertips both work fine here.
- Add ice water one tablespoon at a time, mixing gently until the dough just holds together. You want it shaggy, not smooth.
- Shape the dough into a flat disc, wrap it in plastic, and chill it for 30 minutes. This step matters more than people expect.
- While the dough chills, preheat the oven to 400°F (200°C).
- In a separate bowl, combine the berries with sugar, cornstarch, lemon juice, and vanilla. Stir gently so the berries stay whole.
- Once chilled, roll the dough out on parchment paper into a rough 12 inch circle. It does not need to be perfect.
- Slide the parchment with the dough onto a baking sheet.
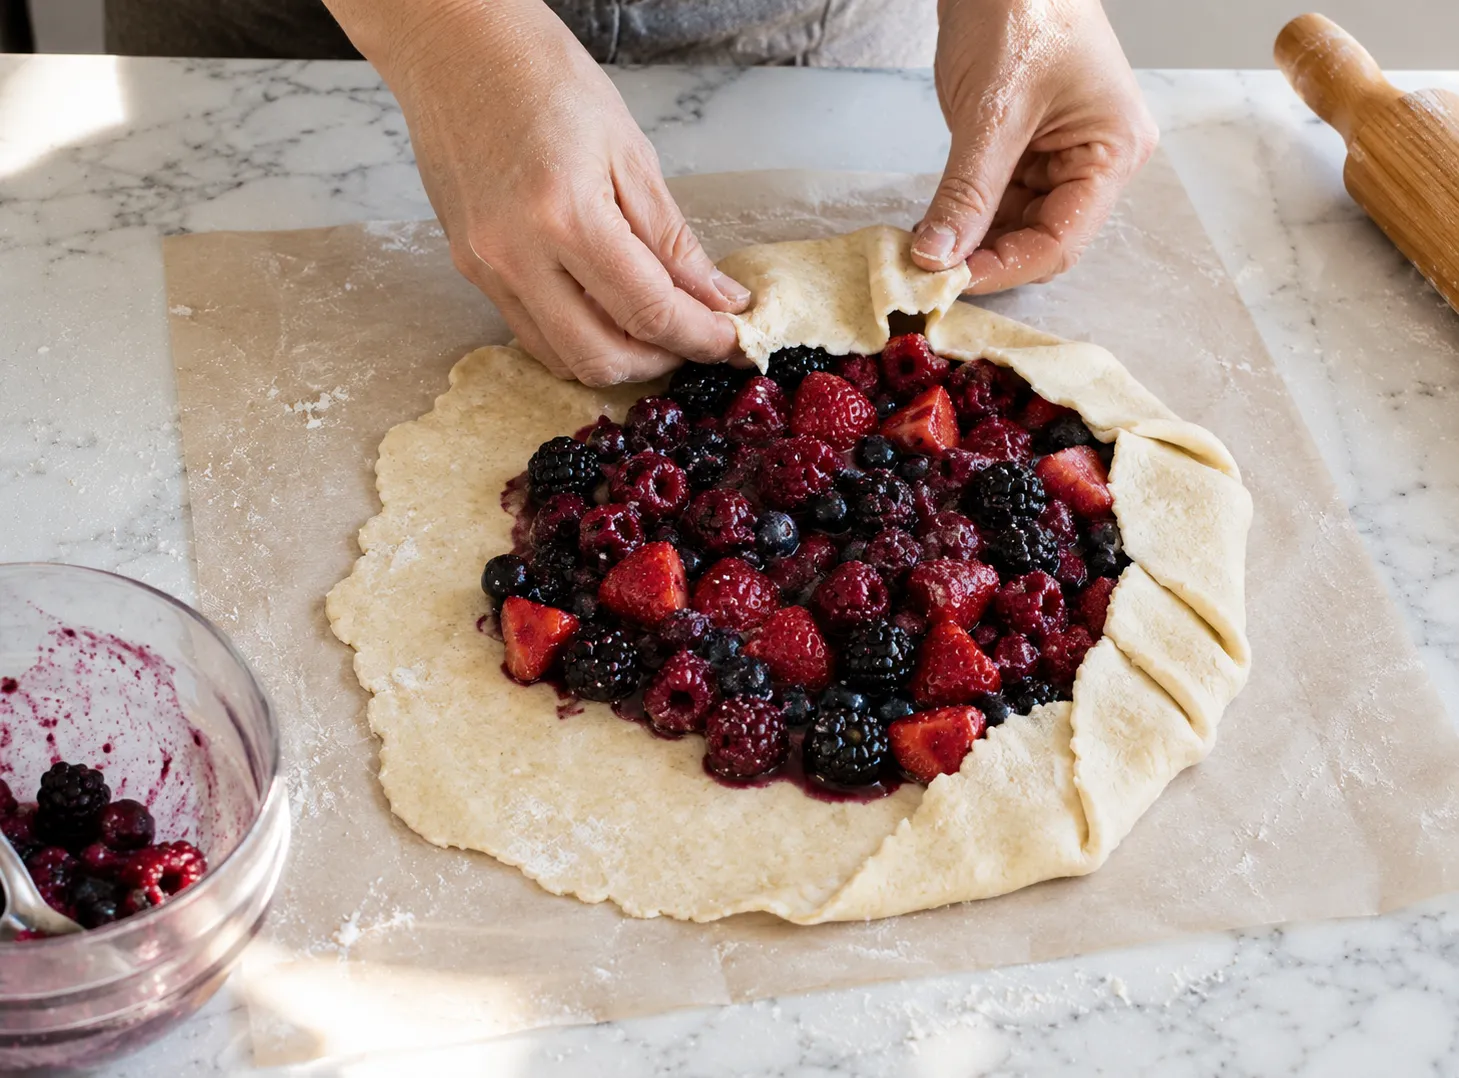
- Pile the berry filling into the center, leaving about a 2 inch border of bare dough around the edge.
- Fold that border up and over the fruit, pleating the dough as you work your way around.
- Brush the folded crust with the beaten egg.
- Sprinkle coarse sugar over the egg washed crust for a bit of crunch and shine.
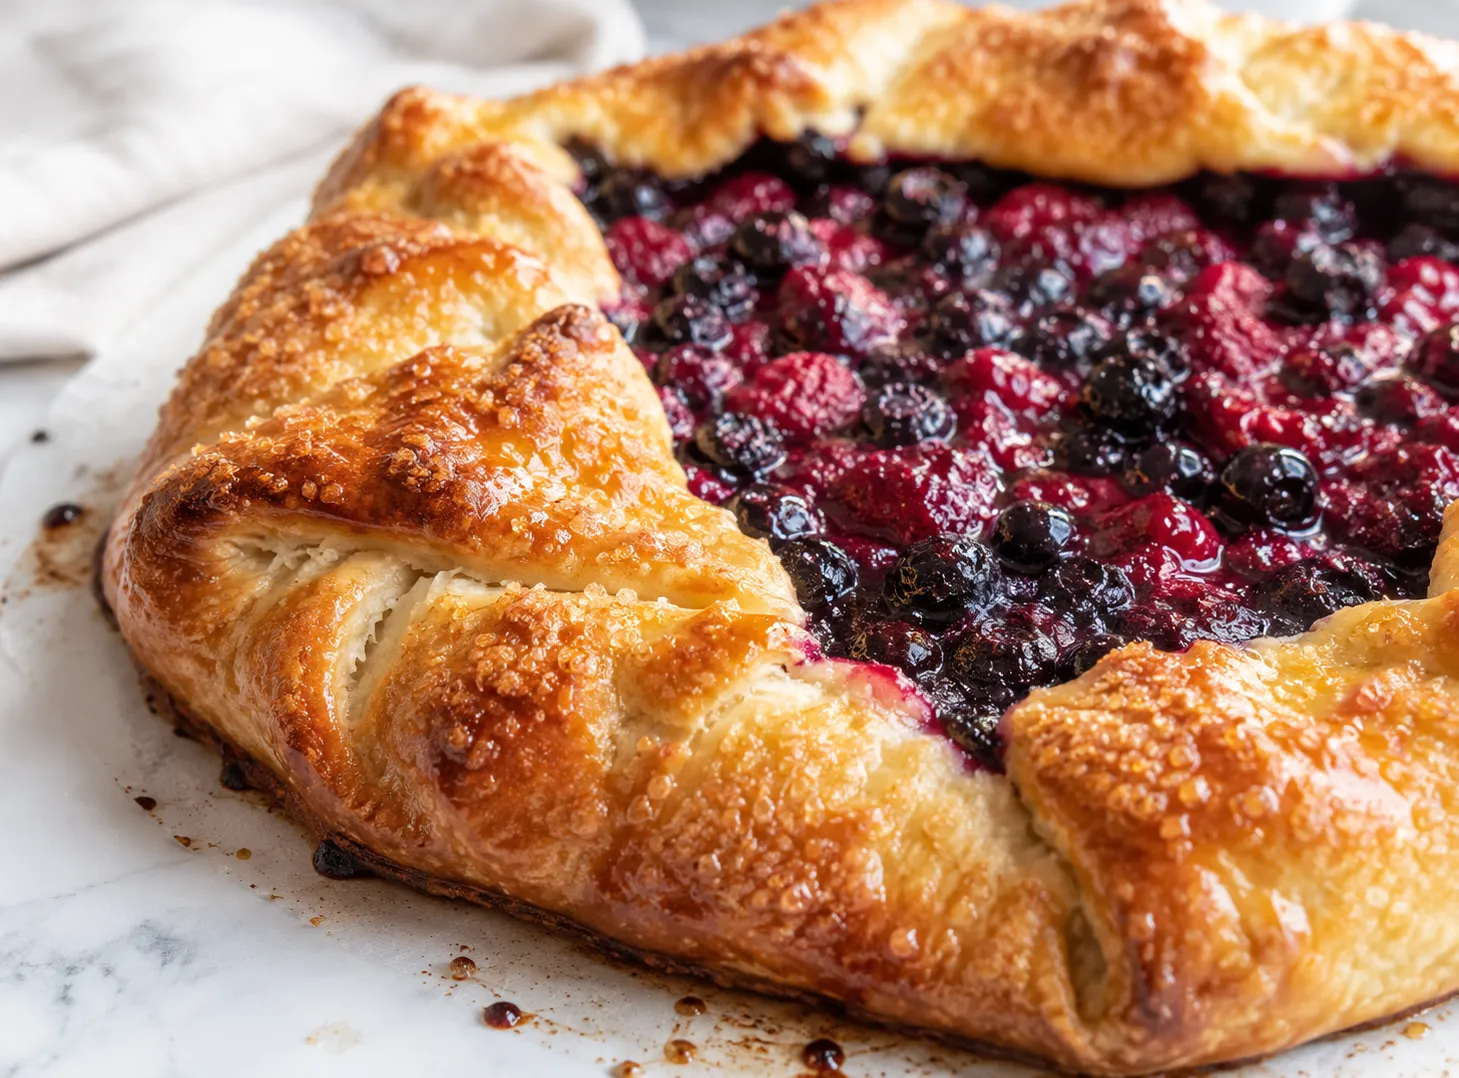
- Bake for 35 to 40 minutes, until the crust is a deep golden brown and the filling is visibly bubbling in the center.
- Let the galette cool on the pan for at least 20 minutes before slicing. The filling needs this time to set.
- Keep your butter and water cold right up until the moment they go into the dough. Warm butter melts too soon and leaves you with a greasy, flat crust instead of flaky layers.
- Do not skip the chilling step. It relaxes the gluten in the dough so it does not shrink or fight you while rolling, and it keeps the butter firm so it can steam properly in the oven.
- A mix of berries gives you better texture and color than using just one kind. Strawberries add juice, blueberries hold their shape, and raspberries break down slightly for natural thickness.
- If your filling looks watery after mixing, stir in an extra teaspoon of cornstarch before it goes into the crust.
- Let the galette rest fully before cutting. Slicing too soon means the juices run out instead of staying put.
- Overworking the dough, which develops the gluten too much and leaves you with a tough, chewy crust instead of a tender one.
- Skipping the egg wash, which is the difference between a pale crust and one with real color and shine.
- Piling on too much filling, which almost always leads to leaks and a soggy bottom.
- Cutting into the galette while it is still hot, before the filling has had a chance to firm back up.
- Using frozen berries straight from the bag without thawing and draining them first, which adds far more liquid than the recipe accounts for.
- Swap the berries for stone fruit like peaches, plums, or nectarines when they are in season.
- Use a gluten free flour blend built for pastry if you need this to be gluten free. Chill the dough a bit longer since these blends can be more delicate.
- Spread a thin layer of almond frangipane under the fruit for a bakery style twist.
- Brush the crust with cream instead of egg for a softer, more matte finish.
- Stir a little orange or lemon zest into the filling for extra brightness.
- A scoop of vanilla ice cream
- Lightly sweetened whipped cream
- A drizzle of honey over the warm slices
- Fresh mint leaves scattered on top
- A cup of black coffee or tea alongside
- Leave leftovers covered at room temperature for up to 1 day if you plan to finish it quickly.
- Refrigerate in an airtight container for up to 4 days for longer storage.
- Reheat individual slices in a 300°F oven for about 10 minutes to bring back some crispness in the crust.
- Skip the microwave. It heats the filling but turns the crust soft and soggy.
- Freeze the fully baked and cooled galette for up to 2 months, wrapped tightly in plastic and foil.
Yes. Wrap it tightly and refrigerate for up to 2 days, or freeze it for up to a month and thaw overnight in the fridge before rolling.
Your filling was probably too wet, or your border was too narrow. Add a bit more cornstarch next time and leave a wider edge of bare dough.
Yes, but thaw them fully and drain off the extra liquid first, or your filling will turn watery.
No. That is actually the whole point of a galette. It bakes flat on a sheet pan with no special dish needed.
Yes. Swap in a plant based butter alternative built for baking and the crust will still turn out flaky.
Look for a crust that has turned deep golden brown, with the filling bubbling visibly in the center of the galette.
- A food processor speeds up cutting the butter into the flour if you want to skip doing it by hand.
- Chilling the fully shaped galette for 10 minutes right before it goes into the oven helps it hold its shape better as it bakes.
- Baking on a preheated pizza stone or steel gives you a crisper bottom crust than a plain sheet pan alone.
- Any leftover dough scraps can be brushed with egg wash, sprinkled with sugar, and baked alongside the galette as a small snack.
A good berry galette earns a permanent spot in your regular baking rotation because it rewards a little effort without asking for precision you might not have. The dough forgives uneven rolling and imperfect folds, the fruit does most of the actual work, and the finished dessert still looks like something you meant to make look rustic. Once the folding method feels familiar, you can carry it over to other fruit fillings throughout the year, from summer stone fruit to fall apples and pears. Keep this recipe close by for whenever you have fruit that needs a home and about ninety minutes to spare.