
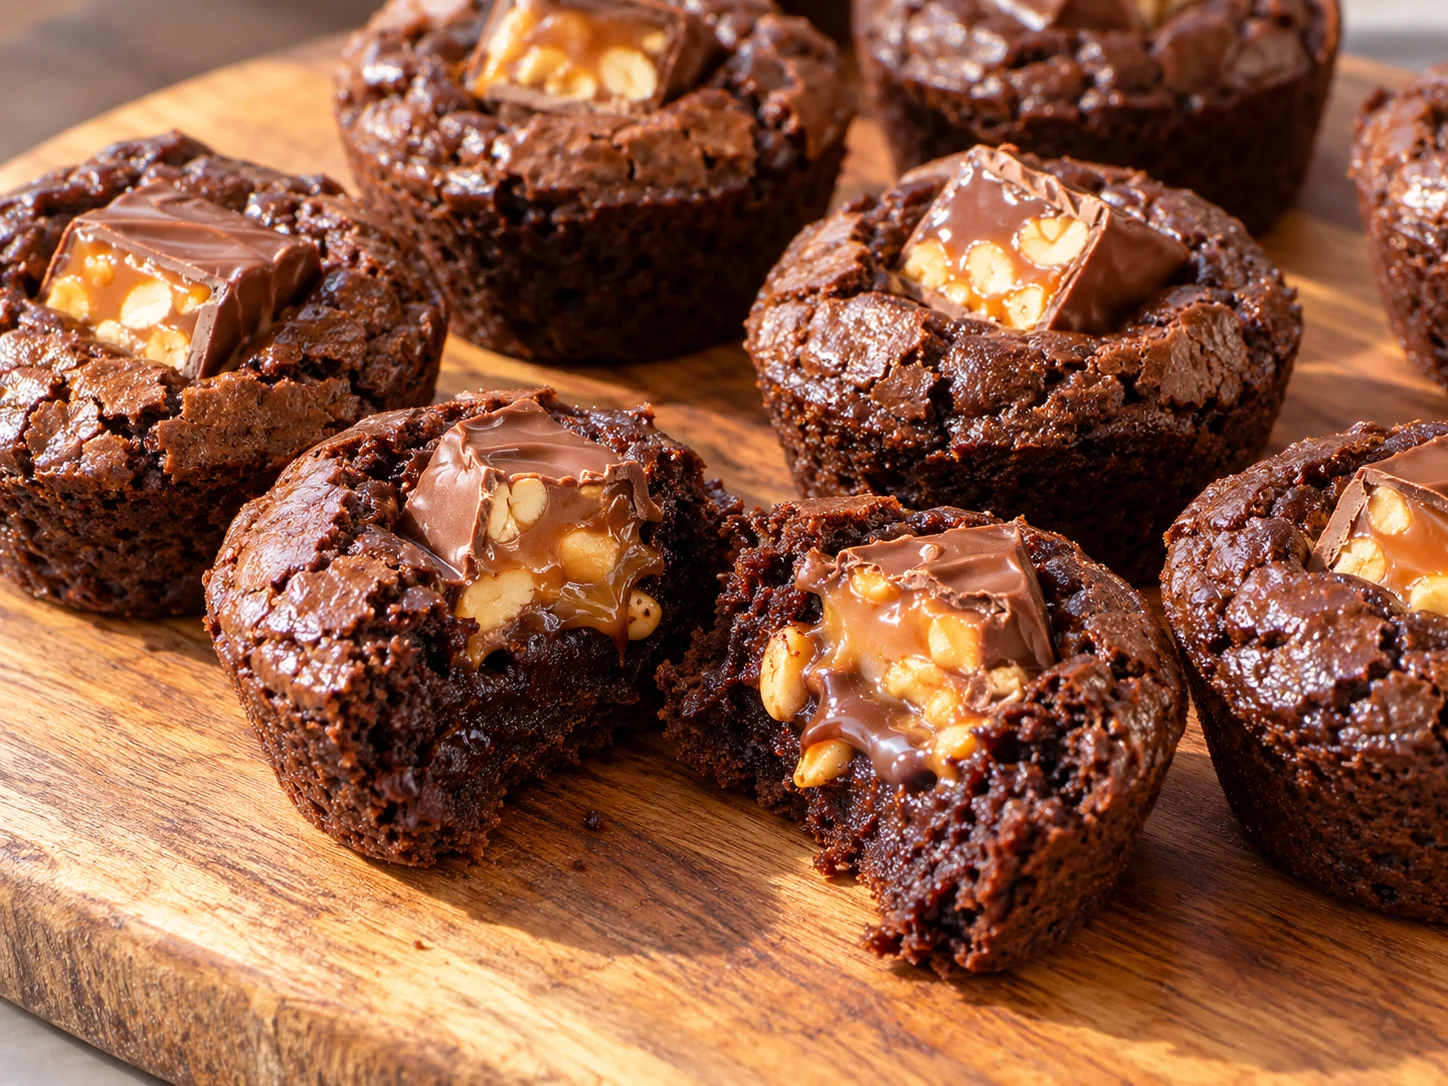
Snickers Brownie Bites With a Rich Chocolate Center
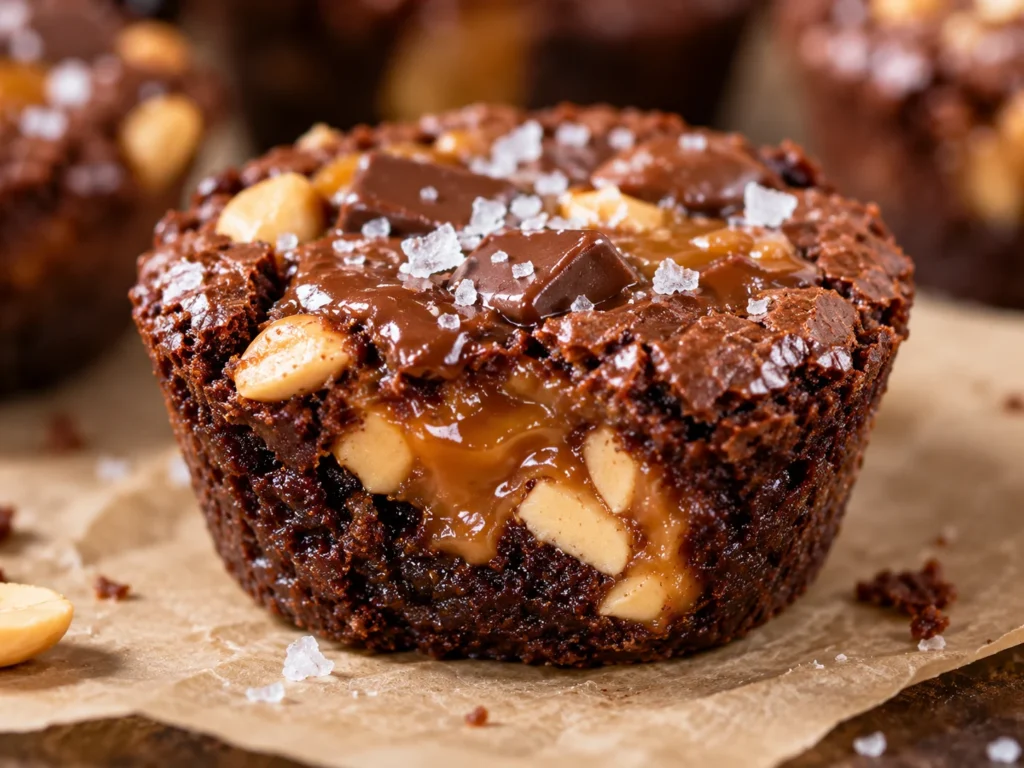
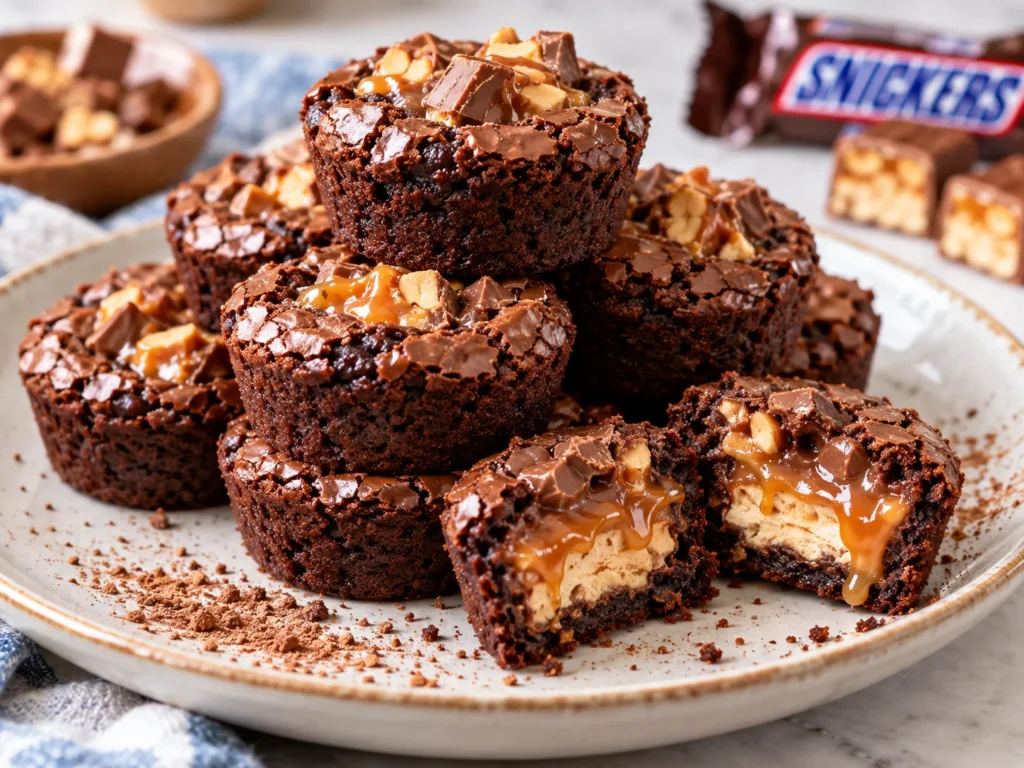
When you crave the specific combination of chewy brownie, molten caramel, and salty nougat, Snickers Brownie Bites offer a reliable fix that satisfies both the brownie purist and the candy lover. The secret to these treats is not just in the ingredients, but in the ratio of the batter to the candy insert. Because you are using a mini-muffin tin, the brownie batter creates a crisp edge while the center stays fudgy, effectively encasing the candy piece in a warm, chocolatey environment. These are not just brownies topped with candy; they are bite-sized pockets that transform a standard baked good into something much more complex.
Baking for a crowd often requires precision, especially when you are dealing with melted sugar and chocolate. Creating these bites requires understanding how the oven temperature interacts with the dense, sugar-heavy batter of a brownie versus the nougat inside the Snickers bar. If the temperature is too high, the outside burns before the center is set; too low, and you end up with a greasy, cakey mess that lacks the signature fudge-like texture that defines a good brownie.
Understanding the Snickers Brownie Bites Ratio
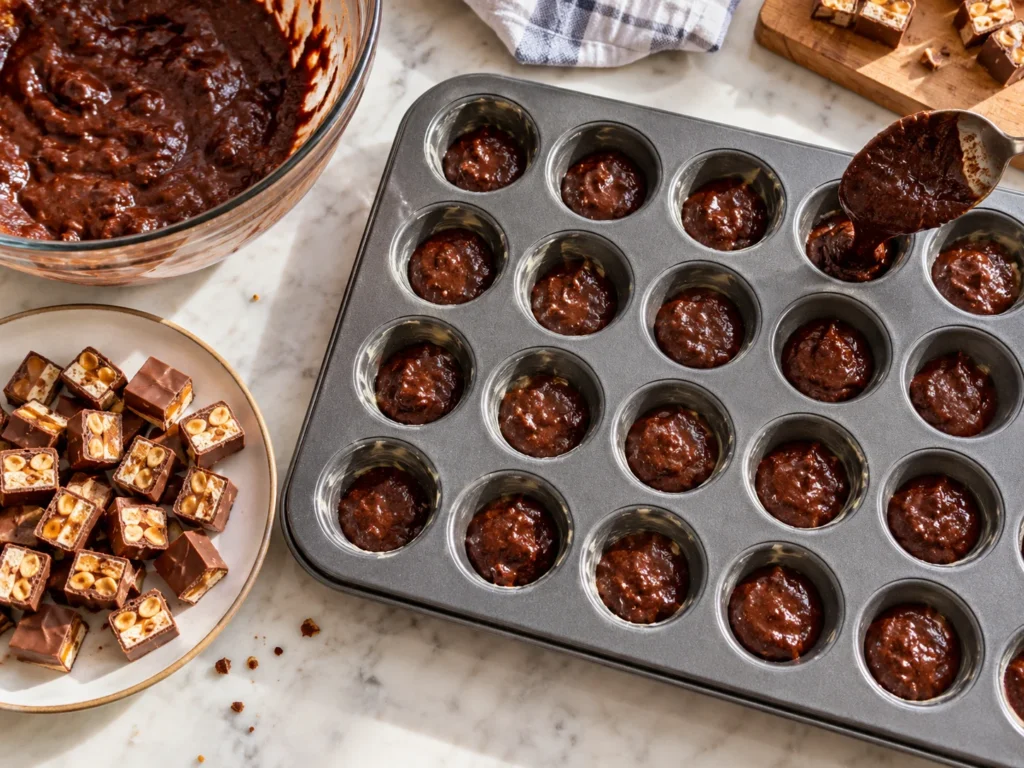
The most common mistake when making brownie bites is overfilling the cups. Because the batter expands slightly as it rises, filling the mini-muffin tin to the brim usually results in overflow that welds your bites to the pan, creating a difficult cleanup job and messy edges. For the best results, you want to fill each cavity about two-thirds of the way full before adding the candy center. This provides enough structural support to hold the weight of the candy piece as it softens during the bake.
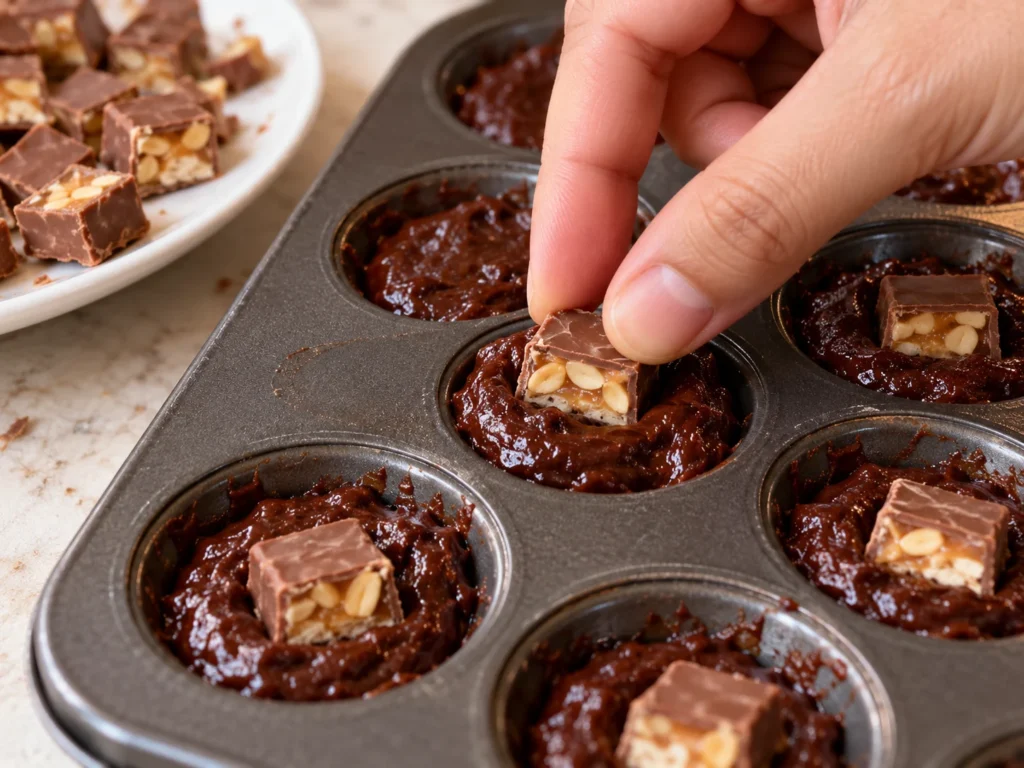
Think of the Snickers as the core of the bite. If you use the standard “fun size” bars, you can often fit them whole if you press them down gently into the raw batter. If you are using larger bars, chop them into uniform, bite-sized chunks to ensure every brownie bite has an equal distribution of chocolate, caramel, and peanut.
Choosing the Right Ingredients
In a recipe where chocolate is the primary flavor profile, the quality of your cocoa powder and butter significantly impacts the outcome. Using a Dutch-processed cocoa powder will yield a darker, more intensely chocolate-flavored brownie with a smoother mouthfeel compared to natural cocoa. Furthermore, because these brownies rely on the fat from butter for that dense, chewy texture, do not substitute with margarine or low-fat butter spreads. The moisture content in those alternatives can cause the brownie to become dry or brittle once cooled.
You will need standard baking staples: granulated sugar, eggs, a small amount of all-purpose flour, vanilla extract, and a pinch of salt to balance the sweetness of the candy. Salt is particularly important here. The saltiness in the peanuts and the slight savory note of the nougat in the Snickers bar will be enhanced if you sprinkle a tiny bit of flaky sea salt on top right after they come out of the oven. This small addition creates a professional finish that cuts through the intense sugar.
The Technique for the Perfect Chocolate Center
The assembly process is straightforward, but it requires speed once the batter is mixed. First, prep your mini-muffin tin thoroughly. Even if it is a non-stick pan, use a light coating of butter or baking spray. If you skip this, the caramel from the Snickers will melt against the side of the pan and fuse the brownie to the metal, making it nearly impossible to remove without breaking the bite.
Spoon the batter into the prepared cups, ensuring each is leveled off. Then, take your pre-cut Snickers pieces and gently press them into the center of each brownie portion. Do not push them all the way to the bottom of the pan. You want a thin layer of brownie batter underneath the candy to act as a floor, so the caramel doesn’t seep out and burn on the bottom of the pan. After the candy is in place, you can use a small spatula or the back of a teaspoon to smooth the batter slightly over the top, which helps keep the center contained during the rise.
Avoiding Common Baking Mistakes
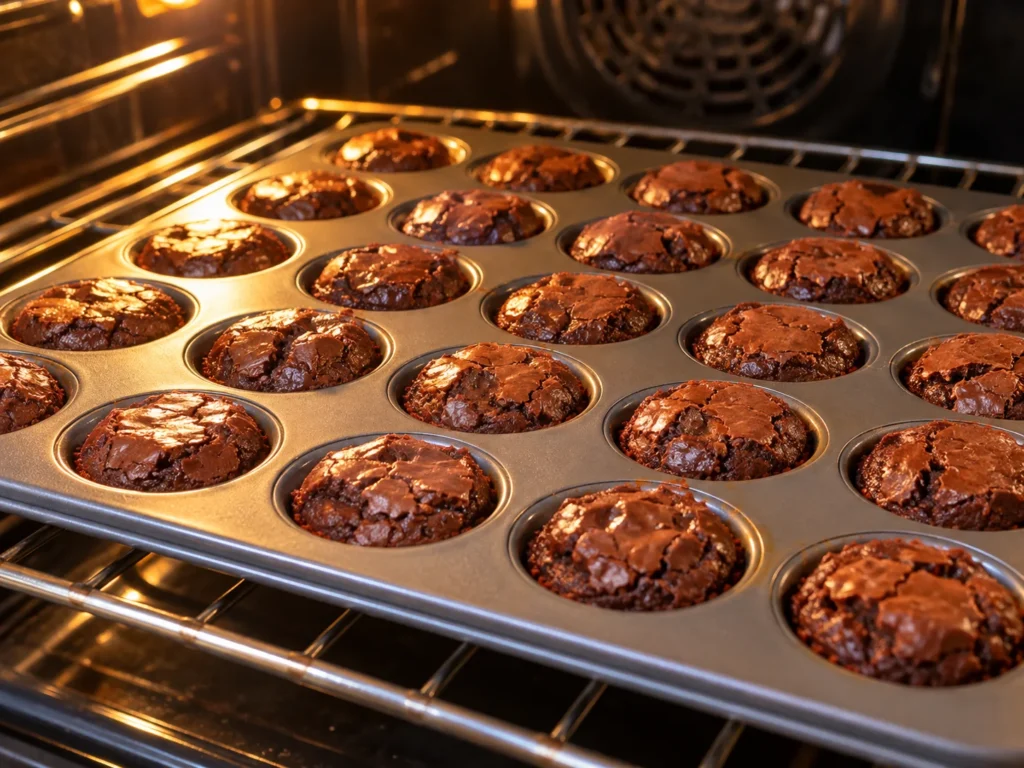
The most important cue to watch for is the doneness of the brownie. Brownies can go from perfectly fudgy to dry and overbaked in a matter of two minutes. Because these are in a mini-muffin tin, the surface area to volume ratio is high, meaning they bake very quickly. Start checking for doneness at the minimum time suggested in the recipe card.
Use a toothpick to test the very edge of the brownie, not the center where the candy is located. If you stab the candy, the toothpick will always come out sticky with chocolate and caramel, which might lead you to believe they are underbaked. A toothpick inserted into the brownie portion (near the edge) should come out with a few moist crumbs clinging to it. If it comes out completely clean, they are likely already overbaked and will dry out as they cool.
Storage and Make-Ahead Tips
For the best texture, aim to enjoy these Snickers brownie bites within two days of baking. Because the nougat and caramel centers pack in quite a bit of moisture, they’ll soften the surrounding brownie if left out at room temperature for too long. If you’re prepping these ahead of time, store them in an airtight container in the fridge to help them keep their shape. Whenever you’re ready to eat, a quick 5 to 10 seconds in the microwave will bring back that warm, gooey center.
If the bites get a little softer than you’d like after a day, you can revive them by popping them into a 300°F oven for 3 to 4 minutes. This brief stint in the oven crisps the edges and returns that signature chewy brownie texture. You can also freeze them, but wait to sprinkle the flaky sea salt on top until after they’ve thawed and been reheated; the moisture from the freezer will dissolve the salt crystals, costing you that essential crunch.
Since the contrast in textures is really the star of the show here, make sure to let the bites cool completely in the pan before trying to remove them. Giving the chocolate and caramel enough time to firm up ensures they release cleanly and hold their shape, whether you’re plating them for a party or packing them up for a bake sale.
Frequently Asked Questions
Can I use mini muffin liners instead of greasing the pan?
My brownies are sticking to the pan, what should I do?
Can I use full-size Snickers bars?
Snickers Brownie Bites With a Rich Chocolate Center
These bite-sized brownie treats feature a fudgy cocoa base and a hidden center of Snickers candy. They are the perfect balance of chewy edges and a molten, sweet core.
Ingredients
- 1/2 cup unsalted butter, melted
- 1 cup granulated sugar
- 2 large eggs, room temperature
- 1 teaspoon vanilla extract
- 1/3 cup Dutch-processed cocoa powder
- 1/2 cup all-purpose flour
- 1/4 teaspoon salt
- 8 full-size Snickers bars, each cut into 3 uniform bite-sized pieces (or equivalent amount of fun-size bars)
- Flaky sea salt (optional, for topping)
Instructions
- Preheat your oven to 350°F (175°C). Thoroughly grease a 24-cup mini-muffin tin with butter or non-stick spray.
- In a medium bowl, whisk together the melted butter and granulated sugar until well combined and smooth.
- Add the eggs and vanilla extract to the butter mixture, whisking until the batter is glossy and combined.
- Sift in the cocoa powder, flour, and salt. Fold the dry ingredients into the wet mixture using a spatula just until no streaks of flour remain. Do not overmix.
- Spoon about 1 tablespoon of batter into each cavity of the mini-muffin tin. The cavities should be about 2/3 full.
- Press one piece of cut Snickers bar into the center of each brownie portion, ensuring it is slightly submerged in the batter.
- Bake for 15-18 minutes. The edges of the brownies should look set, but the centers will still be soft. A toothpick inserted into the edge of the brownie (not the candy) should come out with a few moist crumbs.
- Remove from the oven and let the brownies cool completely in the pan for at least 15 minutes before attempting to remove them. This allows the candy center to firm up slightly.
- Sprinkle with a small pinch of flaky sea salt if desired, and serve.
Notes
If you are using a non-stick tin, you must still grease the cups, as the caramel in the Snickers will cause the bites to stick.
Store leftovers in an airtight container in the refrigerator to prevent the nougat from making the brownies too soft. They can be gently warmed before serving.
Do not overbake. Because these are small, they dry out quickly. Always err on the side of underbaking by a minute or two.
Nutrition
| Calories | 145 |
| Protein | 2g |
| Total Fat | 7g |
| Carbohydrates | 19g |
| Fiber | 1g |
| Sugar | 15g |
| Sodium | 85mg |