
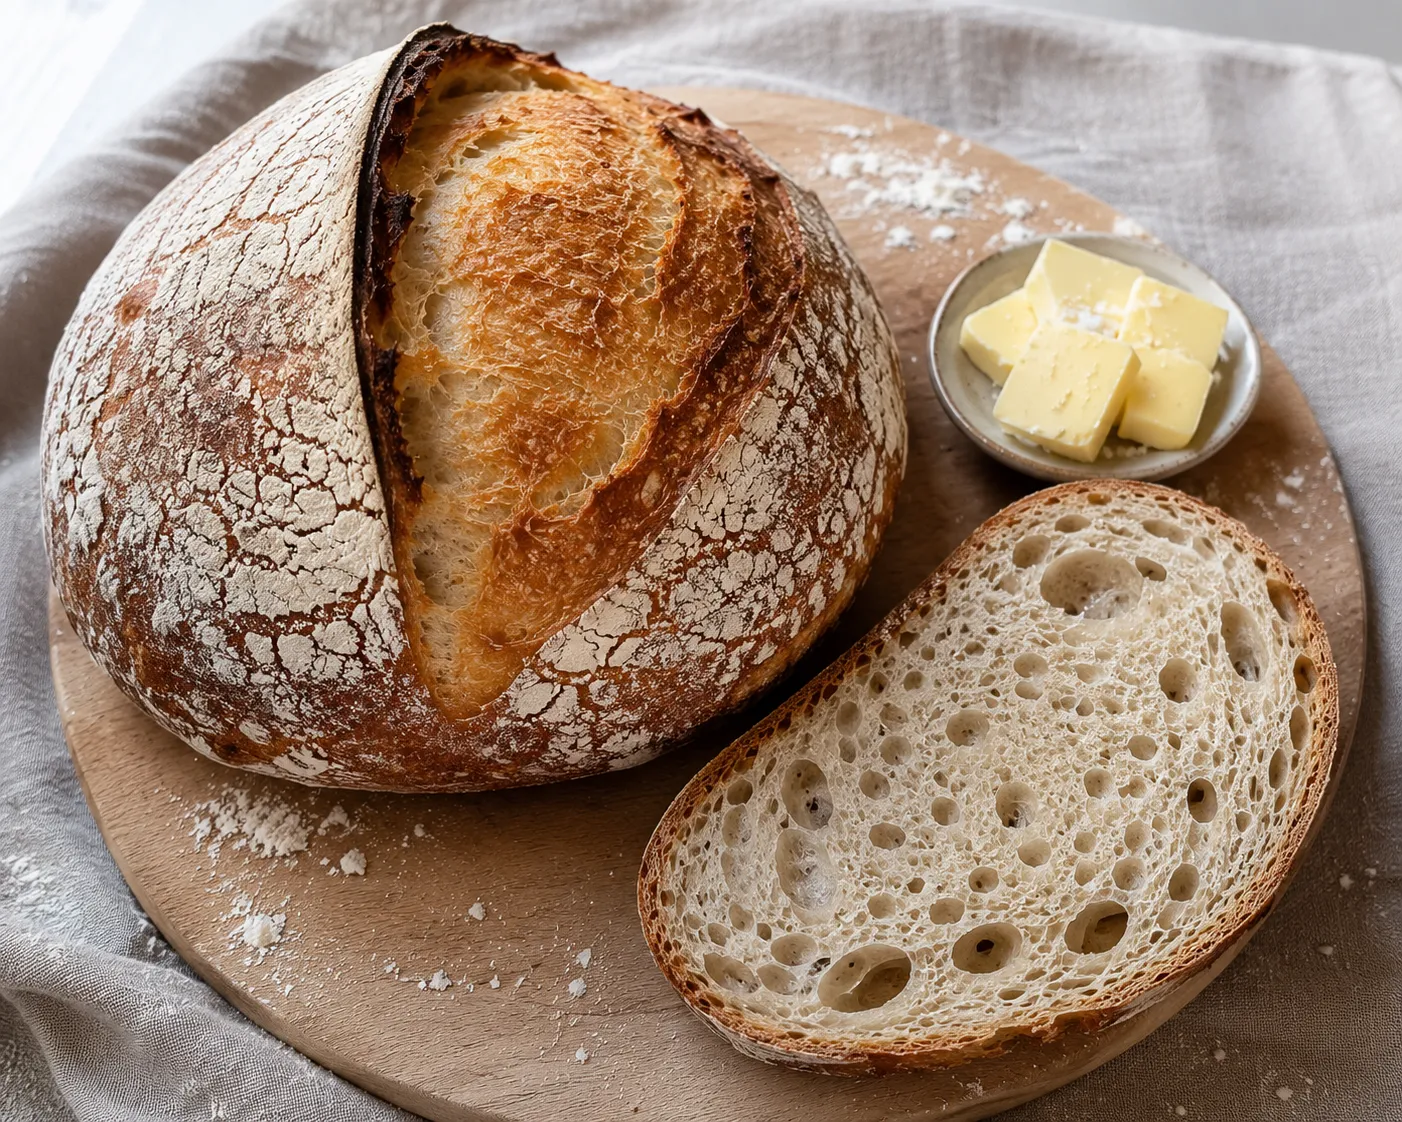

This sourdough bread recipe gives you a thick, crackly crust and a chewy, open crumb without a bread machine or fancy equipment. The flavor comes from natural fermentation — tangy, complex, and nothing like store-bought. It takes patience, not skill. If you can stir and fold dough, you can bake this. Most people who try it once end up making it every week, not because it is complicated, but because nothing from a grocery store comes close once you know what a real loaf tastes like fresh out of a 500 degree oven.
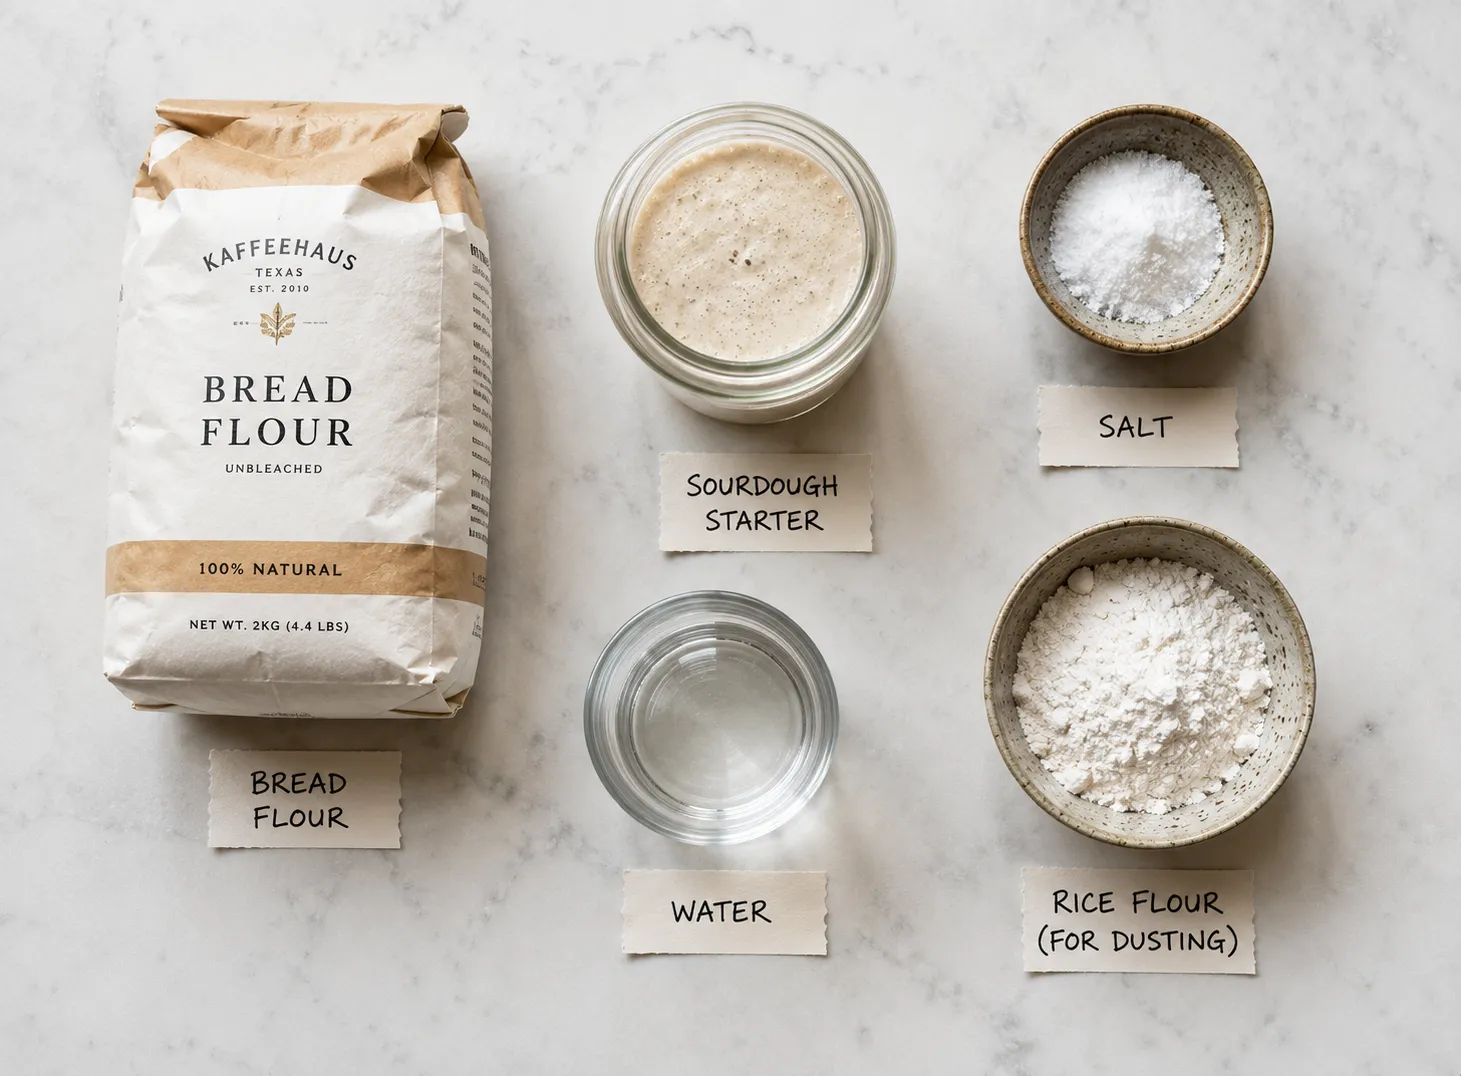
- 450 g bread flour , Use flour with 12 to 13 percent protein content for best structure
- 300 g filtered water , Used during autolyse step
- 25 g filtered water , Reserved for dissolving the salt
- 100 g active sourdough starter , Feed 4 to 8 hours before use; should be doubled and bubbly
- 9 g fine sea salt
- rice flour or extra bread flour , Rice flour preferred; does not absorb into the dough and prevents sticking better
- Large mixing bowl
- Kitchen scale
- Bench scraper
- Dutch oven, 5 to 6 quart, with lid
- Banneton proofing basket or medium bowl lined with a well-floured kitchen towel
- Lame or single-edge razor blade
- Parchment paper
- Wire cooling rack
- Oven thermometer (optional but useful)

- Mix flour and water, then rest for 30 to 60 minutes (autolyse)
- Add starter and salt, work them in fully
- Stretch and fold the dough every 30 minutes for 2 to 3 hours
- Bulk ferment at room temperature for 6 to 10 hours
- Shape, then cold proof in the fridge overnight
- Score and bake in a preheated Dutch oven
- Autolyse: Combine 450g bread flour and 300g water in a large bowl. Mix until no dry flour remains. Cover and rest for 30 to 60 minutes.
- Add Starter and Salt: Add 100g active starter and work it in with your fingers. Dissolve 9g salt in the remaining 25g water, pour over the dough, and continue working it in until fully combined, about 3 to 5 minutes.
- Stretch and Fold: Every 30 minutes over 2 to 3 hours, perform a stretch and fold set. Wet your hand, grab one side of the dough, stretch it up without tearing, fold it over the center, rotate the bowl a quarter turn, and repeat on all four sides. Do 4 to 6 sets total.
- Bulk Fermentation: Cover the bowl and leave at room temperature (75 to 78 degrees Fahrenheit). Ferment for 6 to 10 hours until the dough has grown 50 to 75 percent, feels airy, and shows bubbles on the surface and sides.
- Pre-Shape and Bench Rest: Flour the work surface with rice flour. Turn the dough out, fold edges in toward the center, flip seam-side down, and drag gently to build surface tension. Leave uncovered for 20 minutes.
- Final Shape: Flip the dough over, stretch into a rough rectangle, fold sides in toward the center, roll into a tight round or log, and place seam-side up in a well-floured banneton. Dust the exposed surface with rice flour.
- Cold Proof: Cover the banneton loosely and refrigerate for 10 to 16 hours.
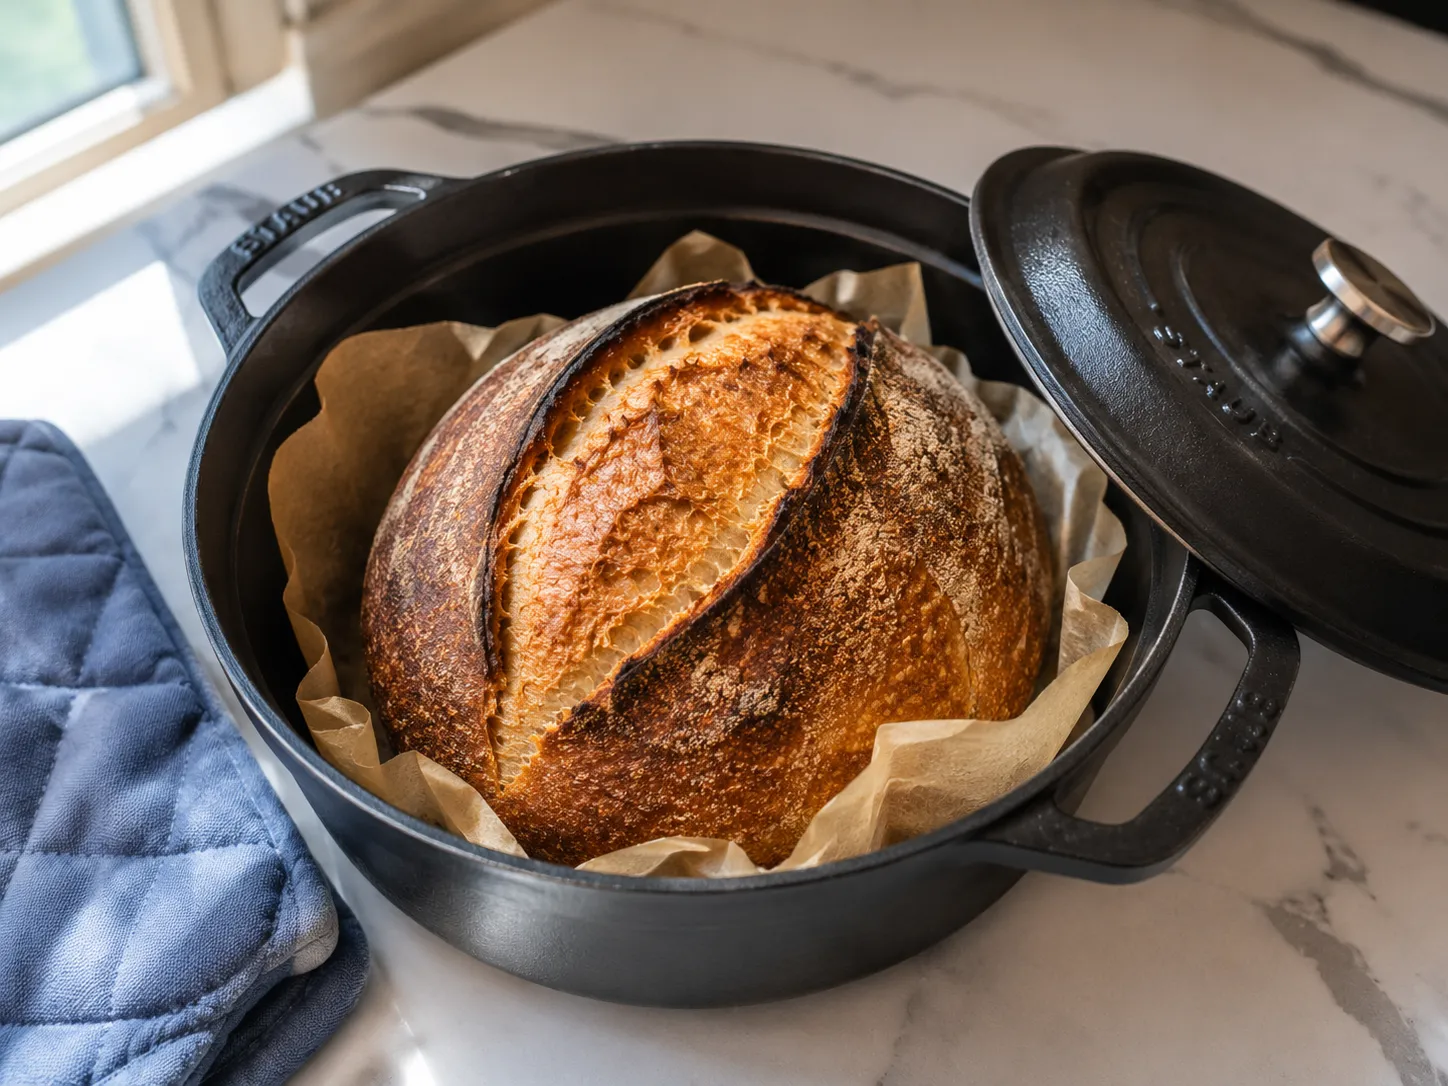
- Preheat: Place the Dutch oven with lid in the oven and preheat to 500 degrees Fahrenheit for at least 1 hour before baking.
- Score and Bake: Cut parchment as a sling. Flip the dough out onto it. Score with one confident slash at a 30-degree angle. Lower the dough on the parchment into the hot Dutch oven. Cover and bake at 500 degrees for 20 minutes. Remove the lid, reduce to 450 degrees, and bake another 20 to 25 minutes until deeply browned.
- Cool: Transfer to a wire rack. Wait at least 1 hour before slicing.
- Use a kitchen scale. Measuring flour by volume is inconsistent.
- Your starter is ready when it has doubled within 4 to 8 hours of feeding and smells yeasty and alive.
- The float test can help confirm readiness. Drop a small spoonful in water. If it floats, the starter is active.
- Read bulk fermentation with your eyes and hands. Jiggle the bowl. If the dough wobbles like set gelatin and shows bubbles, it is ready.
- A cold proof always gives better results than room temperature proofing for this recipe.
- Score fast and at an angle. A slow score tears instead of cuts.
- For a crunchier bottom, pull the parchment out during the last 10 minutes.
- For more sour flavor, extend the cold proof or use slightly cooler water during mixing.
- Using a starter that has not been fed recently or is not visibly active.
- Skipping the autolyse step.
- Stopping bulk fermentation early because the timer said so.
- Over-proofing the shaped loaf at room temperature.
- Loading the dough into a Dutch oven that was not fully preheated.
- Slicing the bread before it has cooled for at least 1 hour.
- Scoring too shallow — the cut needs to go at least half an inch deep.
- Swapping all-purpose flour for bread flour without adjusting water.
- Whole wheat blend: Replace up to 100g bread flour with whole wheat flour. Add 10 to 15g more water.
- Seeded crust: Mist the surface after final shape and press seeds into the outside before placing in the banneton.
- Rosemary and olive oil: Add 1 tablespoon olive oil and 1 teaspoon chopped fresh rosemary during the first stretch and fold set.
- Jalapeno cheddar: Fold in diced pickled jalapenos and shredded sharp cheddar during the final shape.
- Higher hydration: Increase water to 340g for a more open crumb. Handle gently throughout.
- Spelt or einkorn blend: Substitute up to 20 percent of bread flour. Watch bulk fermentation closely as these ferment faster.
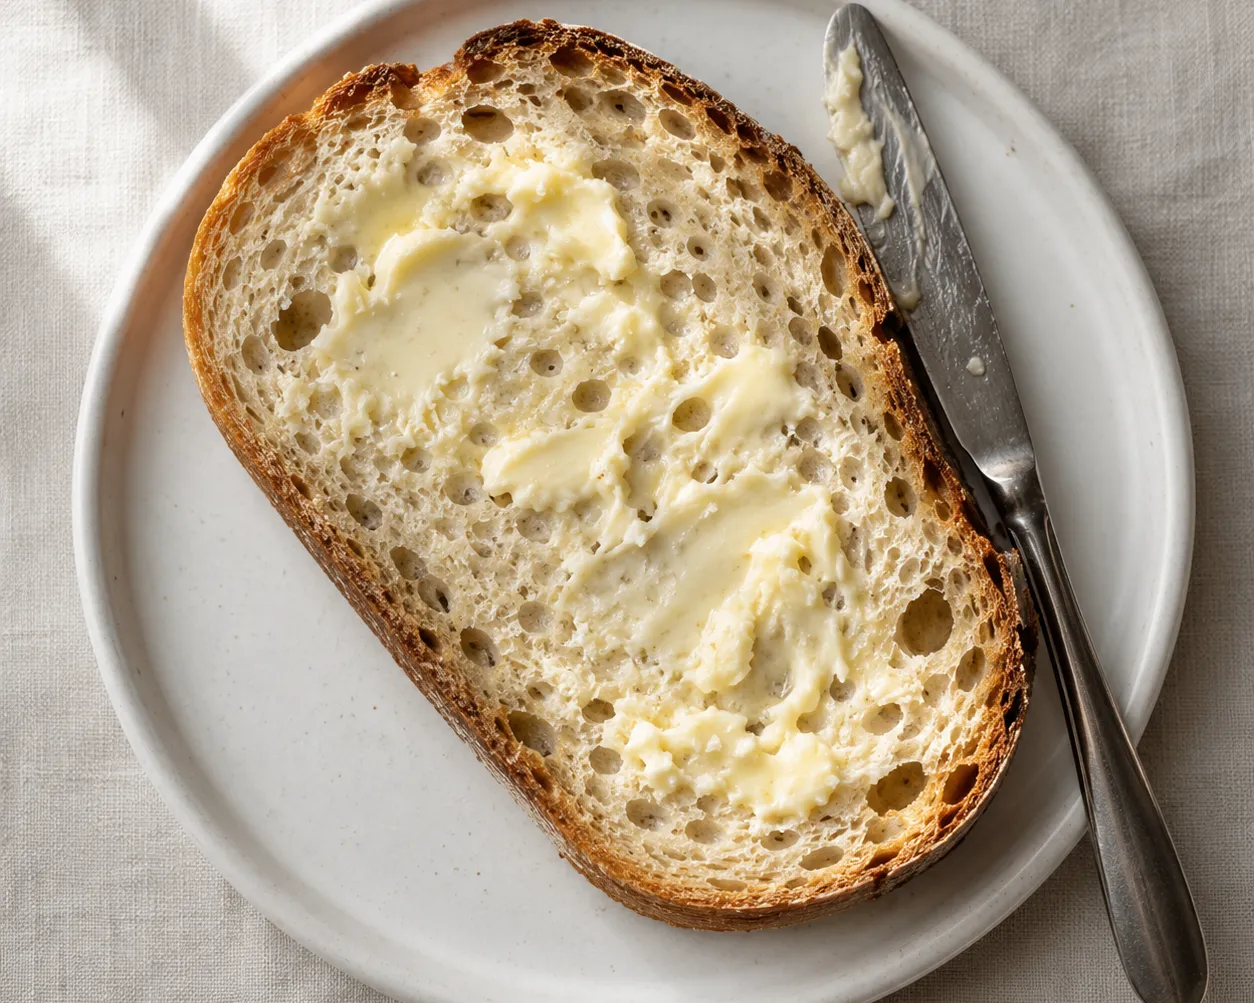
- Sliced thick with good salted butter
- Alongside tomato soup or a thick lentil stew
- Toasted with avocado, a poached egg, and chili flakes
- As a tartine base with ricotta, roasted cherry tomatoes, and fresh basil
- On a cheese board where the tang cuts through creamy or aged cheeses
- As weekend brunch toast with eggs any style
- Rubbed with raw garlic and drizzled with olive oil for bruschetta
- Room temperature: Store cut-side down on a wooden board with the cut end covered. Keeps 2 to 3 days.
- Do not refrigerate: Cold air stales bread faster than leaving it out.
- Freezing a whole loaf: Cool completely, wrap in plastic wrap then foil. Freeze up to 3 months.
- Freezing slices: Layer parchment between slices and seal in a freezer bag. Toast directly from frozen.
- Reheating a whole loaf: Wrap in foil, warm at 350 degrees for 15 to 20 minutes, open foil for last 5 minutes.
- Reheating slices: Toast from frozen in a toaster or on a dry cast iron skillet over medium heat.
Feed it 4 to 8 hours before you plan to mix. It should double in size, look bubbly all the way through, and smell yeasty. If it has barely moved or smells off, feed it again and give it more time. Do not bake with a sluggish starter.
Yes, but results will differ. Use a preheated baking stone or heavy sheet pan. Place a metal pan with boiling water on the rack below to create steam. Bake at the same temperatures. The crust will be thinner and lighter.
Two likely reasons: it was not fully baked, or you sliced it too soon. The internal temperature should reach at least 205 degrees Fahrenheit before pulling from the oven. Then wait a full hour before cutting.
You can. Reduce the water by about 20g since all-purpose flour absorbs less than bread flour. The loaf will be a little denser and less chewy, but it will still work.
Either the starter was not active enough, or the dough over-proofed during bulk fermentation. If the dough spread sideways instead of rising up, it lost structure before getting into the oven. Shorten bulk fermentation or use a more recently fed starter.
Mildly to moderately tangy for most bakes. Longer cold proofs bring out more sour flavor. Cooler fermentation temperatures tend to produce a sharper tang. For a milder loaf, use warmer water during mixing and keep the cold proof on the shorter end.
- This recipe works at 75 percent hydration, which gives a good open crumb without being too difficult to handle.
- A 100 percent hydration starter is used here, meaning equal parts flour and water by weight.
- Look for bread flour with 12 to 13 percent protein content.
- Bulk fermentation timing is always a range. A warm kitchen and a cool kitchen behave differently. The dough is your guide.
- Rice flour does not absorb into the dough, which is why it is better for dusting than bread flour.
- The bench rest after pre-shaping is not optional. It relaxes the gluten so the final shape goes cleanly.
- When scoring, hold the lame at a low angle rather than straight down. That angle creates the ear.
Sourdough bread is one of those things that feels complicated from the outside but gets simpler every time you do it. The first loaf teaches you what the dough looks like at each stage. The second loaf teaches you what it should feel like. By the third or fourth bake, you are adjusting things instinctively, moving the bulk fermentation shorter because your kitchen is warm, or pulling the loaf a few minutes earlier because the crust looks right. That is what real sourdough baking looks like. It is not about following a rigid script. It is about learning the rhythm of fermentation and trusting your read on the dough. This sourdough bread recipe gives you a solid foundation. The rest comes with repetition. Keep your starter fed, keep your Dutch oven hot, and do not rush the cool before you slice. Everything else is just practice.