
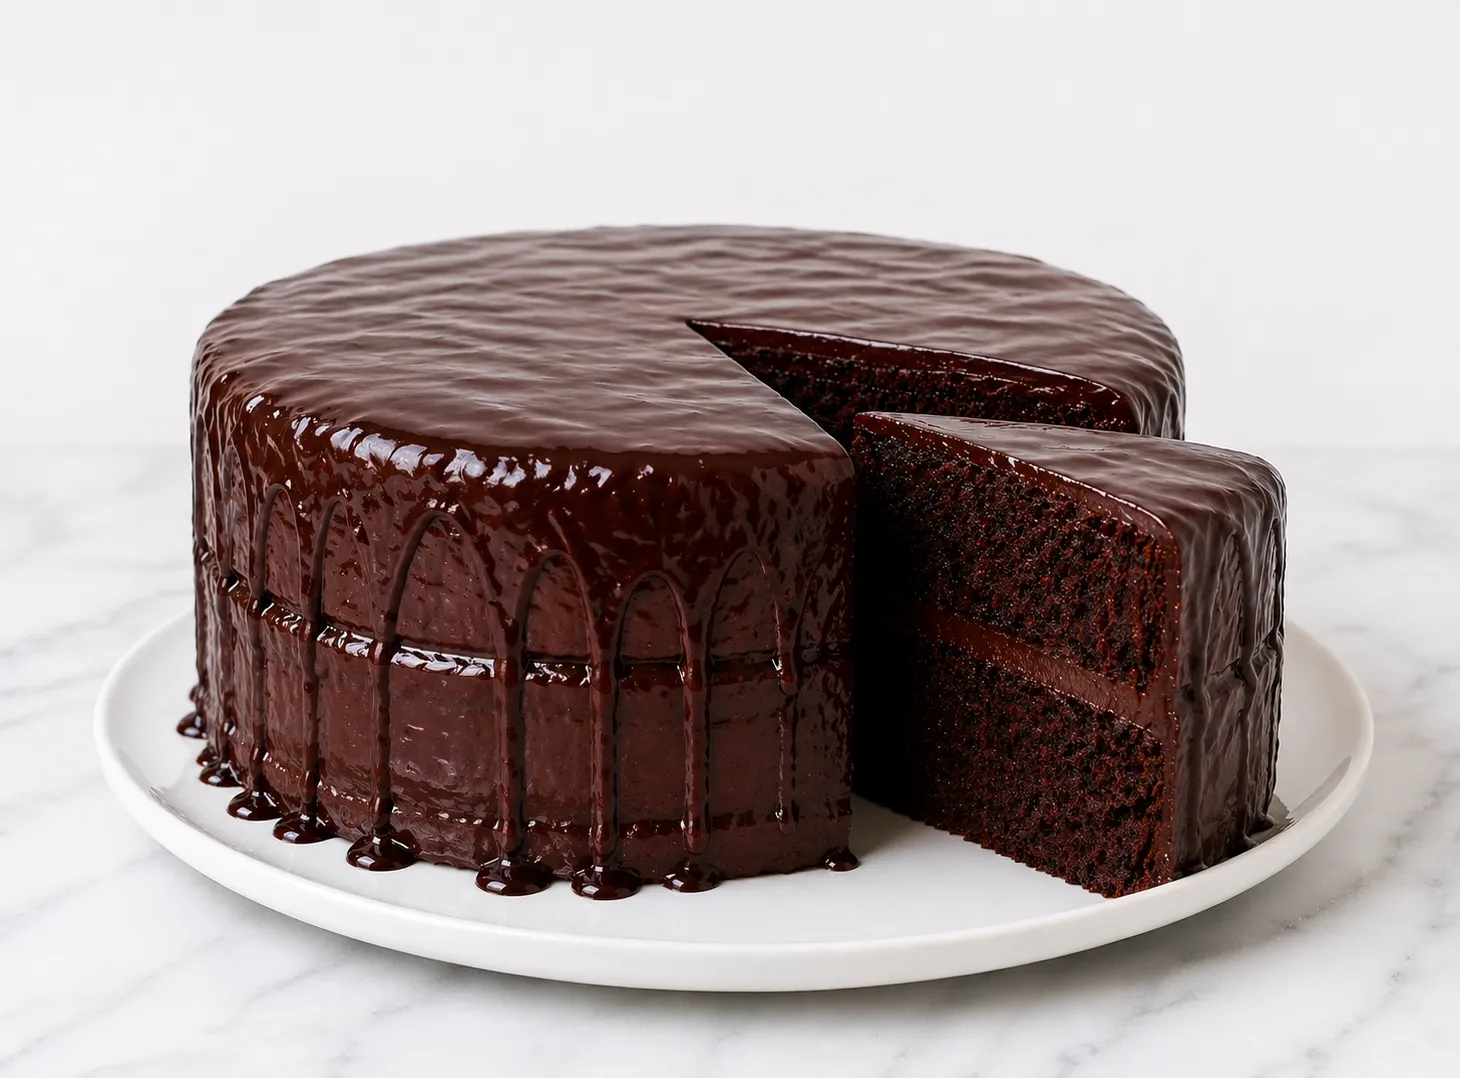

This chocolate cake recipe is the one you save and come back to. The crumb is dense and fudgy without being heavy. The ganache is silky, sets beautifully, and requires no piping bag or special decorating skill. It uses ingredients you likely already have, comes together in one mixing session, and bakes reliably every time. If you want a chocolate cake that looks impressive and tastes like it took more effort than it did, this is the one to make. It works for birthdays, casual weekends, and everything in between.
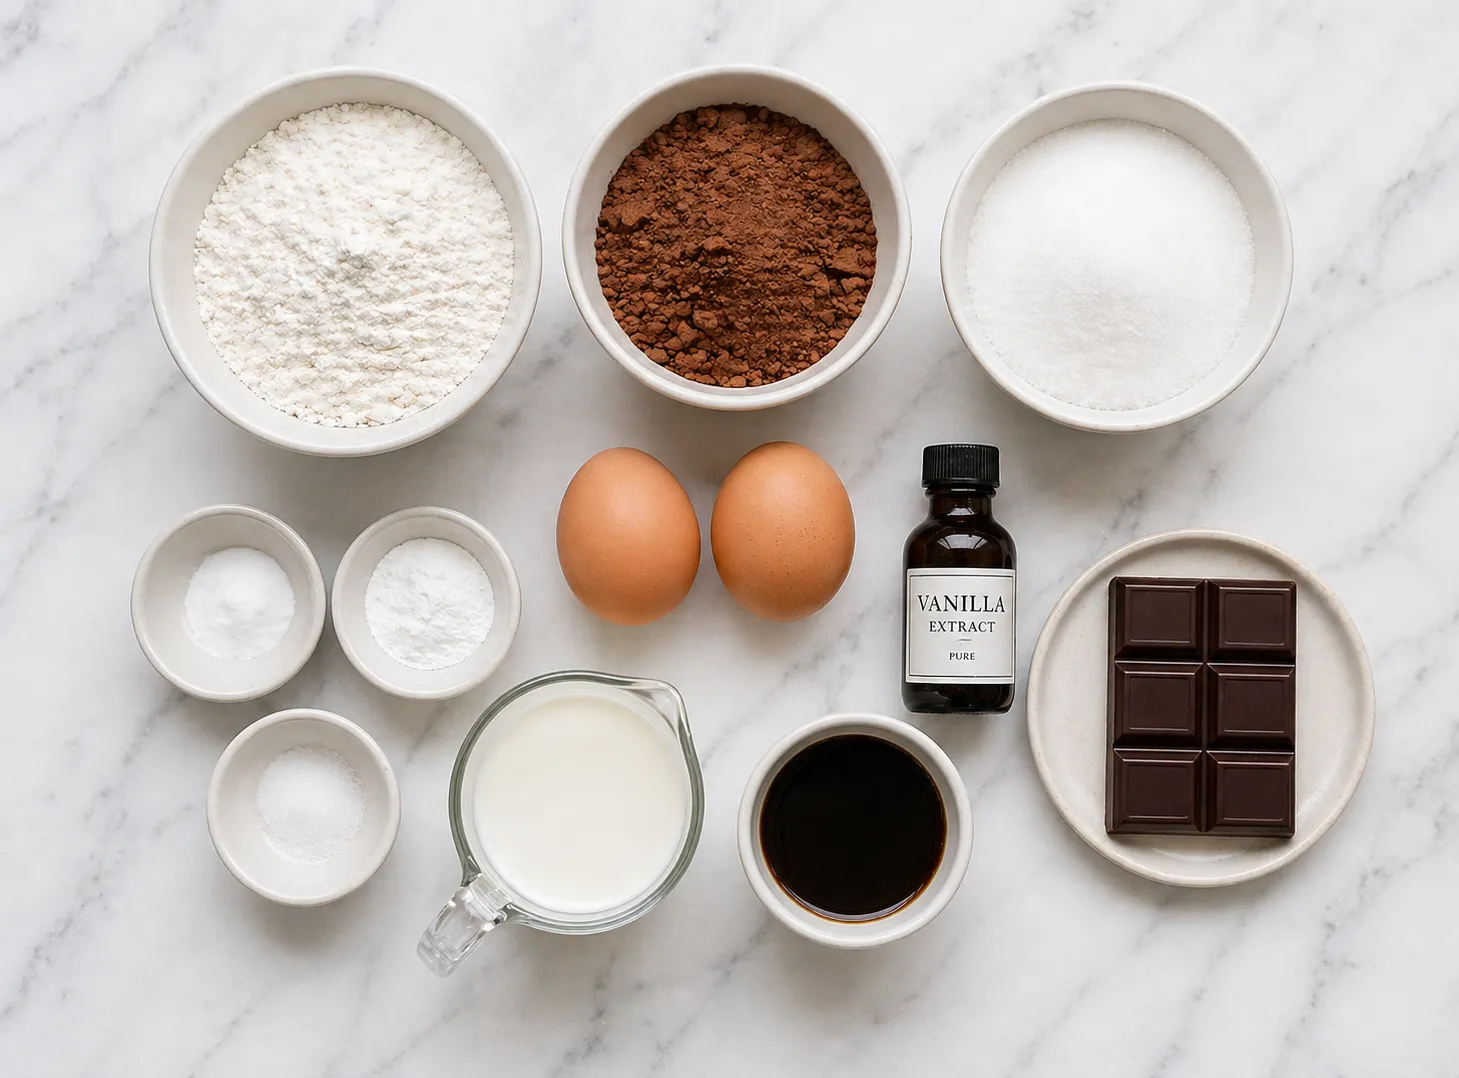
- 1 3/4 cups all-purpose flour
- 3/4 cup unsweetened cocoa powder (Dutch-process preferred)
- 2 cups granulated sugar
- 2 tsp baking soda
- 1 tsp baking powder
- 1 tsp salt
- 2 large eggs, room temperature
- 1 cup buttermilk, room temperature
- 1 cup strong brewed coffee, cooled
- 1/2 cup vegetable oil
- 2 tsp pure vanilla extract
- 1 cup heavy cream
- 8 oz dark chocolate (60 to 70% cacao), finely chopped
- 2 tbsp unsalted butter
- Two 9-inch round cake pans
- Parchment paper
- Two large mixing bowls
- Whisk
- Measuring cups and spoons
- Small saucepan
- Heatproof bowl
- Wire cooling rack
- Cake stand or flat serving plate
- Offset spatula (helpful for spreading ganache between layers, but not required)
- Whisk dry and wet ingredients in separate bowls.
- Combine into a thin batter and divide between pans.
- Bake at 350°F for 30 to 35 minutes.
- Cool completely, then make the ganache.
- Layer, pour, let set, and slice.
- Heat your oven to 350°F (175°C). Grease two 9-inch round cake pans, line the bottoms with parchment, and dust the sides with cocoa powder instead of flour. This keeps the cake edges dark and clean looking.
- Whisk flour, cocoa powder, sugar, baking soda, baking powder, and salt together in a large bowl. If the cocoa has any lumps, sift it before adding. Set the bowl aside.
- In a separate bowl, whisk eggs, buttermilk, cooled coffee, oil, and vanilla until smooth. Make sure the coffee is fully cooled before it goes in.
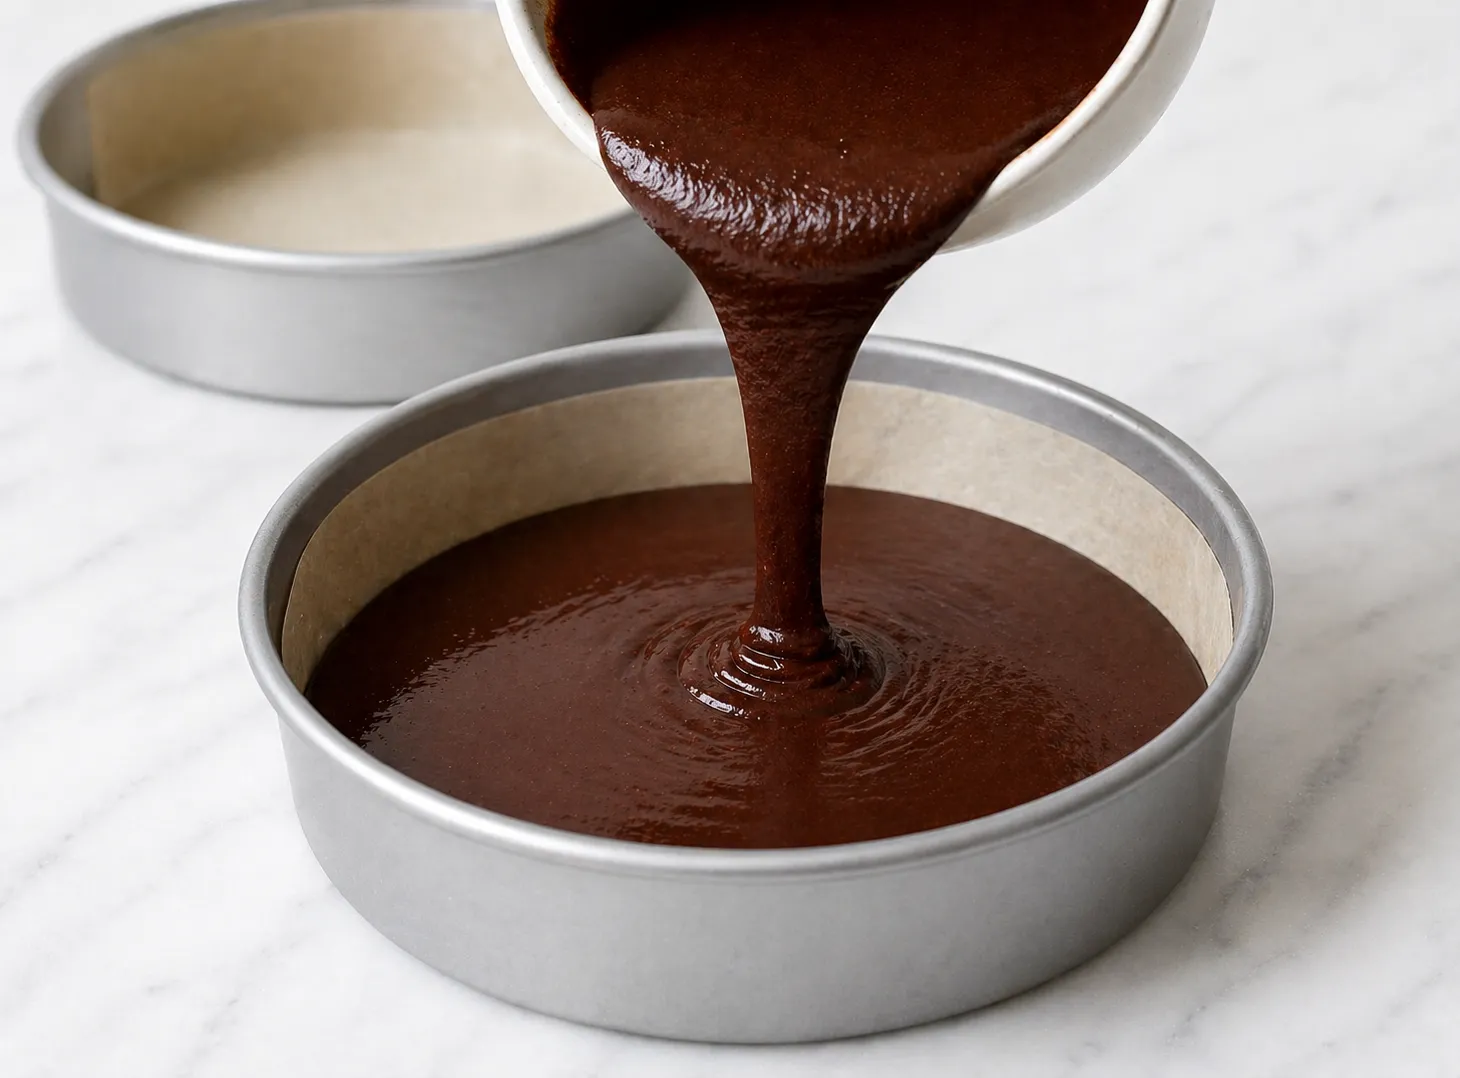
- Add the wet mixture to the dry ingredients. Whisk until just smooth. Stop as soon as you see no dry streaks. The batter will look thin. That is normal and intentional.
- Split the batter evenly between the two pans. Tap each pan on the counter a couple of times to knock out air pockets.
- Bake for 30 to 35 minutes. The cake is done when a toothpick inserted in the center comes out with just a few moist crumbs attached.
- Leave the cakes in the pans for 10 minutes, then turn them out onto a wire rack. Let them cool completely before you touch the ganache. This takes at least an hour. A warm cake will cause the ganache to slide and pool instead of set.
- Heat the heavy cream in a small saucepan over medium heat until it just starts to simmer around the edges. Pour it over the chopped chocolate in a heatproof bowl. Do not stir yet. Let it sit undisturbed for two minutes.
- Add the butter and stir slowly from the center outward until the ganache is glossy and completely smooth.
- Set the ganache aside at room temperature and stir it every few minutes. After 20 to 30 minutes it should be thick enough to coat a spoon but still pourable. If it stiffens too much, set the bowl over a pot of warm water for 30 seconds and stir gently.
- Set one cake layer on your serving plate. Spoon a few tablespoons of ganache over the top and spread it to the edges.
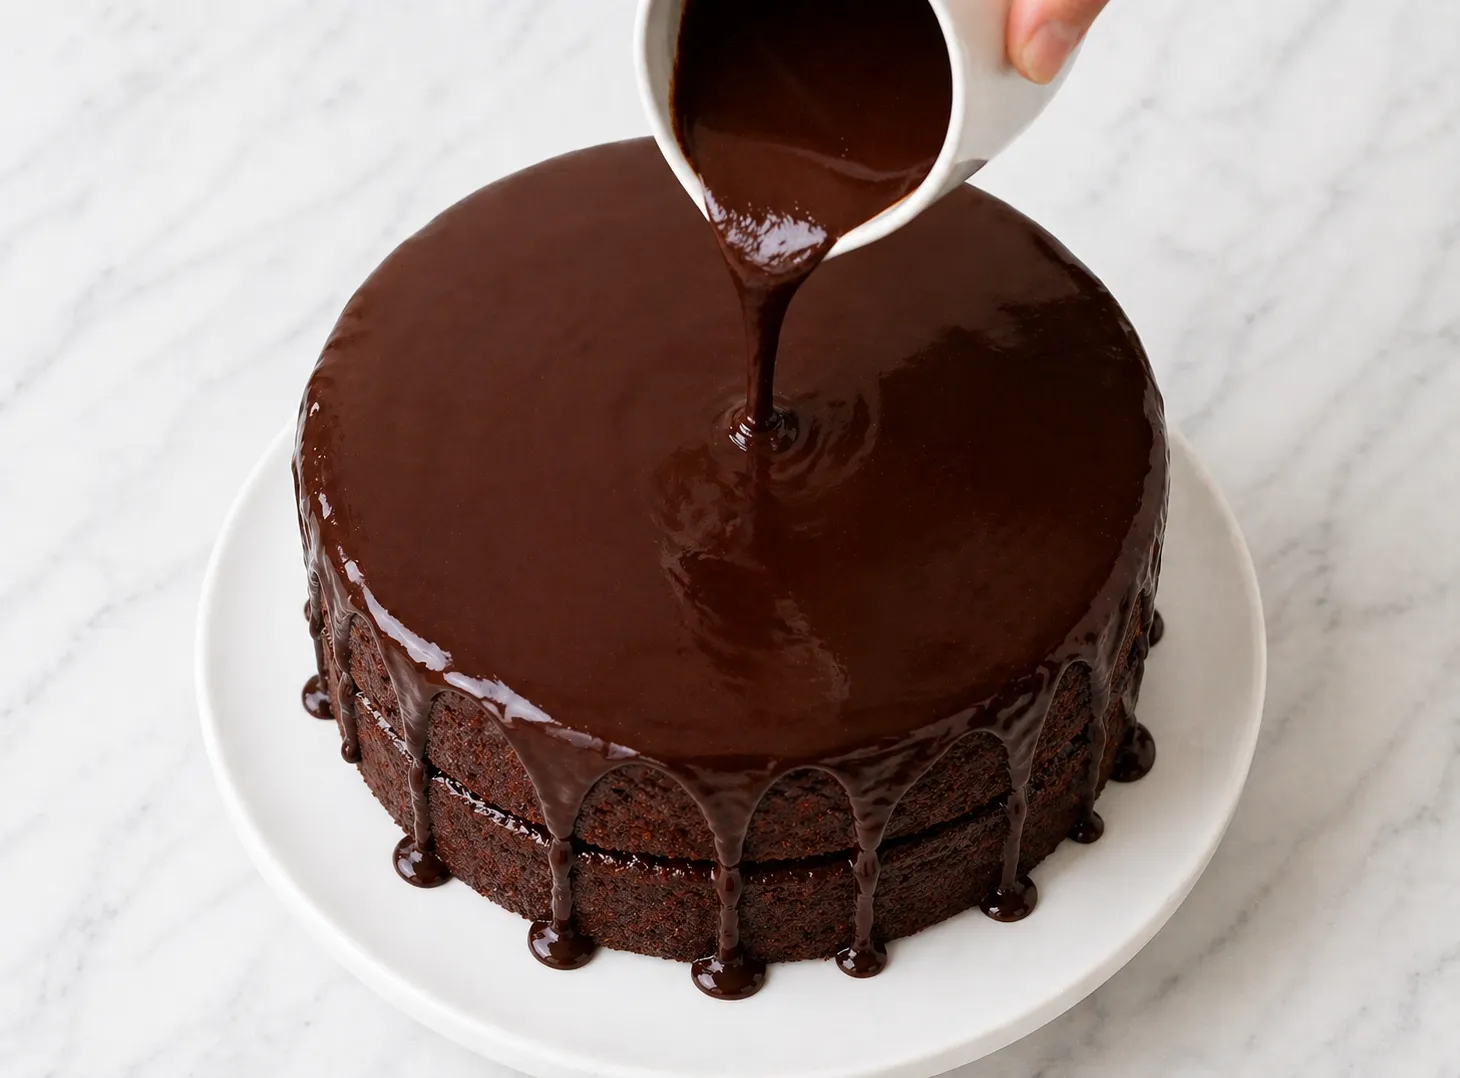
- Place the second layer on top. Pour the remaining ganache over and let gravity pull it down the sides. You do not need to smooth it.
- Give the ganache at least 30 minutes to set before cutting. For sharper slices, put the cake in the fridge for 20 minutes first, then cut with a warm knife.
- Dutch-process cocoa gives a darker, less acidic result than natural cocoa. Use it if you can find it.
- Pull your eggs and buttermilk out of the fridge about 30 minutes before you start. Cold ingredients do not blend as well.
- The coffee deepens the chocolate flavor significantly. You will not taste coffee in the finished cake.
- Do not add extra flour if the batter looks thin. That consistency is what makes the crumb moist.
- The cake must be fully cool before you add ganache. There are no shortcuts on this one.
- Chop the chocolate as finely as you can. Larger pieces do not always melt fully in the cream.
- Stir the ganache gently. Aggressive stirring can make it grainy.
- Overmixing after combining the wet and dry ingredients. Mix until just smooth, then stop.
- Opening the oven before 25 minutes. The center needs time to set before any air gets in.
- Using cold eggs or cold buttermilk. The batter can split or bake unevenly.
- Letting the cream come to a full boil before pouring it over the chocolate. A simmer is all you need.
- Trying to frost a warm cake. The ganache will not hold.
- Using chocolate chips in the ganache. They contain additives that interfere with a smooth melt.
- No buttermilk on hand: Stir one tablespoon of white vinegar into one cup of whole milk. Wait five minutes before using.
- No coffee: Substitute hot water. The chocolate flavor will be slightly less deep but the cake still works.
- Gluten-free: Swap in a 1:1 gluten-free flour blend. Expect a slightly denser texture.
- Dairy-free: Full-fat coconut milk works in place of both the buttermilk and the heavy cream.
- Filling between layers: Spread a thin layer of raspberry jam or softly whipped ganache before stacking.
- Sheet cake format: Pour everything into a 9x13 inch pan and bake for 38 to 42 minutes.
- Extra texture on top: Scatter flaky sea salt or toasted chopped walnuts over the ganache before it fully sets.
- Vanilla ice cream is the most straightforward pairing and it works well against the richness of the ganache.
- Lightly sweetened whipped cream keeps things from feeling too heavy.
- Fresh raspberries or strawberries cut through the chocolate and add some brightness.
- A shot of espresso or a strong cup of black coffee alongside each slice is a natural match.
- Cold whole milk is simple and works every time.
- At room temperature: Keep covered under a cake dome for up to two days.
- In the fridge: Store in an airtight container for up to five days. Let it come back to room temperature before serving for the best texture.
- In the freezer: Wrap individual slices in plastic wrap, then in foil. They keep well for up to three months.
- To thaw: Move slices to the fridge overnight, then leave them on the counter for about 30 minutes before eating.
- Skip the microwave. It melts the ganache unevenly and changes the texture of the cake underneath.
Yes. The layers keep well wrapped at room temperature for up to two days. Make the ganache and finish the cake on the day you plan to serve it.
You can. The ganache will be sweeter and softer. Dark chocolate between 60 and 70 percent gives a better balance of richness and structure.
Usually the cream was too hot or the chocolate pieces were too large. Reheat the ganache gently over a double boiler and stir slowly until it smooths out.
Yes, but mix the batter in two separate batches rather than combining everything in one oversized bowl. It mixes more evenly that way.
Not unless your kitchen runs warm or the cake will sit out for more than two days. The ganache is stable at cool room temperature for a day or two.
No. A whisk and two bowls are all you need. Mixing by hand gives you better control and makes overmixing less likely.
- Natural cocoa works as a substitute for Dutch-process, but the flavor will have a slightly sharper, more acidic edge.
- The thin batter is intentional. Do not add flour to compensate.
- If your ganache firms up during assembly, set the bowl over warm water for 30 seconds and stir it back to a pourable consistency.
- For a three-layer version, divide the batter between three 8-inch pans and reduce the bake time by about five minutes.
- A pinch of flaky sea salt on top of the finished cake is a small detail that makes a noticeable difference.
This chocolate cake recipe does not need much of a sell. The ganache finish looks like it came from a proper bakery. The crumb is exactly what a chocolate cake should be: moist, dense, and deeply chocolatey without being cloying. It stores well, travels well if you need to bring it somewhere, and holds up for several days without drying out. If you are only going to have one chocolate cake recipe in your rotation, make it this one. The effort is low and the results are consistently good.