
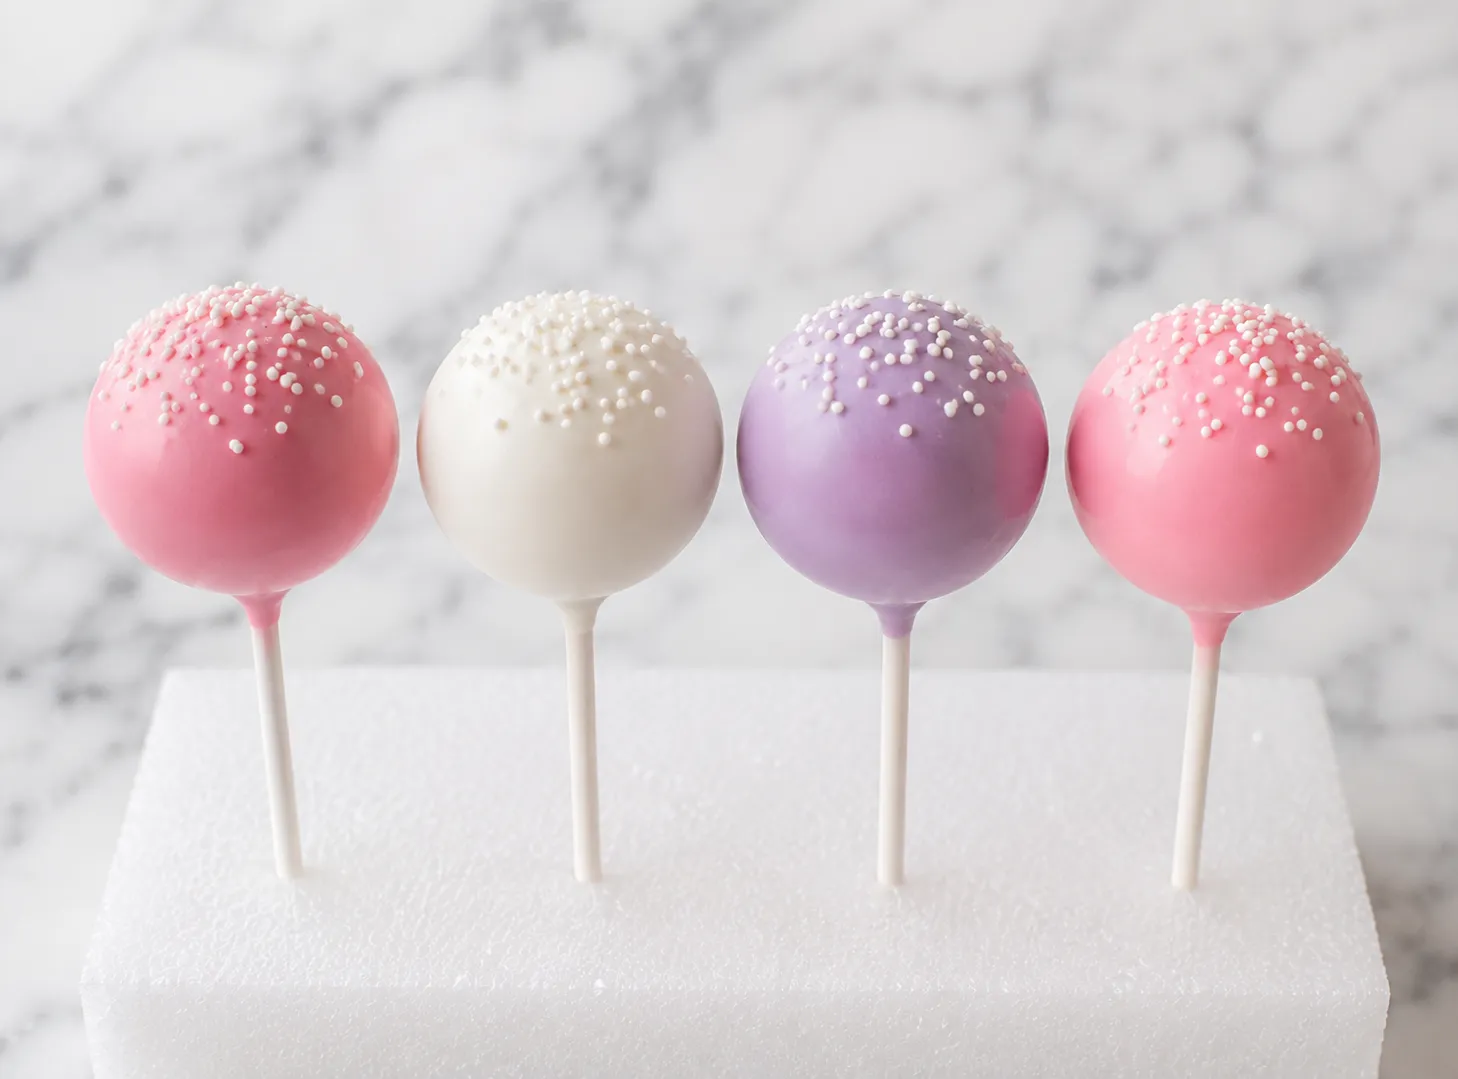
Cake pops are one of those recipes that look complicated but are genuinely straightforward once you know the steps. Every bite is moist crumbled cake bound with just enough frosting, then coated in a thin shell of melted chocolate. They hold together well, travel without fuss, and work for birthdays, baby showers, bake sales, and gift boxes alike. The process builds in stages and each step sets up the next one. Simple technique, consistent results, and a finished product that always gets eaten first. This cake pops recipe needs no special equipment beyond a few lollipop sticks and a little patience.
- 1 box vanilla or chocolate cake mix (15.25 oz) , Eggs, oil, and water as directed on the box. Or use one batch of your own homemade cake baked in a 9x13 inch pan.
- 3 to 5 tablespoons cream cheese frosting , Store-bought or homemade. Start with 3 tablespoons and add more only if the crumble is too dry.
- 2 cups white chocolate chips or white candy melts , 12 oz. Candy melts are easier for beginners.
- 2 cups dark or milk chocolate chips or candy melts , 12 oz. Use whichever coating flavor you prefer.
- 1 tablespoon coconut oil or vegetable shortening , Per cup of chocolate used. Thins the coating so it dips smoothly.
- sprinkles , Add immediately after dipping before the coating sets.
- crushed Oreos
- sanding sugar or edible glitter
- oil-based food coloring , Oil-based only. Water-based coloring will cause the chocolate to seize.
- 9x13 inch baking pan
- Stand mixer or hand mixer
- Large mixing bowls
- Rubber spatula
- Cookie scoop or tablespoon
- Baking sheet lined with parchment paper
- Lollipop sticks, 6-inch
- Microwave-safe bowls or double boiler
- Styrofoam block or tall glass filled with dry rice for drying upright
- Bake the cake and let it cool completely before touching it.
- Crumble it into fine crumbs, then mix in frosting until the texture holds together like soft cookie dough.
- Roll into 1-inch balls and chill until firm.
- Seal a stick into each ball with a dab of melted chocolate, then dip fully in the coating.
- Decorate right away and stand upright to set.
- Bake your cake according to the box directions or your own recipe in a 9x13 inch pan. Pull it out as soon as a toothpick inserted in the center comes out clean. Do not overbake.
- Set the cake on a wire rack and let it cool completely. This step cannot be rushed. A warm cake will make your pops greasy and hard to shape.
- Once cooled, break the cake into a large bowl and crumble it down by hand or with a fork until no large pieces remain. The crumbs should be even and fine.
- Add 3 tablespoons of frosting to the crumbled cake. Mix with a spatula or clean hands until the mixture holds its shape when you press a small amount between your fingers. It should feel like soft, slightly damp cookie dough. Add one more tablespoon at a time only if the mixture feels too dry and crumbly.
- Use a cookie scoop or tablespoon to portion the dough into even amounts. Roll each portion between your palms into a smooth ball about 1 to 1.25 inches across. Place them on a parchment-lined baking sheet as you go.
- Refrigerate the balls for 30 to 45 minutes, or freeze them for 15 minutes. They need to be firm and cold before the sticks go in. Soft balls will not hold during dipping.
- Melt a small amount of chocolate in a microwave-safe bowl. Dip the tip of a lollipop stick about half an inch into the melted chocolate, then insert it straight into the center of a cake ball, pushing halfway through. Do not go all the way through. Repeat for every ball, then let them sit for 5 minutes so the chocolate seals the stick in place.
- Melt the rest of your coating chocolate in 30-second microwave intervals, stirring between each one. Add 1 tablespoon of coconut oil per cup of chocolate and stir until the mixture is fully smooth and fluid. If it looks thick or grainy, give it another 15 seconds.
- Hold a cake pop by the stick and lower it fully into the melted chocolate. Lift it out and tap your wrist gently to let the excess drip off. Do not tap or shake the stick itself. Keep the pop moving in a slow rotation as the excess falls.
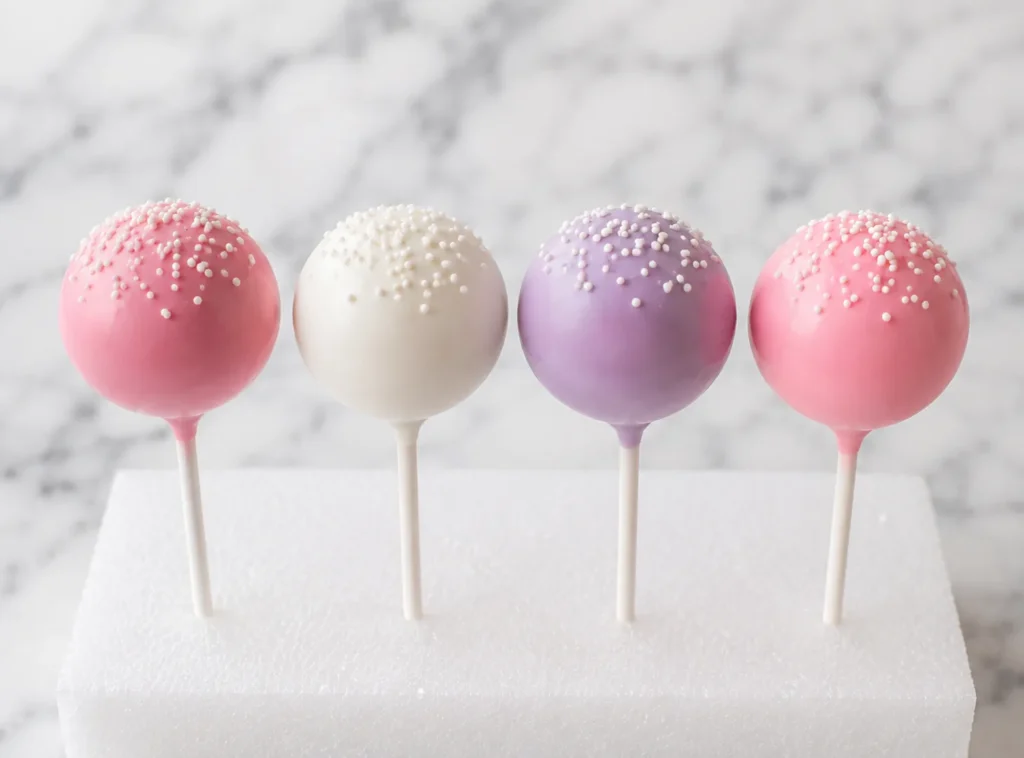
- Add sprinkles or other toppings immediately while the coating is still wet. The chocolate sets quickly, so work fast.
- Stand each finished pop upright in a styrofoam block or a tall glass with dry rice or sugar in the bottom. Let them set at room temperature for 15 to 20 minutes, or refrigerate for 10 minutes. They are ready when the coating looks matte and feels firm to a light touch.
- Use room temperature cake crumbs and cold cake balls. That combination at the right stages matters more than anything else.
- Candy melts are more forgiving than real chocolate. They set faster, require no tempering, and are easy to thin. Start with them if this is your first batch.
- A deep narrow mug or jar works better for dipping than a wide bowl. You get full coverage with less chocolate and less wasted coating.
- Keep the rest of your cake balls in the fridge while you work in small batches. Do not leave them sitting out at room temperature while you dip.
- For coloring the coating, use oil-based food coloring only. A single drop of water-based coloring will cause the chocolate to seize and turn grainy.
- If your chocolate starts to thicken as it cools while you work, give it another 10 to 15 seconds in the microwave and stir again before continuing.
- For a glossy coating finish, use tempered real chocolate. For a matte finish, candy melts are the way to go.
- Adding too much frosting to the cake crumble. This makes the balls heavy, greasy, and far more likely to slide off the stick.
- Dipping warm or room temperature cake balls. They will crack the coating or fall apart mid-dip. Always chill them until firm.
- Overheating the chocolate. Go in short 30-second intervals and stir between each one. Overheated chocolate turns grainy and cannot be recovered easily.
- Shaking or swirling the stick when tapping off excess coating. This loosens the seal between the stick and the ball.
- Skipping the step where you seal the stick with a dab of melted chocolate before dipping. That seal is what holds everything together.
- Using water-based food coloring in chocolate. Even a small amount will ruin the texture immediately.
- Making the balls larger than 1.25 inches. Bigger balls are heavier and put more stress on the stick during dipping and drying.
- Cake flavor: Red velvet, lemon, funfetti, carrot cake, or any flavor you prefer. Any fully baked and cooled cake crumbles and binds the same way.
- Frosting swap: Buttercream, chocolate frosting, or peanut butter frosting all work in place of cream cheese frosting. Use the same conservative amount.
- Coating options: White, dark, or milk chocolate all work equally well. Colored candy melts let you match a party theme without any extra effort.
- No sticks version: Skip the lollipop sticks and make cake truffles instead. Roll the finished balls in cocoa powder, crushed nuts, or shredded coconut after dipping.
- Gluten-free: Use a certified gluten-free cake mix and verify that your candy melts are also gluten-free.
- Dairy-free: Use a dairy-free cake base, dairy-free chocolate chips, and coconut cream in place of frosting as the binder.
- Filled version: Before rolling, press a small piece of caramel, a mini peanut butter cup, or a maraschino cherry into the center of each portion. Then roll closed and continue as normal.
- A dessert board alongside cookies, brownies, and chocolate bark
- A coffee or hot chocolate station where guests can grab one alongside a drink
- A party dessert table with cupcakes and other bite-sized sweets
- Packaged in cellophane bags with a ribbon for party favors or gift boxes
- Alongside a scoop of vanilla ice cream as a plated dessert
- With tea, mulled cider, or warm apple cider in the colder months
- Room temperature: Store in an airtight container in a cool dry spot for up to 2 days. Keep away from direct sunlight or any heat source.
- Refrigerator: Store in a single layer in an airtight container for up to 5 days. Bring to room temperature before serving for the best texture.
- Freezer, undipped balls: Raw cake balls without coating freeze well for up to 6 weeks. Thaw in the refrigerator overnight before dipping.
- Freezer, finished pops: Wrap each coated pop individually in plastic wrap before freezing. They keep well for up to 4 weeks.
- Thawing: Move frozen pops to the refrigerator and let them thaw overnight. Then bring to room temperature for 20 to 30 minutes before serving.
- Note: Do not store cake pops near strong-smelling foods. The chocolate coating absorbs odors from the fridge.
The most common reason is that the cake balls were not cold enough before dipping. They need to be firm all the way through. Also check that you sealed the stick with melted chocolate before dipping, and keep your ball size to about 1 inch. Larger balls put too much weight on the stick.
Yes. Any fully baked and cooled homemade cake works the same way. Vanilla, chocolate, red velvet, and carrot cake all crumble and bind well. The cake just needs to be completely cooled before you start.
Candy melts are the easiest starting point. They melt consistently, require no tempering, and come in multiple colors. If you want better flavor, use real chocolate thinned with coconut oil. Either way, keep the coating fluid and warm while you work.
You can refrigerate finished cake pops for up to 5 days. If you want to work further ahead, freeze the undipped cake balls for up to 6 weeks and dip them the day before you need them.
The cake balls were most likely too cold, usually from sitting in the freezer too long. Let them rest at room temperature for 3 to 5 minutes after chilling before you dip. A large temperature difference between the cold ball and the warm chocolate causes cracking.
Yes, any canned frosting works. Use it sparingly. Start with 2 to 3 tablespoons per batch and add more only if the crumble mixture will not hold together when pressed. Too much frosting makes the pops heavy and greasy.
- This recipe is based on a standard 9x13 inch baked cake and yields approximately 24 cake pops at 1 to 1.25 inch size.
- Candy melts come in dozens of pre-made colors and need no tempering, which makes them the most practical choice for large batches or themed events.
- For a glossy coating, use tempered real chocolate. Candy melts will produce a matte finish.
- The frosting is a binder, not a main flavor. Keep the amount minimal so the cake flavor stays front and center.
- Lollipop sticks are inexpensive and available at most craft stores, baking supply shops, and online.
- These taste even better after an overnight rest in the refrigerator. Making them the day before an event is a good move.
- The payoff in this cake pops recipe is in understanding each stage: cake texture, binder ratio, and coating consistency. Each step sets up the next one.
Cake pops are not a complicated recipe, but they do reward attention to detail. Getting the cake ball texture right, chilling at the correct stages, and keeping your chocolate coating at the right temperature are the three things that make the biggest difference. Once you have done a batch or two, the process becomes quick and repeatable. They look impressive on a table, they hold up well for gifting, and they disappear faster than almost anything else you could put out. If your first batch has a few imperfect ones, they will still taste exactly right. The technique improves with each round, and by the second or third time you make this cake pops recipe, you will have the whole process down to a routine that takes less than two hours from start to finish.